

Over the last weekend my daughter Kirsten and I drove up to the lovely German town of Boppard, on the south bank of the Rhine River, for a little Klettersteig hike. It was a fabulous, warm, sunny day and there’s no better way to escape the utter stupidity of covid than with a great hike along the Rhine.
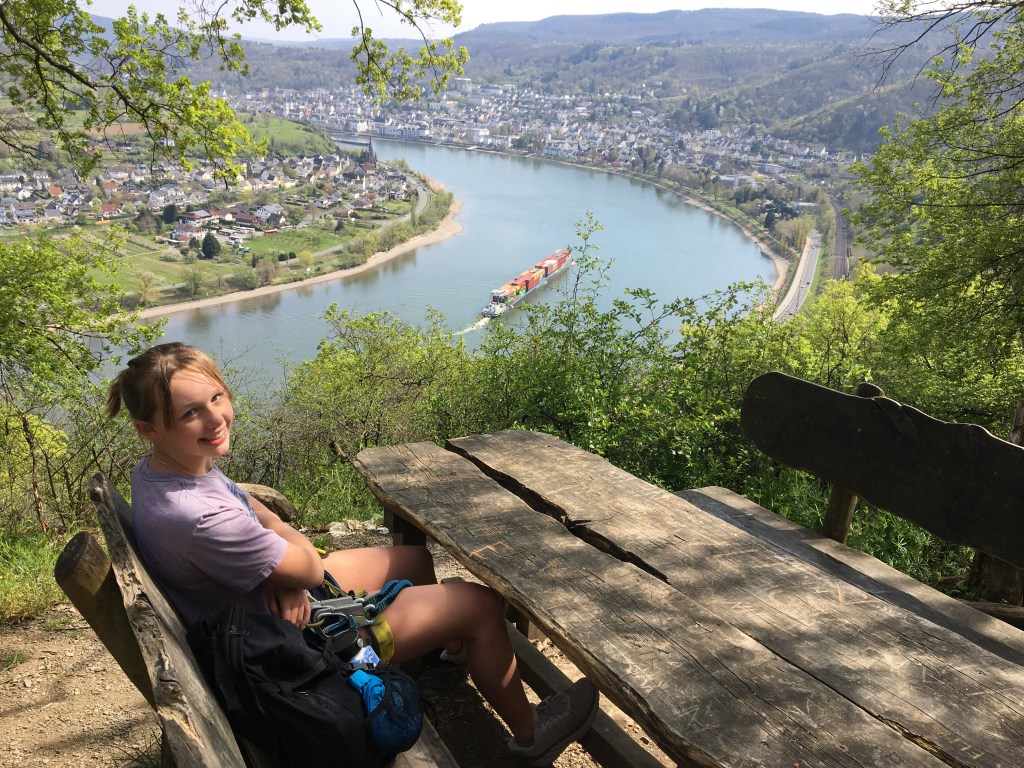
There’s no English translation for Klettersteig, but it is a method of hiking along rock faces in mountains along fixed-rope climbing routes. The routes are much better known in the Italian Alps as “Via Ferrata”–which literally translated means The Iron Way. Basically you walk along cliff faces wearing a harness, which you clip into wire ropes along the way, to prevent you from falling to your untimely death. See below.
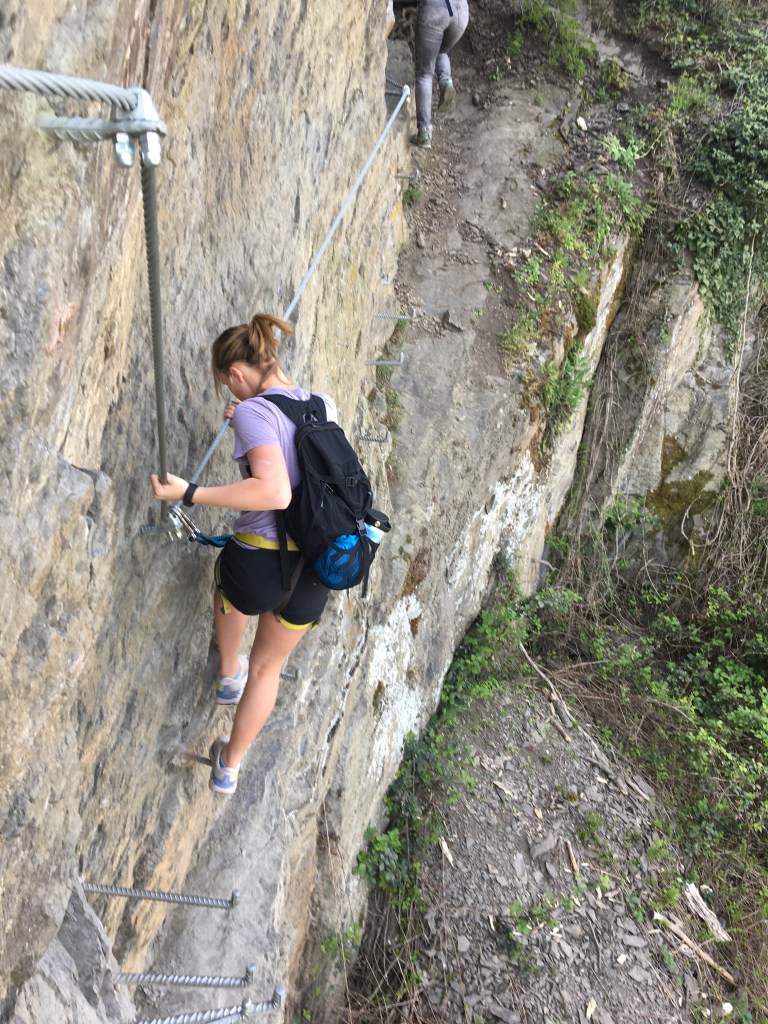
This route wasn’t too demanding, but there was one climb, about 100 feet straight up, that was quite a challenge for this old man.
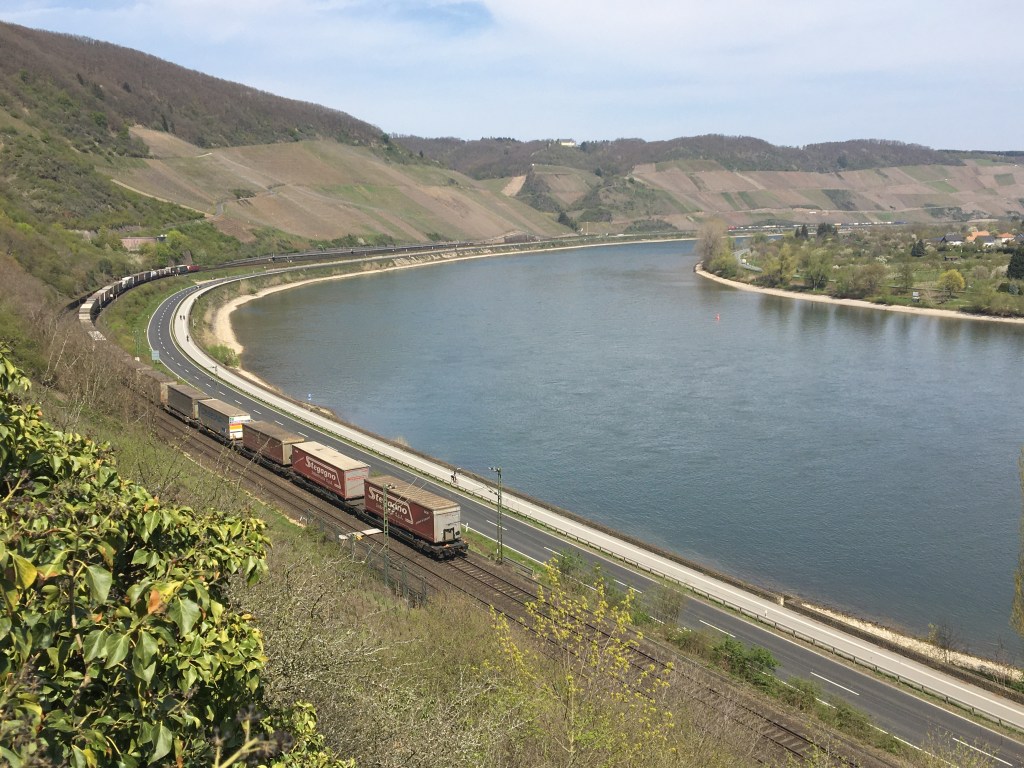
One of the best parts of the hike was the view from the start, where I could see the Deutsche Bahn hard at work on their busy, electrified Mannheim-Paris main track.
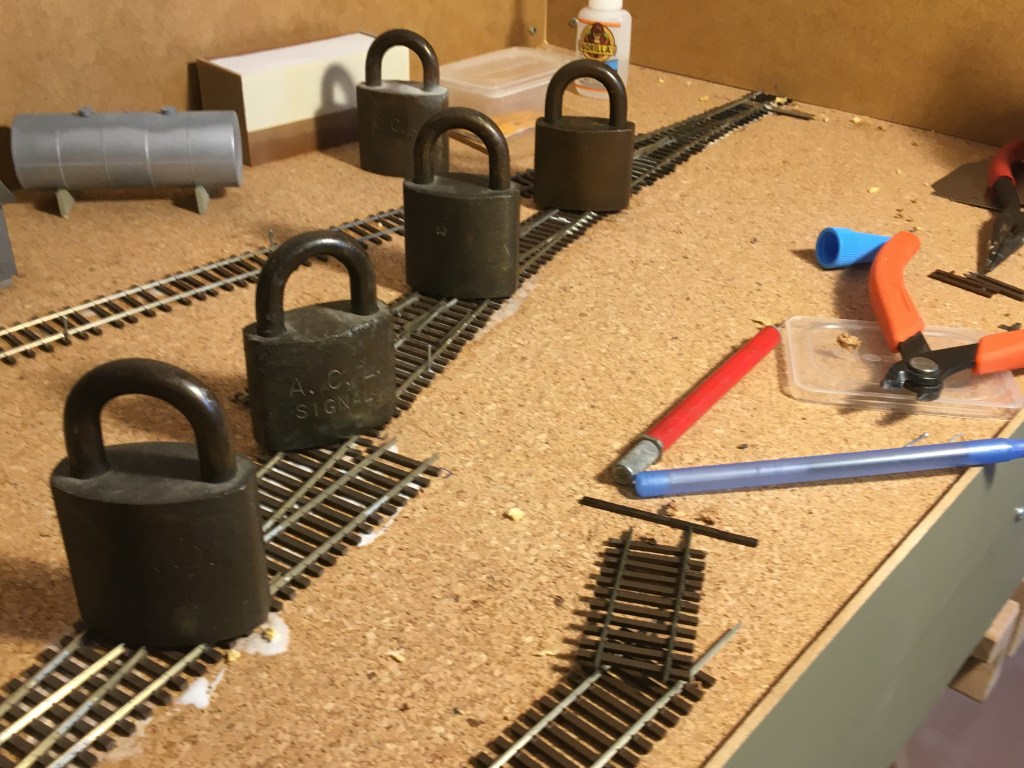
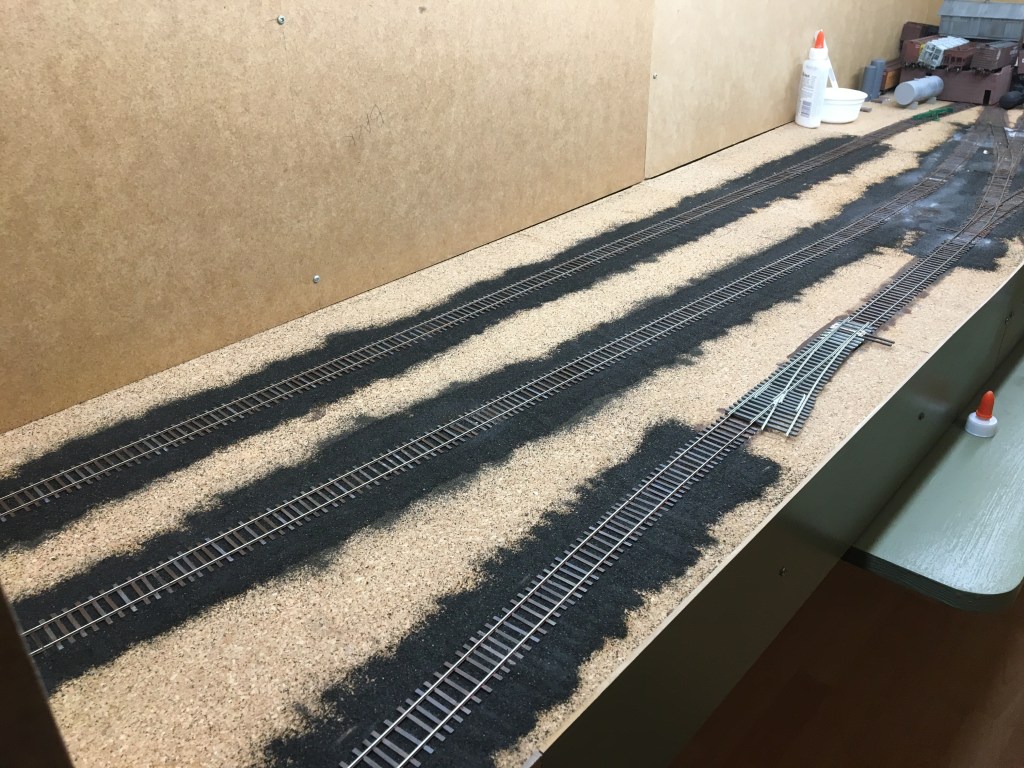
With that said, lets get to the HO railroad. Here’s how Hermitage Road looked in the end of February. The roadbed is a sheet of 3 millimeter cork laid on Styrodur, which is a German product much like American pink or blue Styrofoam. Styrodur is light and very sturdy.
The turnouts are all Code 70, and the track is all Code 55 flex track from Micro Engineering. I cut the fourth or fifth tie out of the web on the Code 55 flex, and repositioned all the ties to be a little wider. Man, that takes a lot of time but I like the effect.
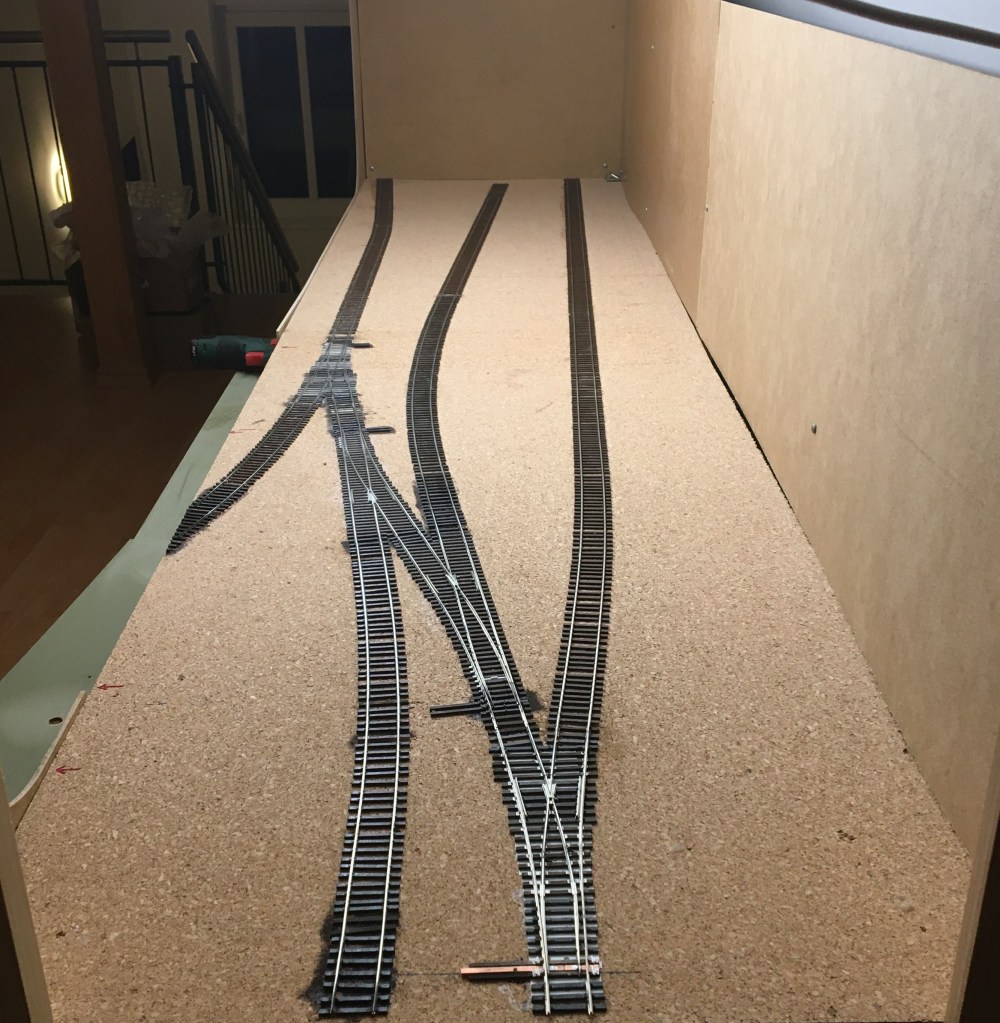
I glued the track down with good-old American Elmer’s white glue, full-strength. I positioned the track using pins, and kept it down with old switch locks until the glue was set.
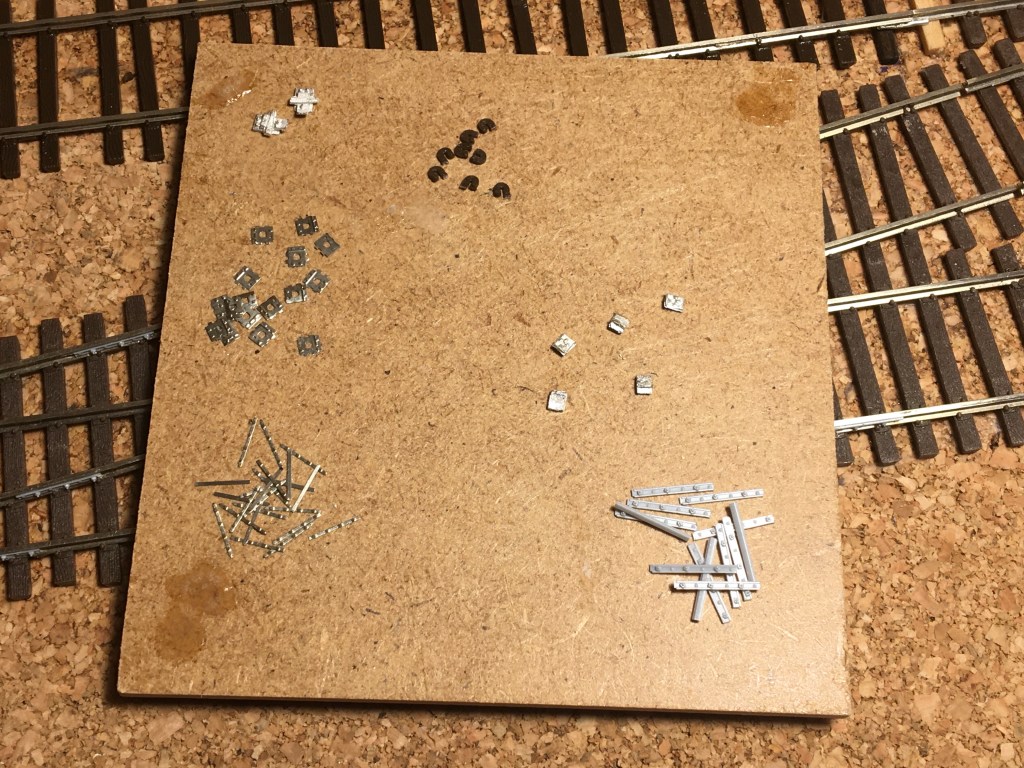
I’ve mentioned this in previous posts, but I used a lot of track details from Proto87 Stores, Details West, Grandt Line, and Keyser Valley Models. It took a lot of extra time to add all these details, but the layout is small—only 6 feet, ten inches long and 17 inches wide, and is built at sit-down height—so it was easy to take my time and install all the details in comfort.
Here is a view of some of the detail parts. The joint bars at the bottom left, and the tie plates, are Code 55 from Proto87 Stores. The joint bars at right are Code 70/83 from Details West. They are the best-detailed product on the market, but they cannot be installed on the inside of the rail.
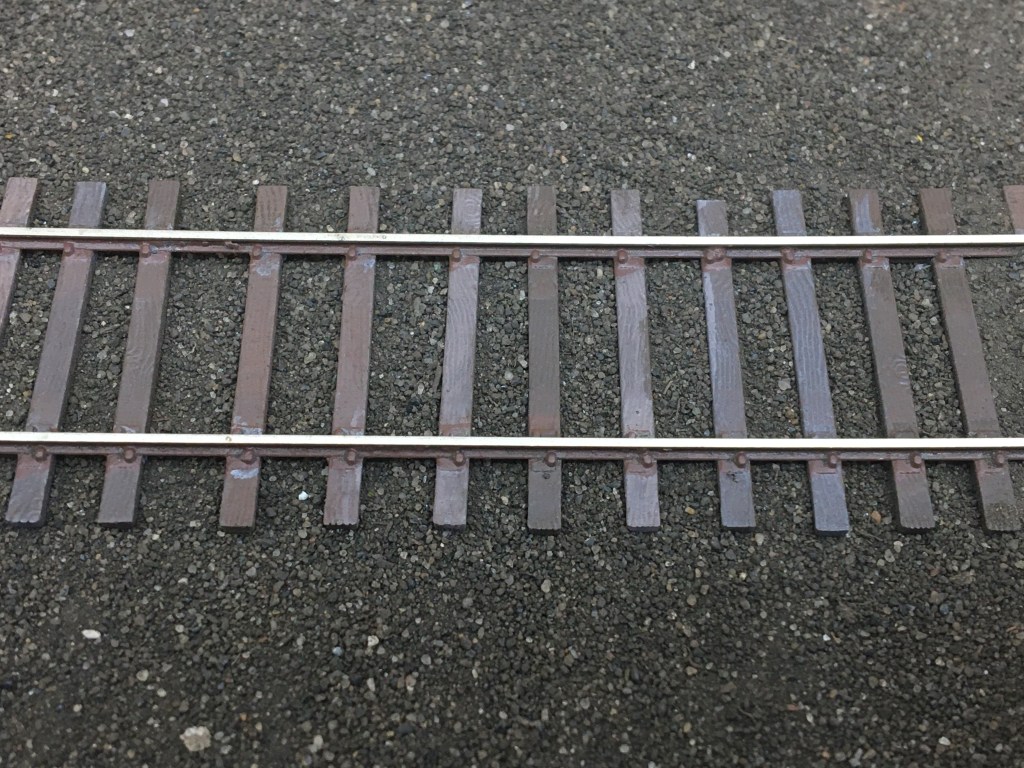
Once the details were set, I painted the ties with a base coat of Testors Rubber. Then I went over each tie with various colors of tan, gray and light brown to simulate some aging. I painted the rail and tie plates with Mr. Color Red Brown, which I think is an excellent color for lighter-duty rail.
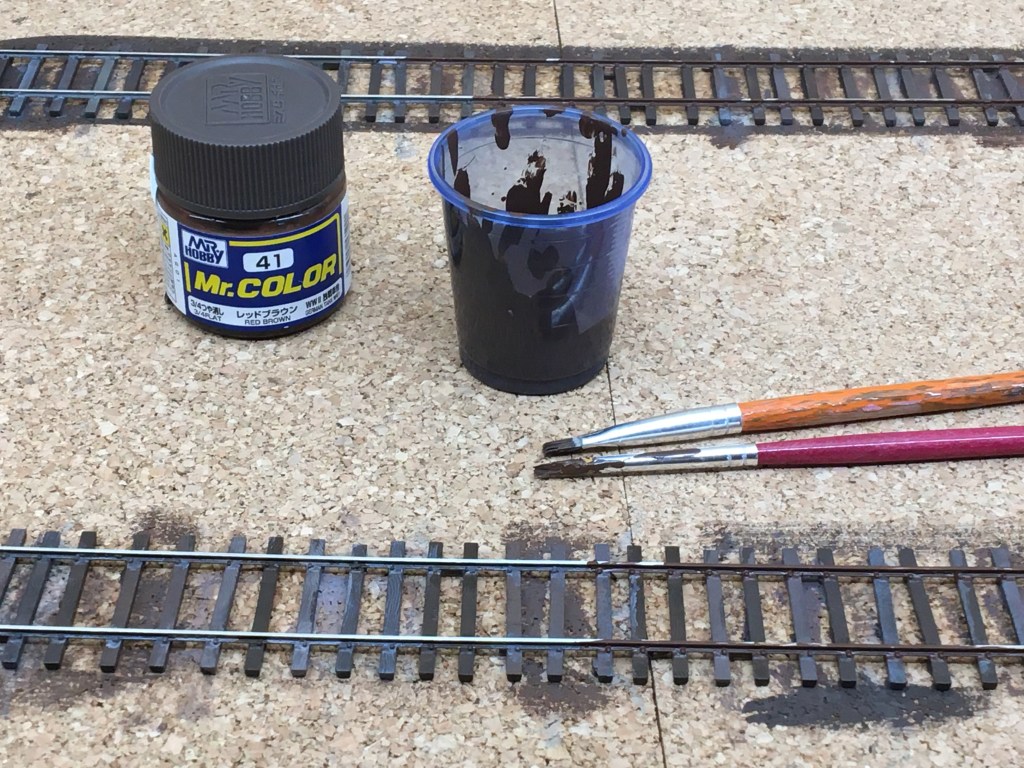
Here’s the result, before cleaning the top of the rail of course.
And here’s another view of the track with all the varied tie colors.

Once the paint was dry, I ballasted the track cinders I collected from the site of the Pennsylvania Railroad roundhouse in Richmond, Indiana. I dug up a couple of buckets of dirt back in 2014, sifted it, and demagnetized it, and have been using it ever since. Because it’s real dirt and cinders, it looks like real dirt and cinders.
Here’s the painted track, with the cinders installed, prior to gluing down the ballast. I use a variety of brushes to keep ballast off the tops of the ties, and out of the inside of the rails.
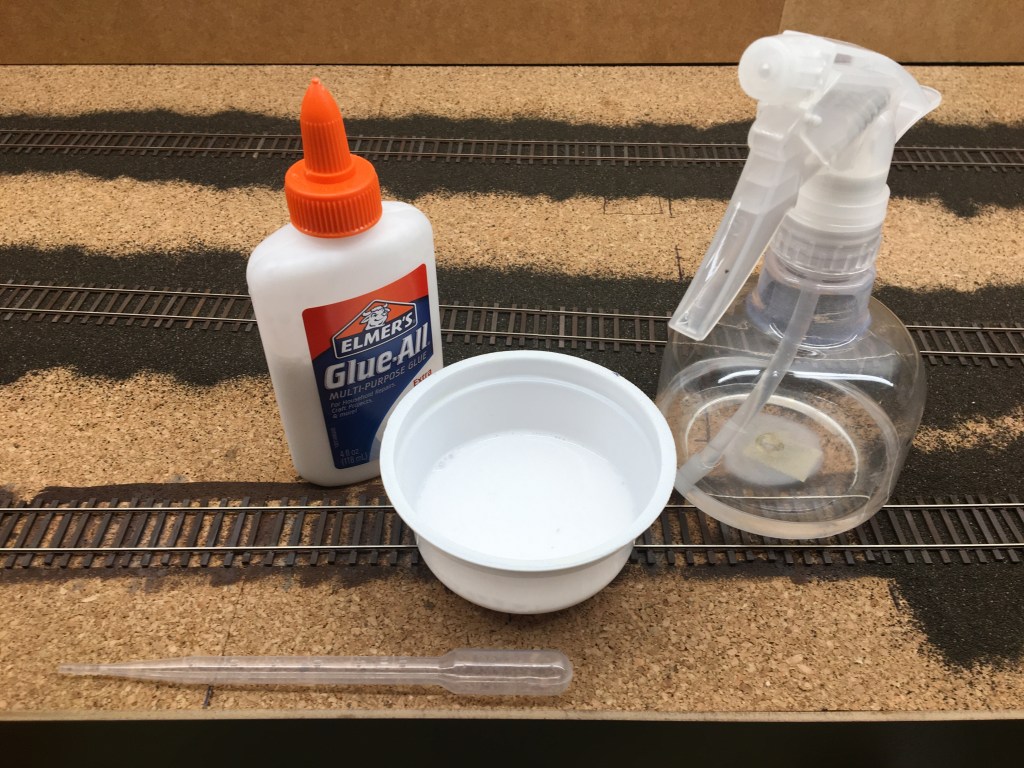
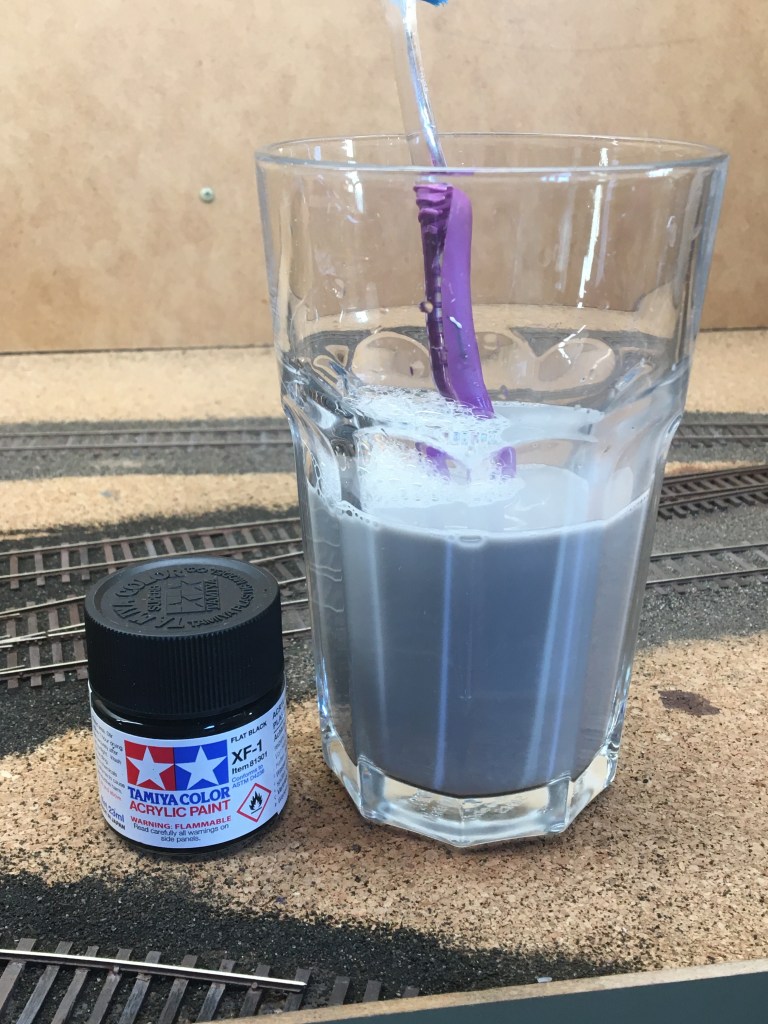
Here’s the stuff I use to secure the ballast. I mix about 20% Elmer’s glue, 70% or so water, a little bit of rubbing alcohol, and a few drops of dish soap. The latter two ingredients break up surface tension, keeping the ballast exactly where I want it.
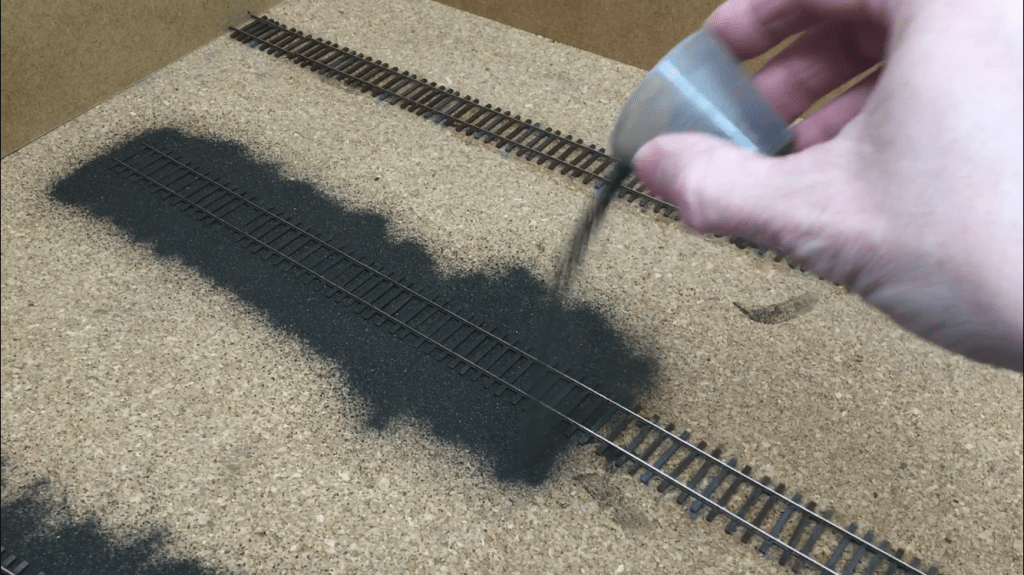
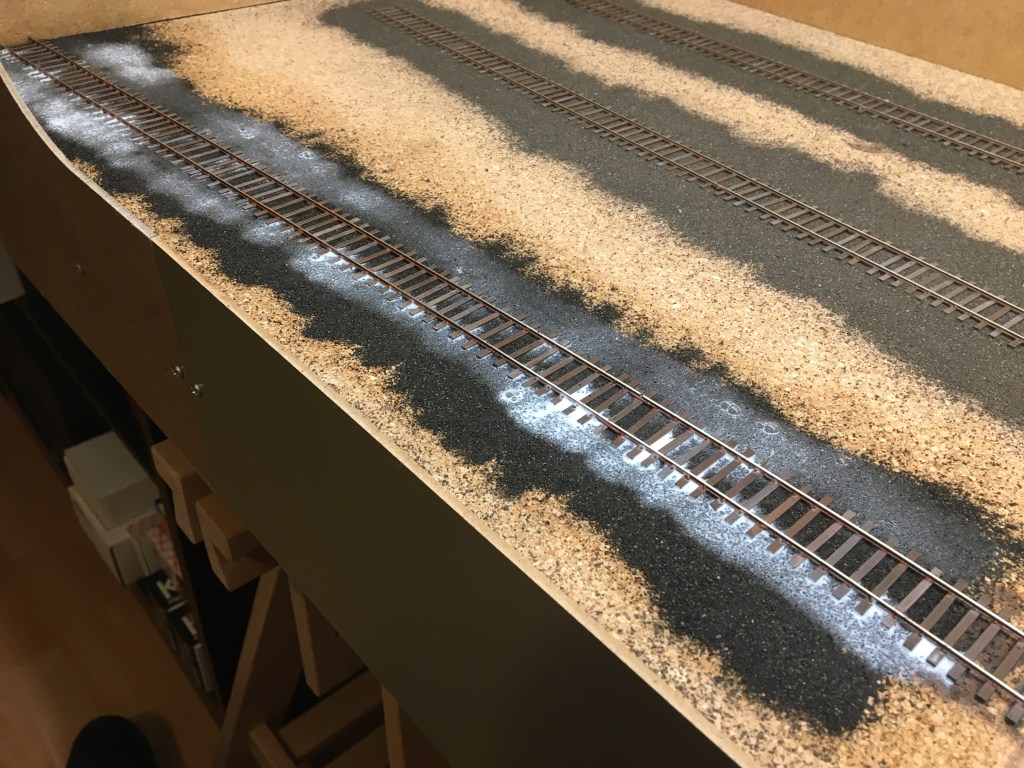
Before gluing the ballast, I give it a good soaking with rubbing alcohol from a spray bottle.
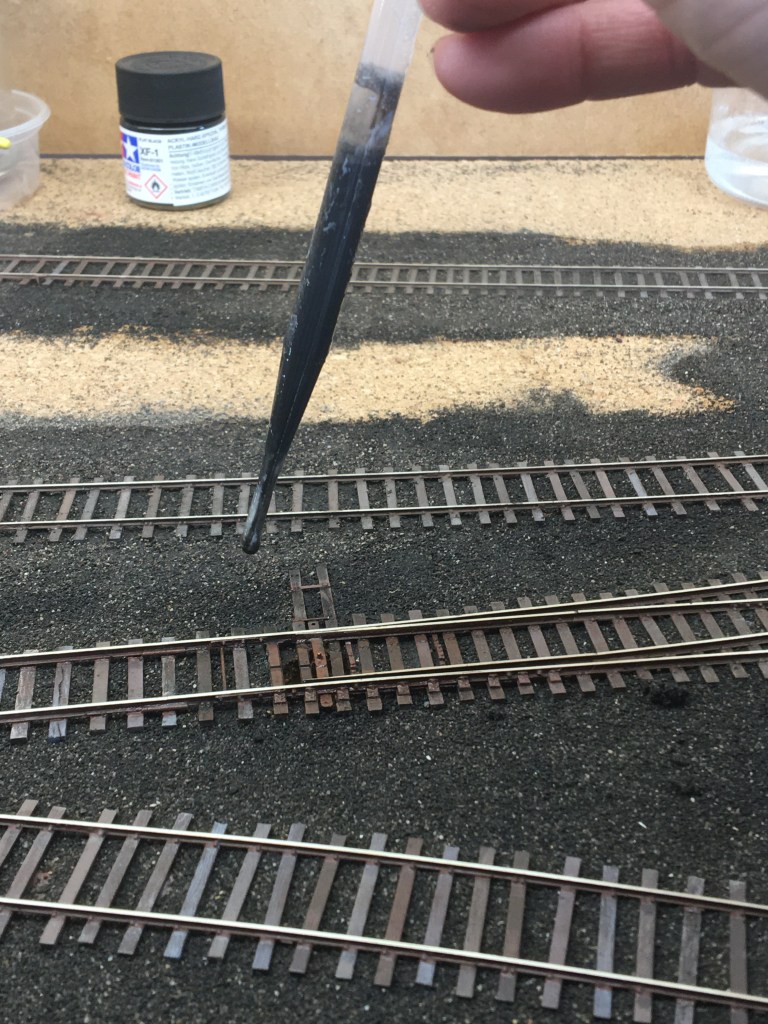
While the ballast is wet with alcohol, I use a pipette to apply the ballast glue. I try to keep the ballast glue off the rail or on top of the ties. Doing so tends to change the color of the ties, and sometimes–by capillary action, I think–brings ballast stones up on the ties and rail and glues them in places I don’t want them.
I tried something different while applying the ballast glue. On a couple of the tracks, I tinted the ballast glue with water-based Tamiya black paint. The idea was to apply black glue to black ballast. Why would I want to apply white glue to black ballast?
The experiment worked well, and I’d do it again if needed.
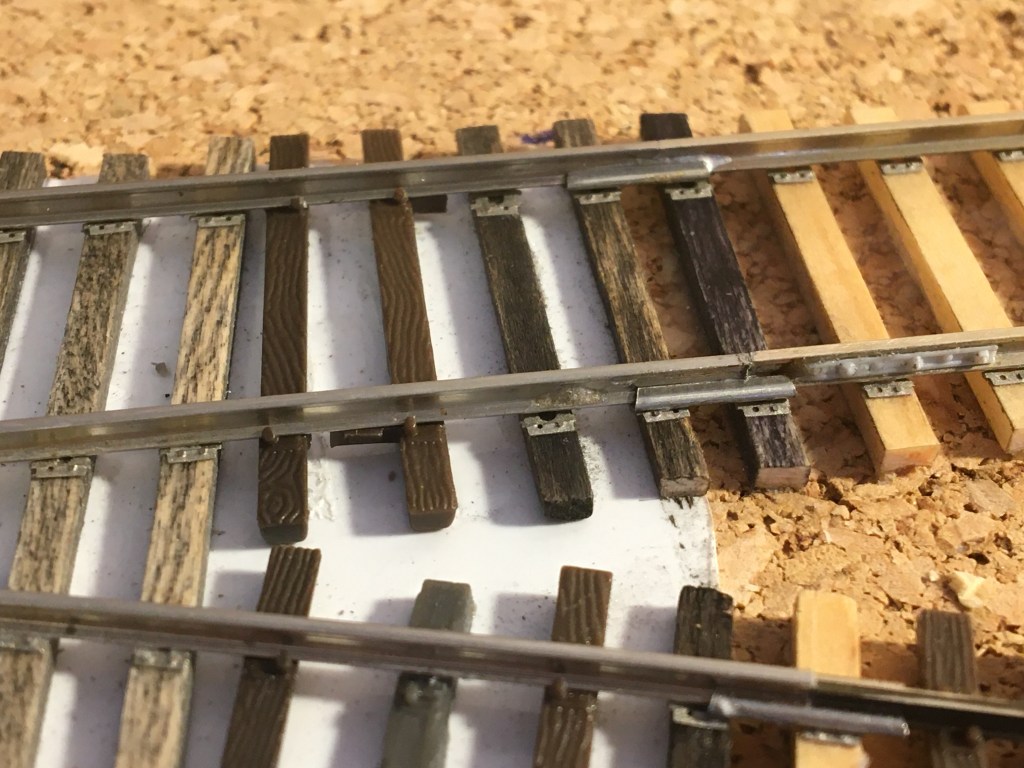
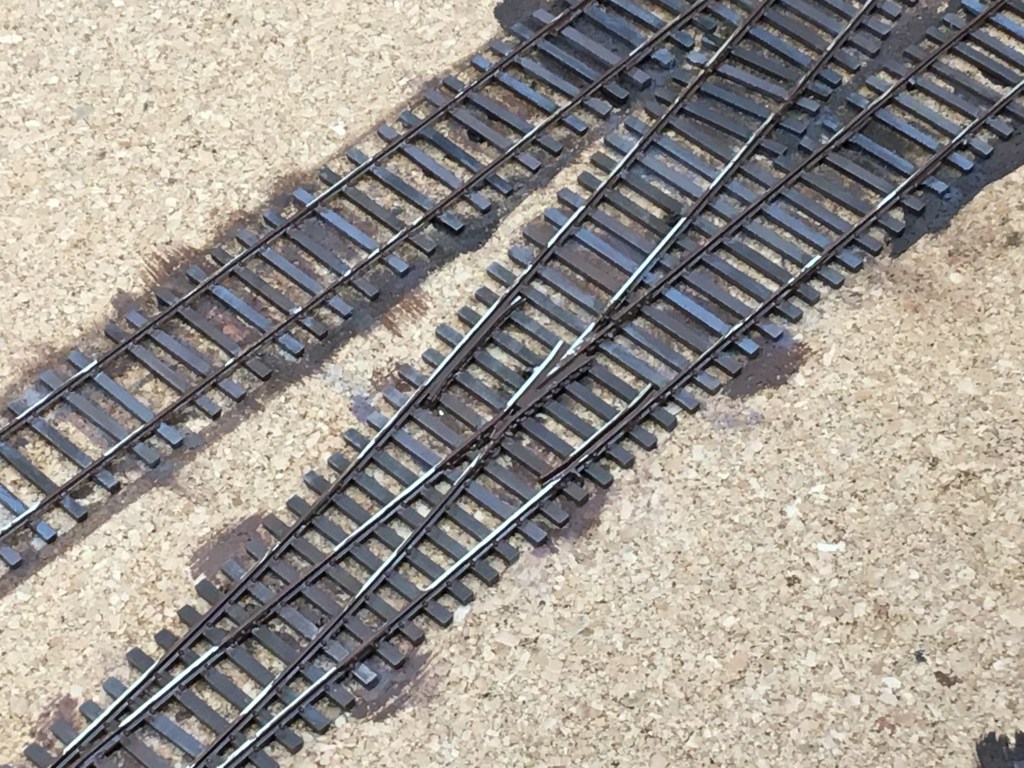
Here’s the track when ballasting was complete. Some nice variation in tie color and ballast color. The extra tie spacing cut into the flex track can be clearly seen now.
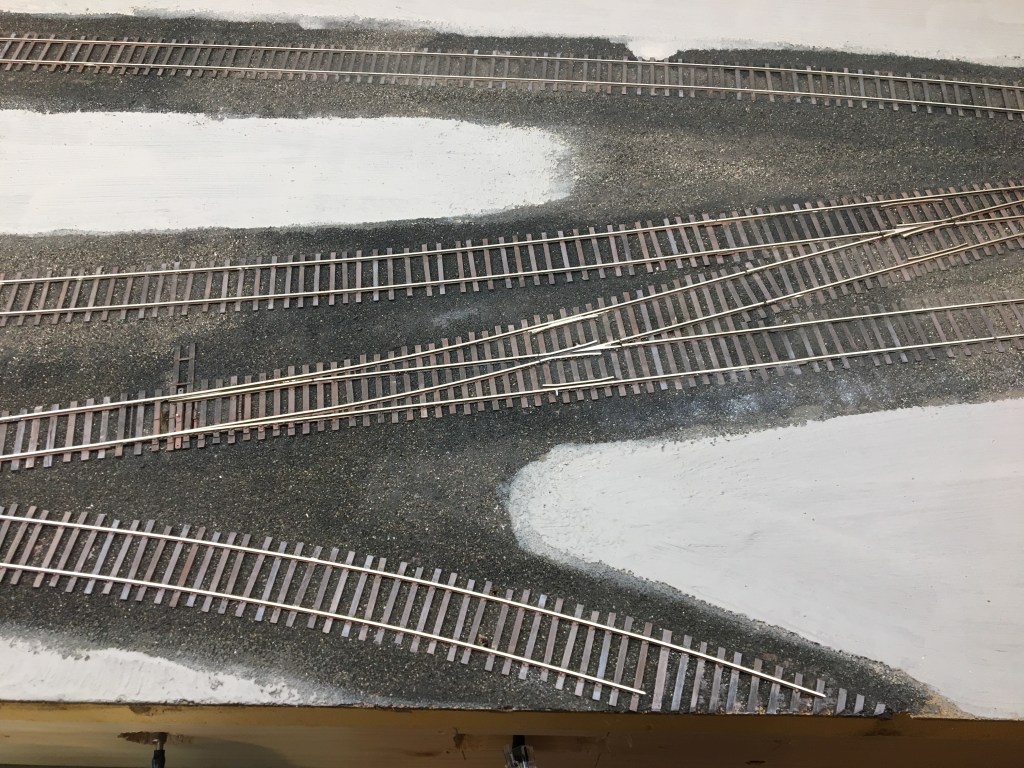
Here’s a close-up of on the turnouts, with the Proto87 frog, track details, and ballast installed. Not bad….

I’m way behind on the blog. Here’s a photo from just a couple of days ago. As you can see the layout is already operational. I’ve been running little operation sessions for a month now, but the layout is far from what I’d consider “complete”. I’ve still got a lot of factories to build.
Below, I filtered this picture to look like all the Kodachrome slides I took in the 80s. Too much green and yellow. Thank goodness for auto-exposure cameras.
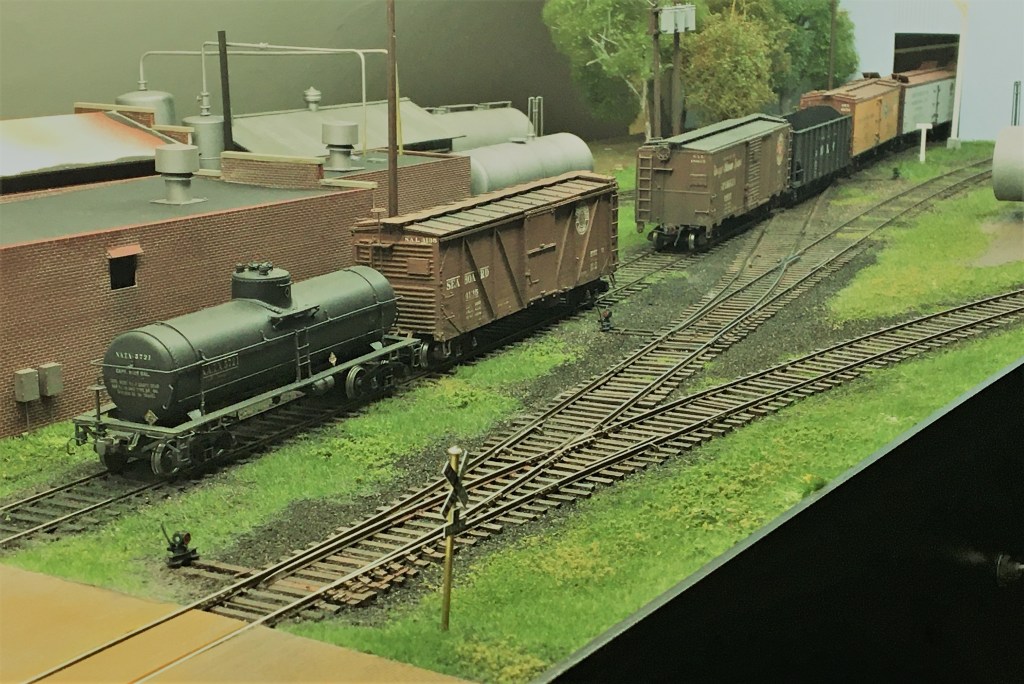
There’s much more to come…just need time to get it all in the blog. – John

John:
Glad you survived your hazardous recreation. Building models is a much safer hobby. But the photos of the views are great.
Oh, and the trackwork photos are great too. Not sure I like the yellow-green tint photo,though. Florescent lighting did a number on photos back in the day.
Thanks for sharing.
Chuck Wille
LikeLike
Hi Chuck! It wasn’t too hazardous. In fact the only times I almost got in trouble was when I took my eyes off the course to watch trains. I came home that night and got some good work done on the layout. After a hard day on the mountain, I felt like I earned it. Have you been working on any cool projects lately? John Golden
LikeLike
Layout is looking good! That is a really neat place, once covid has gone down maybe my family and I can take a trip to Europe. I love the scenery and the trains.
LikeLike
Very nice work John… as always. As a hand-laid track guy I must admit it never occurred to me, or maybe to anyone else in the literature, to stain the glue. Very neat trick I hope to use sometime in the future. Your trackwork, not surprisingly, is a nifty as your rolling stock and locomotive models.
LikeLike
John
Thanks for the update. Hermitage is looking good. Can’t wait to see that SAL switcher working it.
Bill
LikeLike
Hi Bill, I’ll get a picture this weekend. Hope you’re doing well and are having a great Spring. Life is good! Working on anything cool or new these days?
John G
LikeLike
John, The layout looks great! Do you plan to add any more section to the layout in the future?
LikeLike
Thanks Fred! Nope, no additions, although I suppose could if I had to. It’d be nice to add a few more industries and a small yard. This is designed to be a small, stand-alone layout that fits around a couple of bookshelves. John
LikeLike