

My wife and I went to Brugge, Belgium over Thanksgiving to celebrate my 60th birthday. Two of our three children were able to join us. We’ve been to Brugge many times and we love life there. It was a wonderful week and being there made us feel ready to live in Europe again.

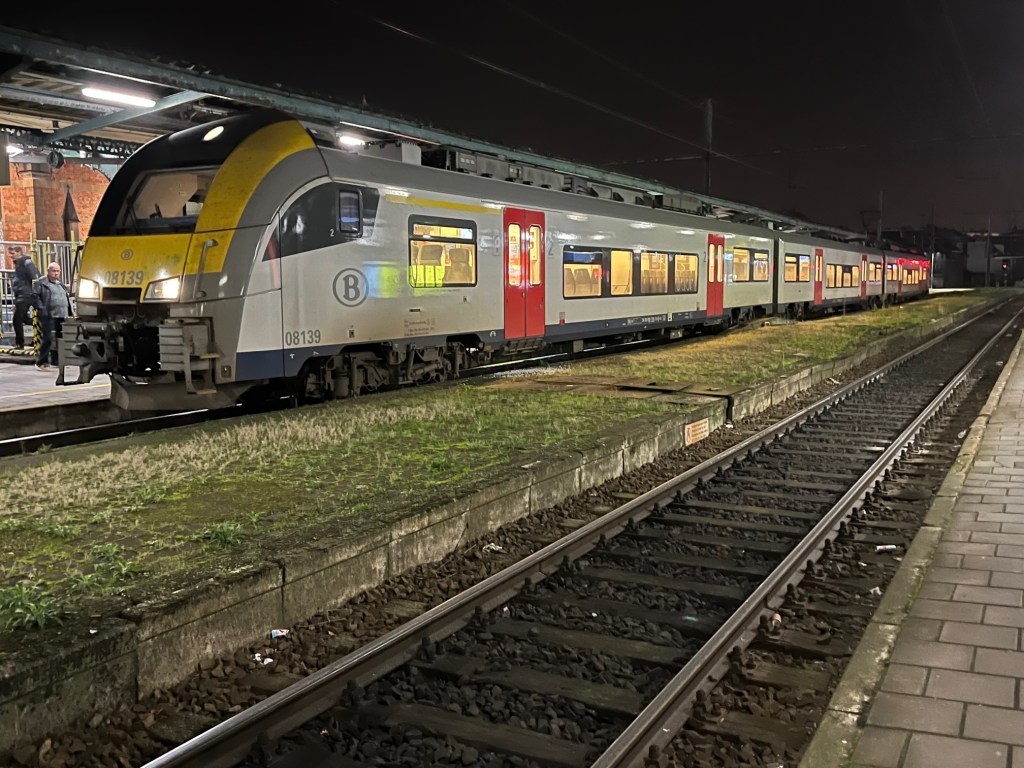
For the railfan in me, a highlight of the trip was taking a train to Ghent for a day of sightseeing and waffle-eating. The ride was fast, clean, efficient, and of course electric. The train below was photographed at Ghent on our way back. This wasn’t our train but ours was a lot like this one.
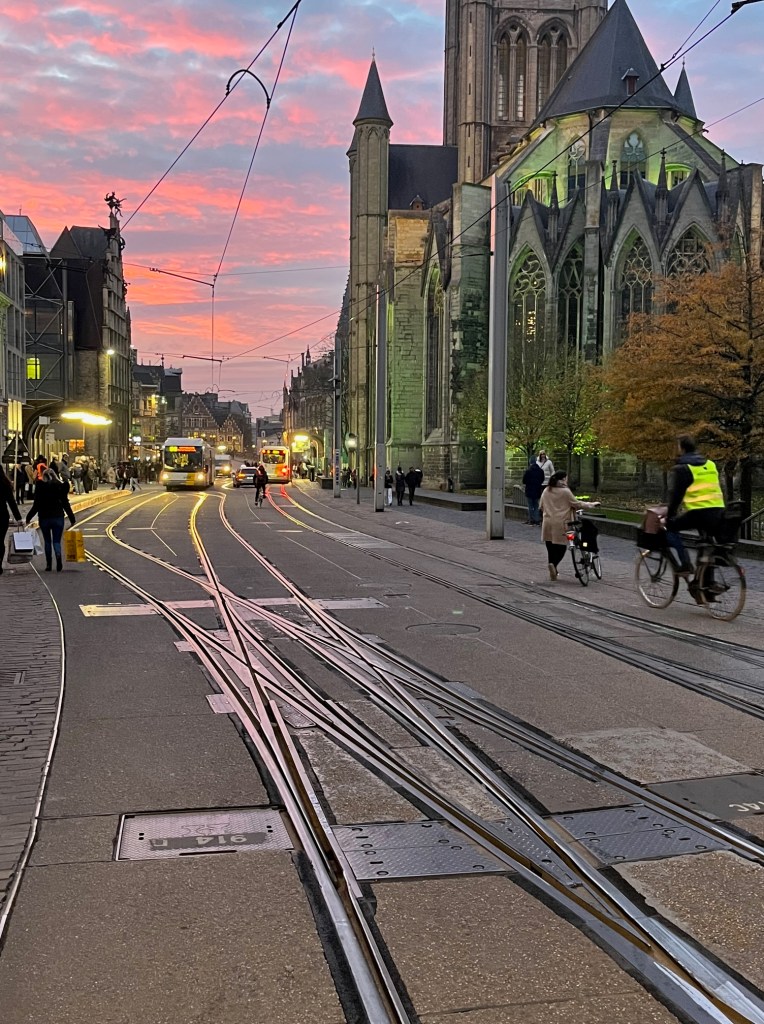
Unlike Brugge, Ghent has a tram system throughout the city. Complex track and crossings are common in Europe, but the photo below shows something extraordinary: a double-slip turnout right in the middle of the main avenue through downtown. There are several of them within a half a mile in Ghent.
Progress on Hermitage Road
Prior to leaving for Belgium, I started scenery work on the layout. I laid down some static grass and other material to make the layout more “complete”.
My friend Jeff Halloin sent a very inspiring photo from his Litchfield & Madison layout. He’s using pre-made scenic mats on either side of the tracks, and static grass in the back. It looks great. He’ll fill in some of the area in front of the backdrop with a scale cornfield. This isn’t the scenery I want for my industrial layout, but Jeff’s use of color contrast and texture contrast is second to none.

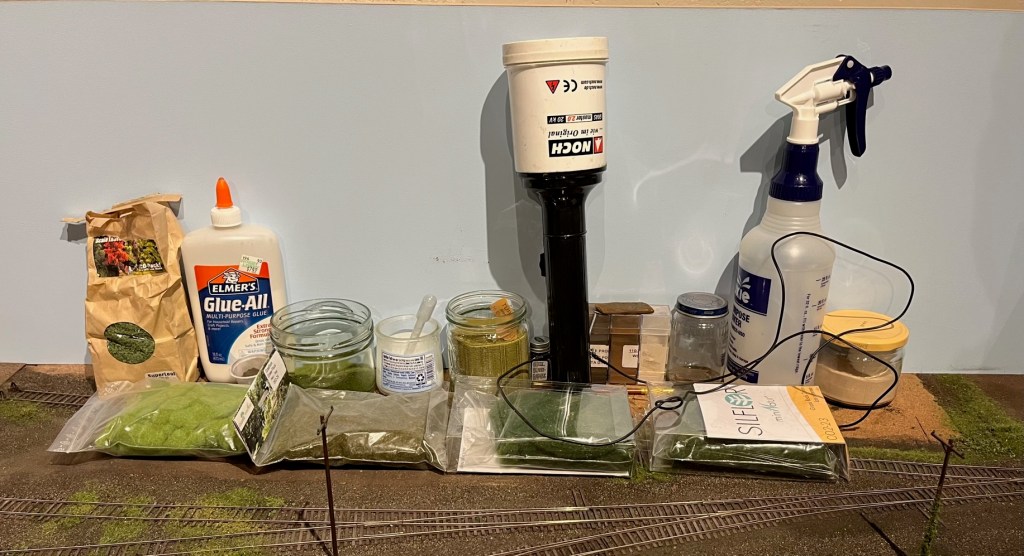
Here’s the basic scenery material used. The short list includes Silflor static grass, Woodland Scenics ground foam in various colors, Scenic Express leaves, AIM weathering powders, Elmers Glue, and a few different kinds of sifted dirt. I used a Noch GrassMaster II for static grass application and use Silflor static grass exclusively. I used Early Summer, Late Summer, and Yellow, or Autumn, in 2mm and 4mm lengths. To supplement the static grass, I also used Woodland Scenics blended green turf (green and yellow mix) and sprinkled on some Scenic Express coarse ground foam, and some Scenic Express leaf material.
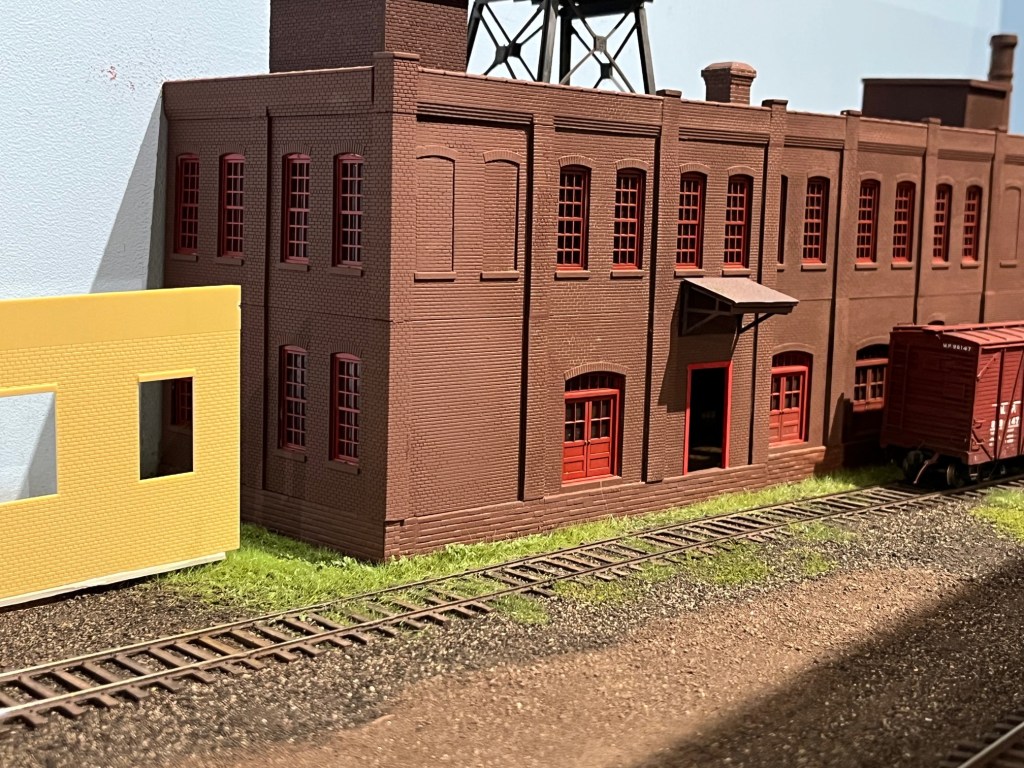
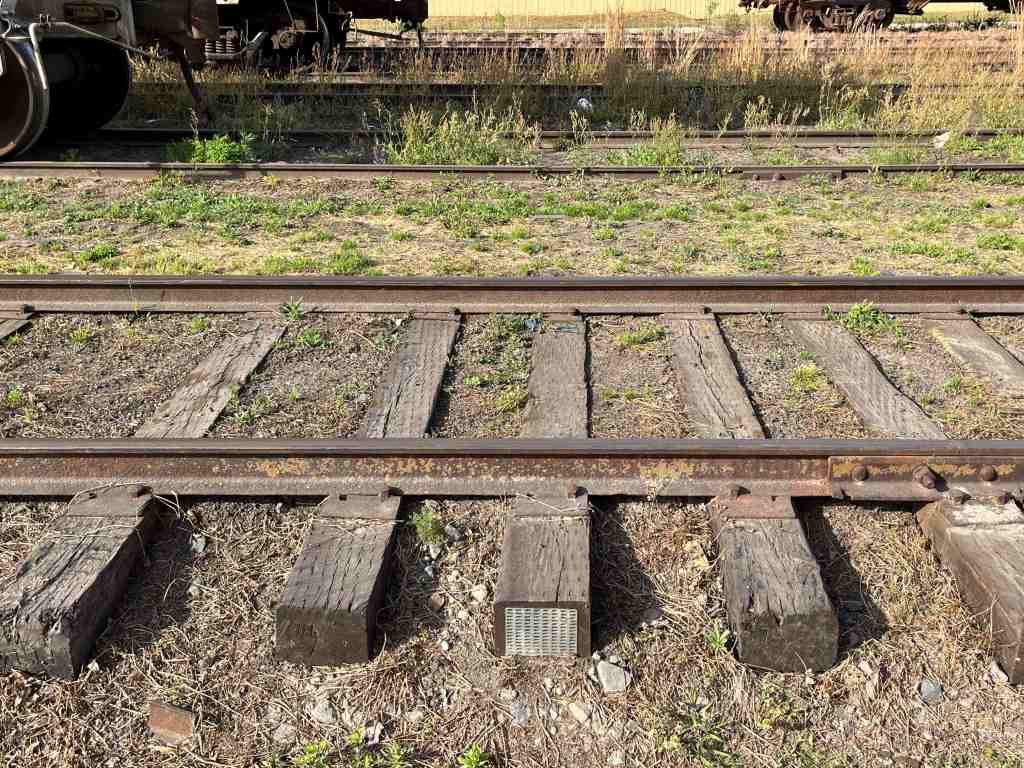
Before I put down any scenery I took a long look at the layout to determine what I wanted to accomplish. I wanted ground cover around a few, but not all of the buildings, along the roads, and in a few places around and between the rails. I wanted much of that beautiful ballast work to show through, and a lot of the tie weathering to be seen.
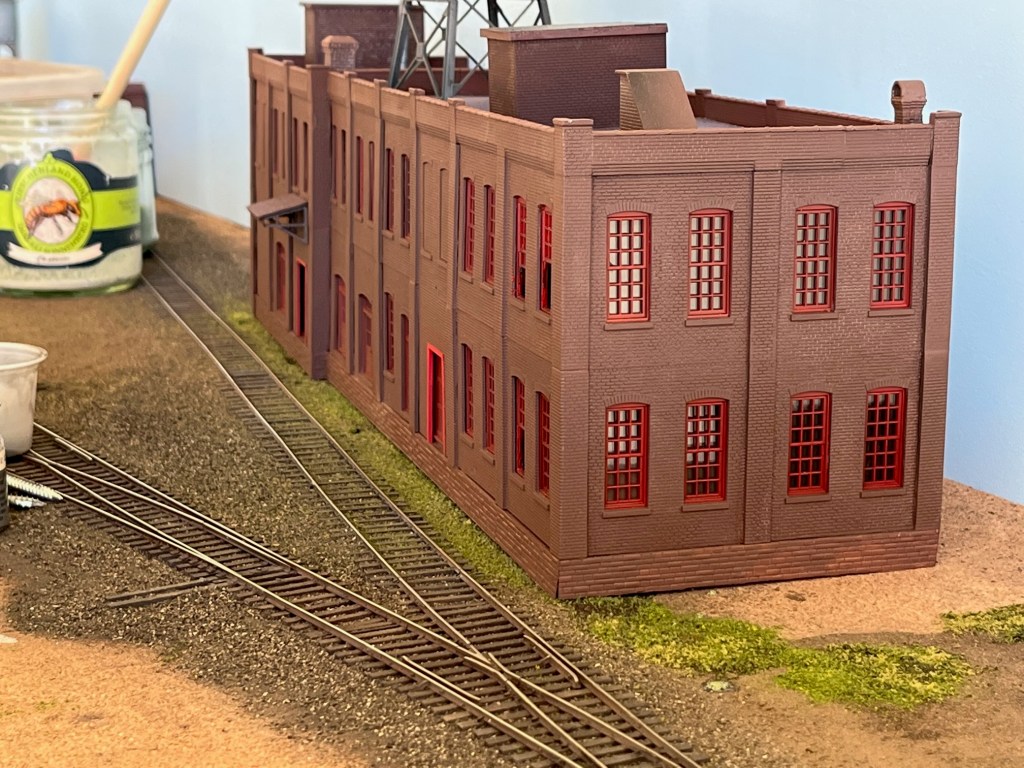
Below. The Grocery Warehouse is supposed to be an older but still very active shipper. How much grass should I lay around the corners and edges? The photo below shows the first application.
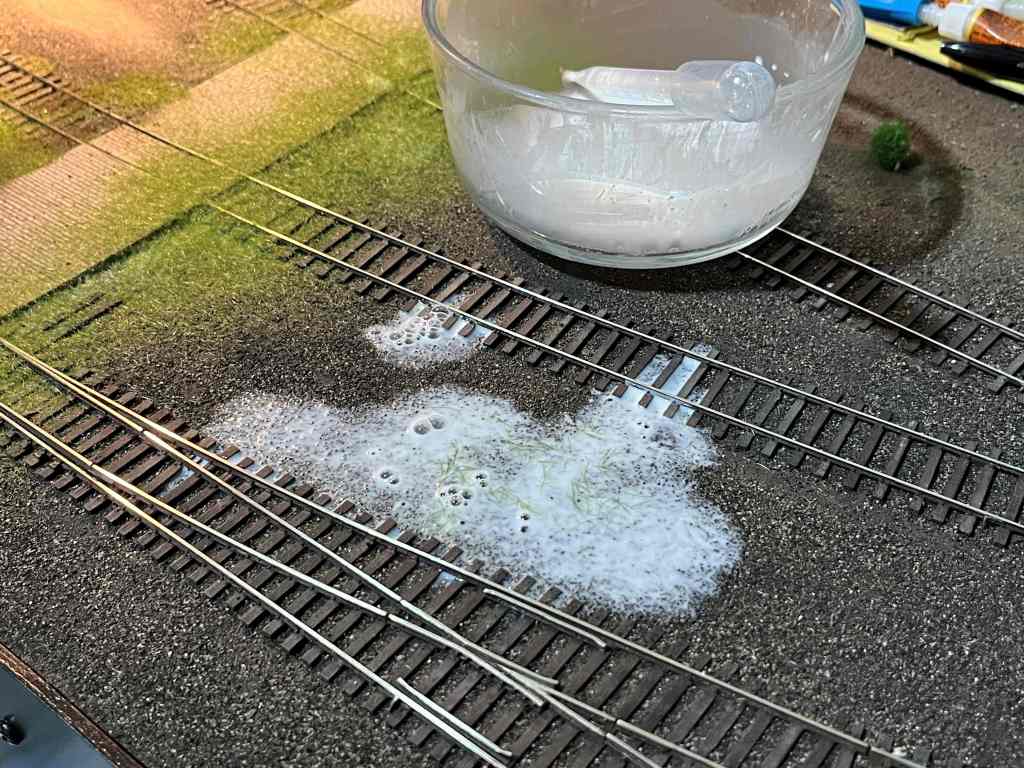
I glued static grass down using the same mixture used for ballast: 50% Elmers Glue, 50% water, a splash of 70% rubbing alcohol and a few drops of dish soap. I thoroughly mixed this solution to a consistency of whole milk and apply it using a pipette.
Above. The first application of grass on the grocery warehouse. The end nearest the camera will be covered by the powerhouse, so the focus here is on ground cover along the track side of the building. The photo below was taken on the other side of the building after the second application. The second application is good–a little between the tracks and some good cover along the building foundation. The building itself still needs a little work…
In some cases I applied glue and scenery material to a specific place, like around roads or building foundations. In other cases I applied glue to a general area and let the liquid glue flow around ties and find low spots naturally. The glue fills in areas randomly which I think makes scenery more realistic.
Once glue is applied, I apply static grass. On this layout I am using a mix of about 40% Early Summer (bright green), 40% Late Summer (Dark Green) and 20% or so Yellow. For all applications I use a mix of 2mm and 4mm. I like the brighter early summer colors. I like to put down a medium-density application of static grass, then add a little Woodland Scenics turf on top, and then fill in with a little more static grass to taste later.
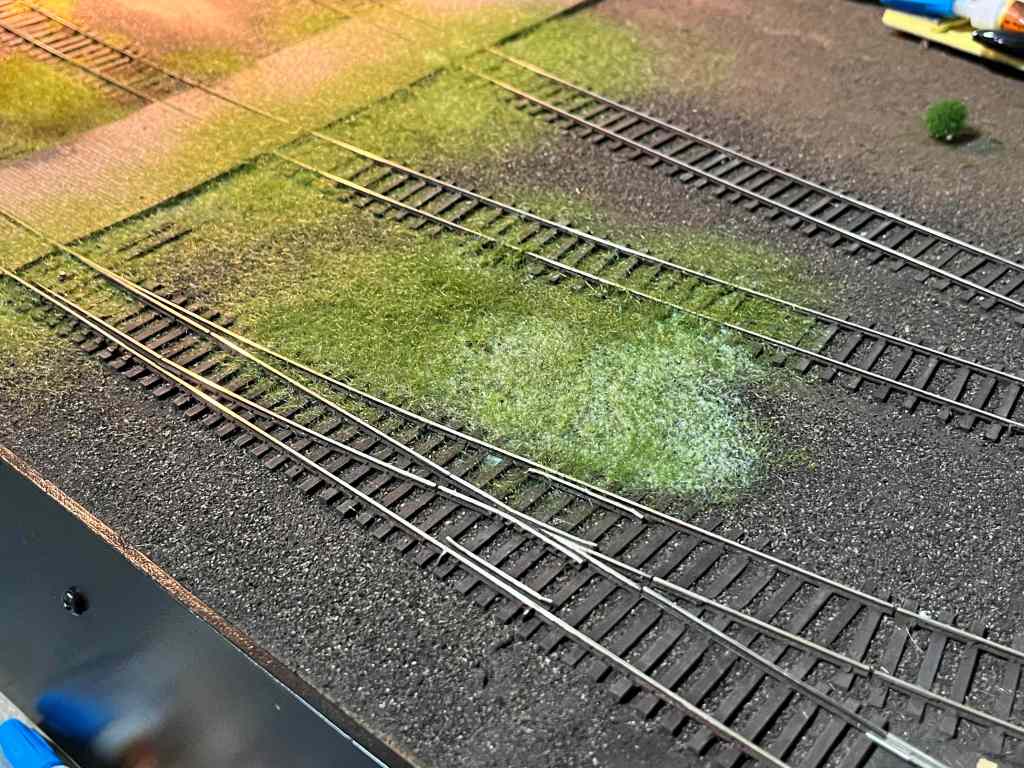
Above. In many cases the ground cover application looks heavy while the glue is drying. I wait a day for the glue to dry and then clean up the area with a vacuum. Some of the material comes up, leaving more randomness. If there are holes in the scenery that don’t look quite right, it’s easy to fill them in with a little glue and re-apply the static grass.
In some places—once the glue is dry—I like to “layer” the static grass by hitting the scenery with unscented hair spray and laying a second light coat of static grass or foam on top of the first layer.
Below. On this kind of layout, in an industrial area, randomness is a pretty good thing. The slight variation of ground cover colors, combined with the slight variation of the ties, makes a nice effect. When buildings and details and figures are added back in, the area will come to life.
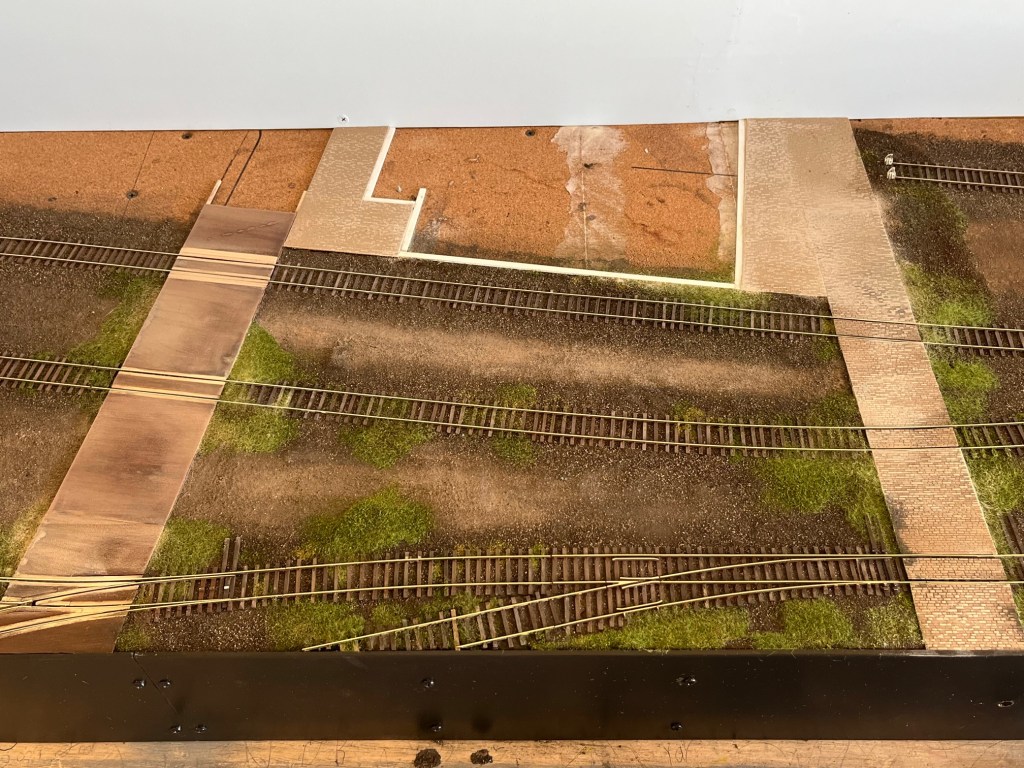
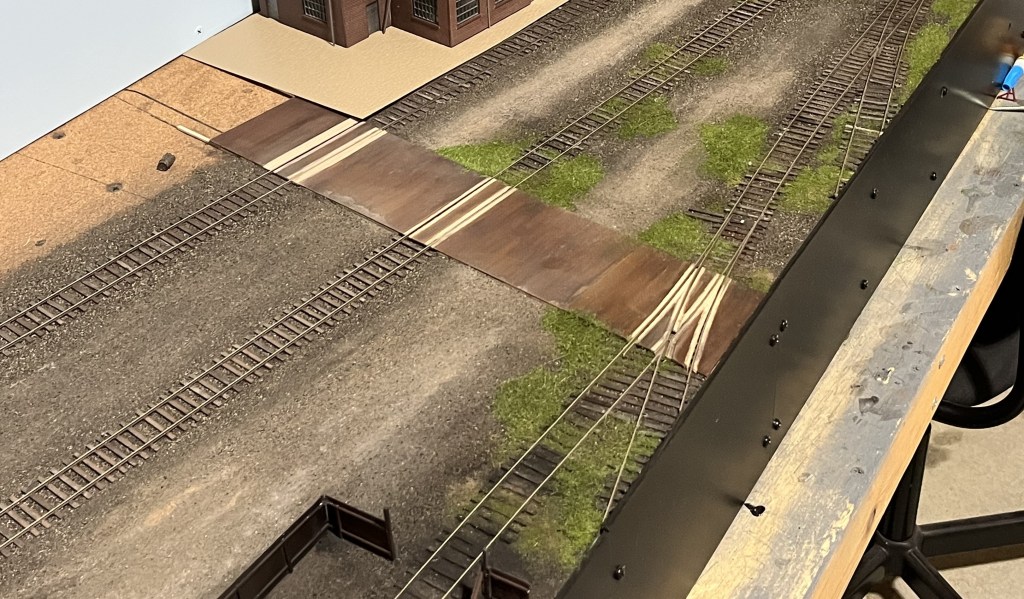
Here’s another view of the same area above. The road needs a lot of work but the track and ground cover is coming along nicely.
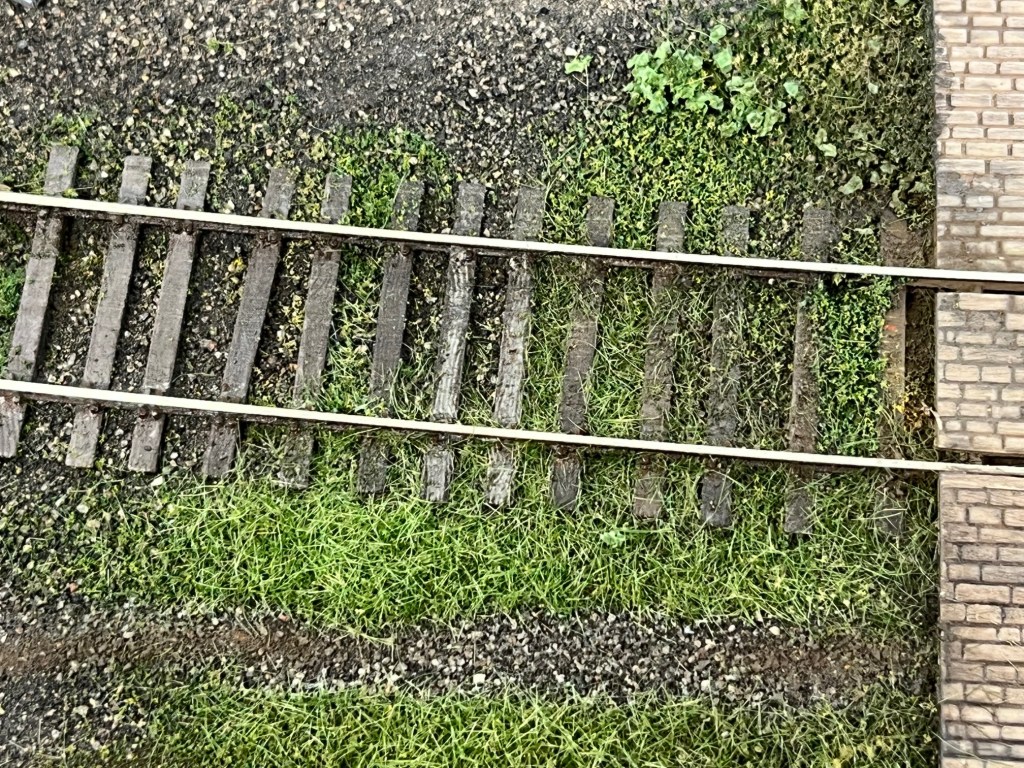
Between the rails, I like to lay a combination of static grass and Woodland Scenics foam. I put the glue down between the ties with the pipette—never any glue on top of the ties—then add the scenery material. The next day I use a vacuum to clean up what didn’t stick. This usually leaves scenery between the ties which is what I want. Sometimes a little work is necessary to clear grass off of the tops of ties here and there. Below., the results are looking pretty good to me. The ground foam brings a little variety to the static grass.
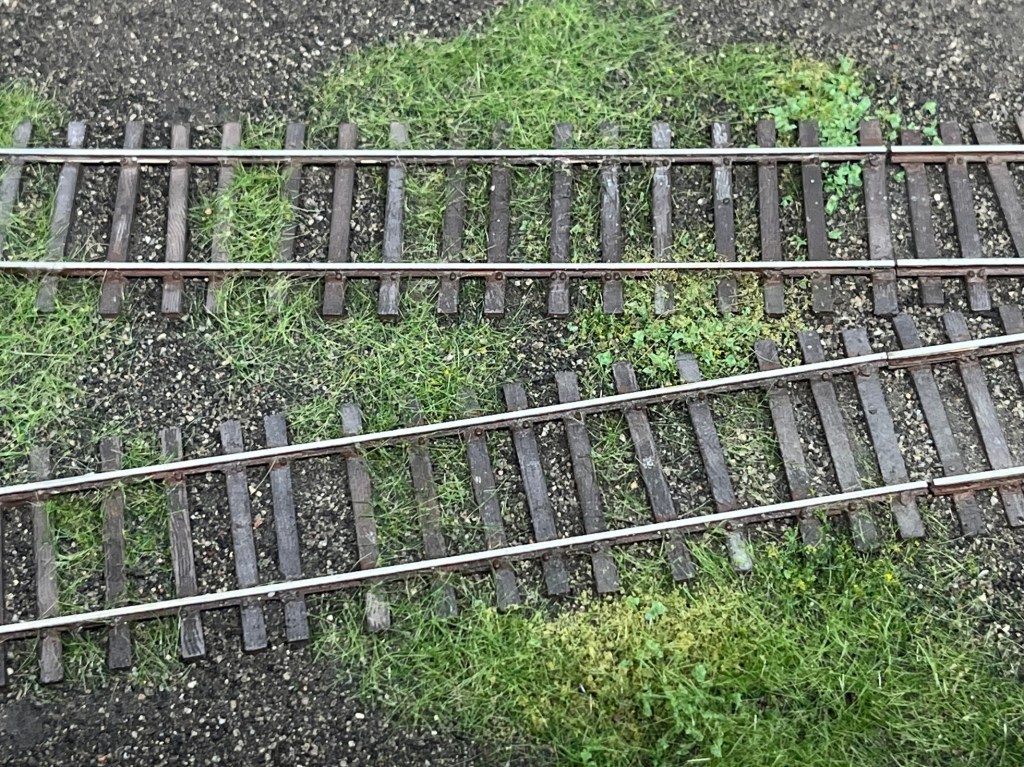
In this shot below, I’ve added some leaf material to the ground cover, seen at the top right, and I really like it. I’ll add a little more of this in the coming weeks.
I moved around the layout, laying down grass in this manner a couple feet at a time, like along the roads, between rails, in certain spots around buildings, and so forth.
It is really easy for me to overdo static grass, so I take my time and do a little bit at a time, and come look at it again the next day and then decide if I want to add more. The scenery process below took three weeks, about a half an hour each day–and remember my layout is only eight feet long.
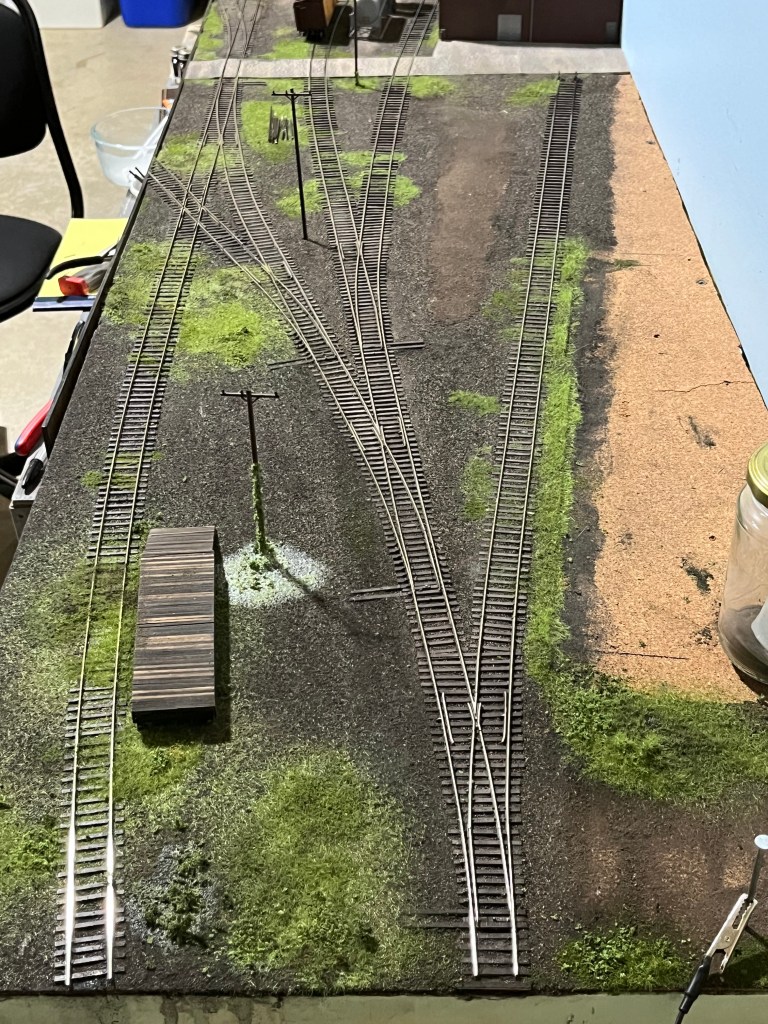
I think the results are pretty good.

Compare to a prototype photo on the old SAL lines in Savannah, Georgia:
Next, to finish the major scenery effort, I need to work on the ends of the layout. I have to install the overpass, add a few trees, and install photo backdrops. That’s still a lot to do. All that will come in due time.
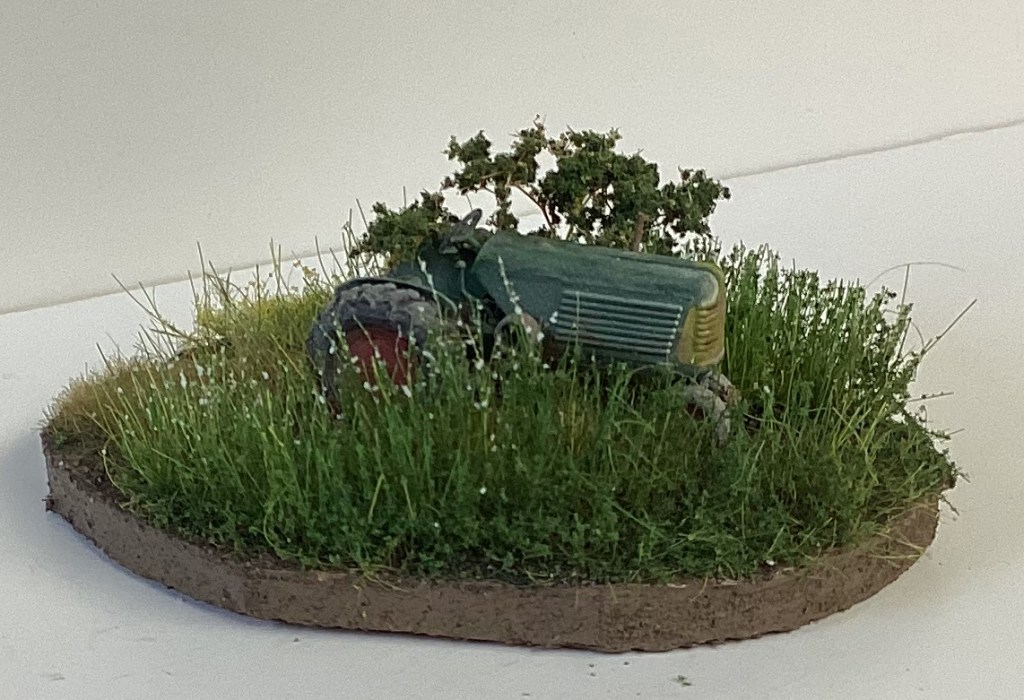
To cap it all off…Ron Christiansen sent me this the other day. This is something he whipped up in his spare time. It’s outstanding. He called it “Broken down Oliver in the weeds”. I really like the flower buds in the foreground. Ron said he brushed on a little glue and then blew Scenic Express flowers across the scene.
I hope you all had a blessed Thanksgiving week. – John G

Case New Holland, the evolutionary name of the company that I worked for, had a plant in Zedelghem, adjacent to Brugge and I stayed there several times. It is a delightful area, easily walkable. I did take the train, once or twice to the airport in Brussels.
Merry Christmas to you and yours!
Steve
LikeLike