


This time, I’m building turnouts using three different methods:
- Scratchbuilt using CV ties and P87 Stores parts
- Kitbashed using a Micro Engineering turnout with replacement frogs and P87 Stores parts
- Kitbashed using Shinohara turnout as a starting point, and replacing almost everything
I’ll start the picture show with the Shinohara turnouts. You know Shinohara turnouts aren’t DCC-friendly and the details are not up to today’s standards, but they’re cheap and plentiful and are the only way to get a wye unless you want to use a Fast Tracks or other system.
Below is a totally rebuilt Shinohara Code 70 #4 left. From left to right, I added a few Central Valley ties, then replaced the Shinohara throwbar with a Micro Engineering Code 70 #6 throwbar set trimmed to fit. I attached the throwbar to the closure rails with Code 70 rail joiners to provide a tight fit and better electrical connectivity. The white metal detail parts are from Details West. The joint bars are from Details West and Grandt Line.
The frog is a replacement part from Proto87 Stores. It was easy to cut and dig the original frog out, but I had to be really careful when it came to trimming the rails to fit the new frog. I added a few more detail parts from Proto87 Stores and also a few more Central Valley ties on the diverging rails. The work took about 2-1/2 hours.

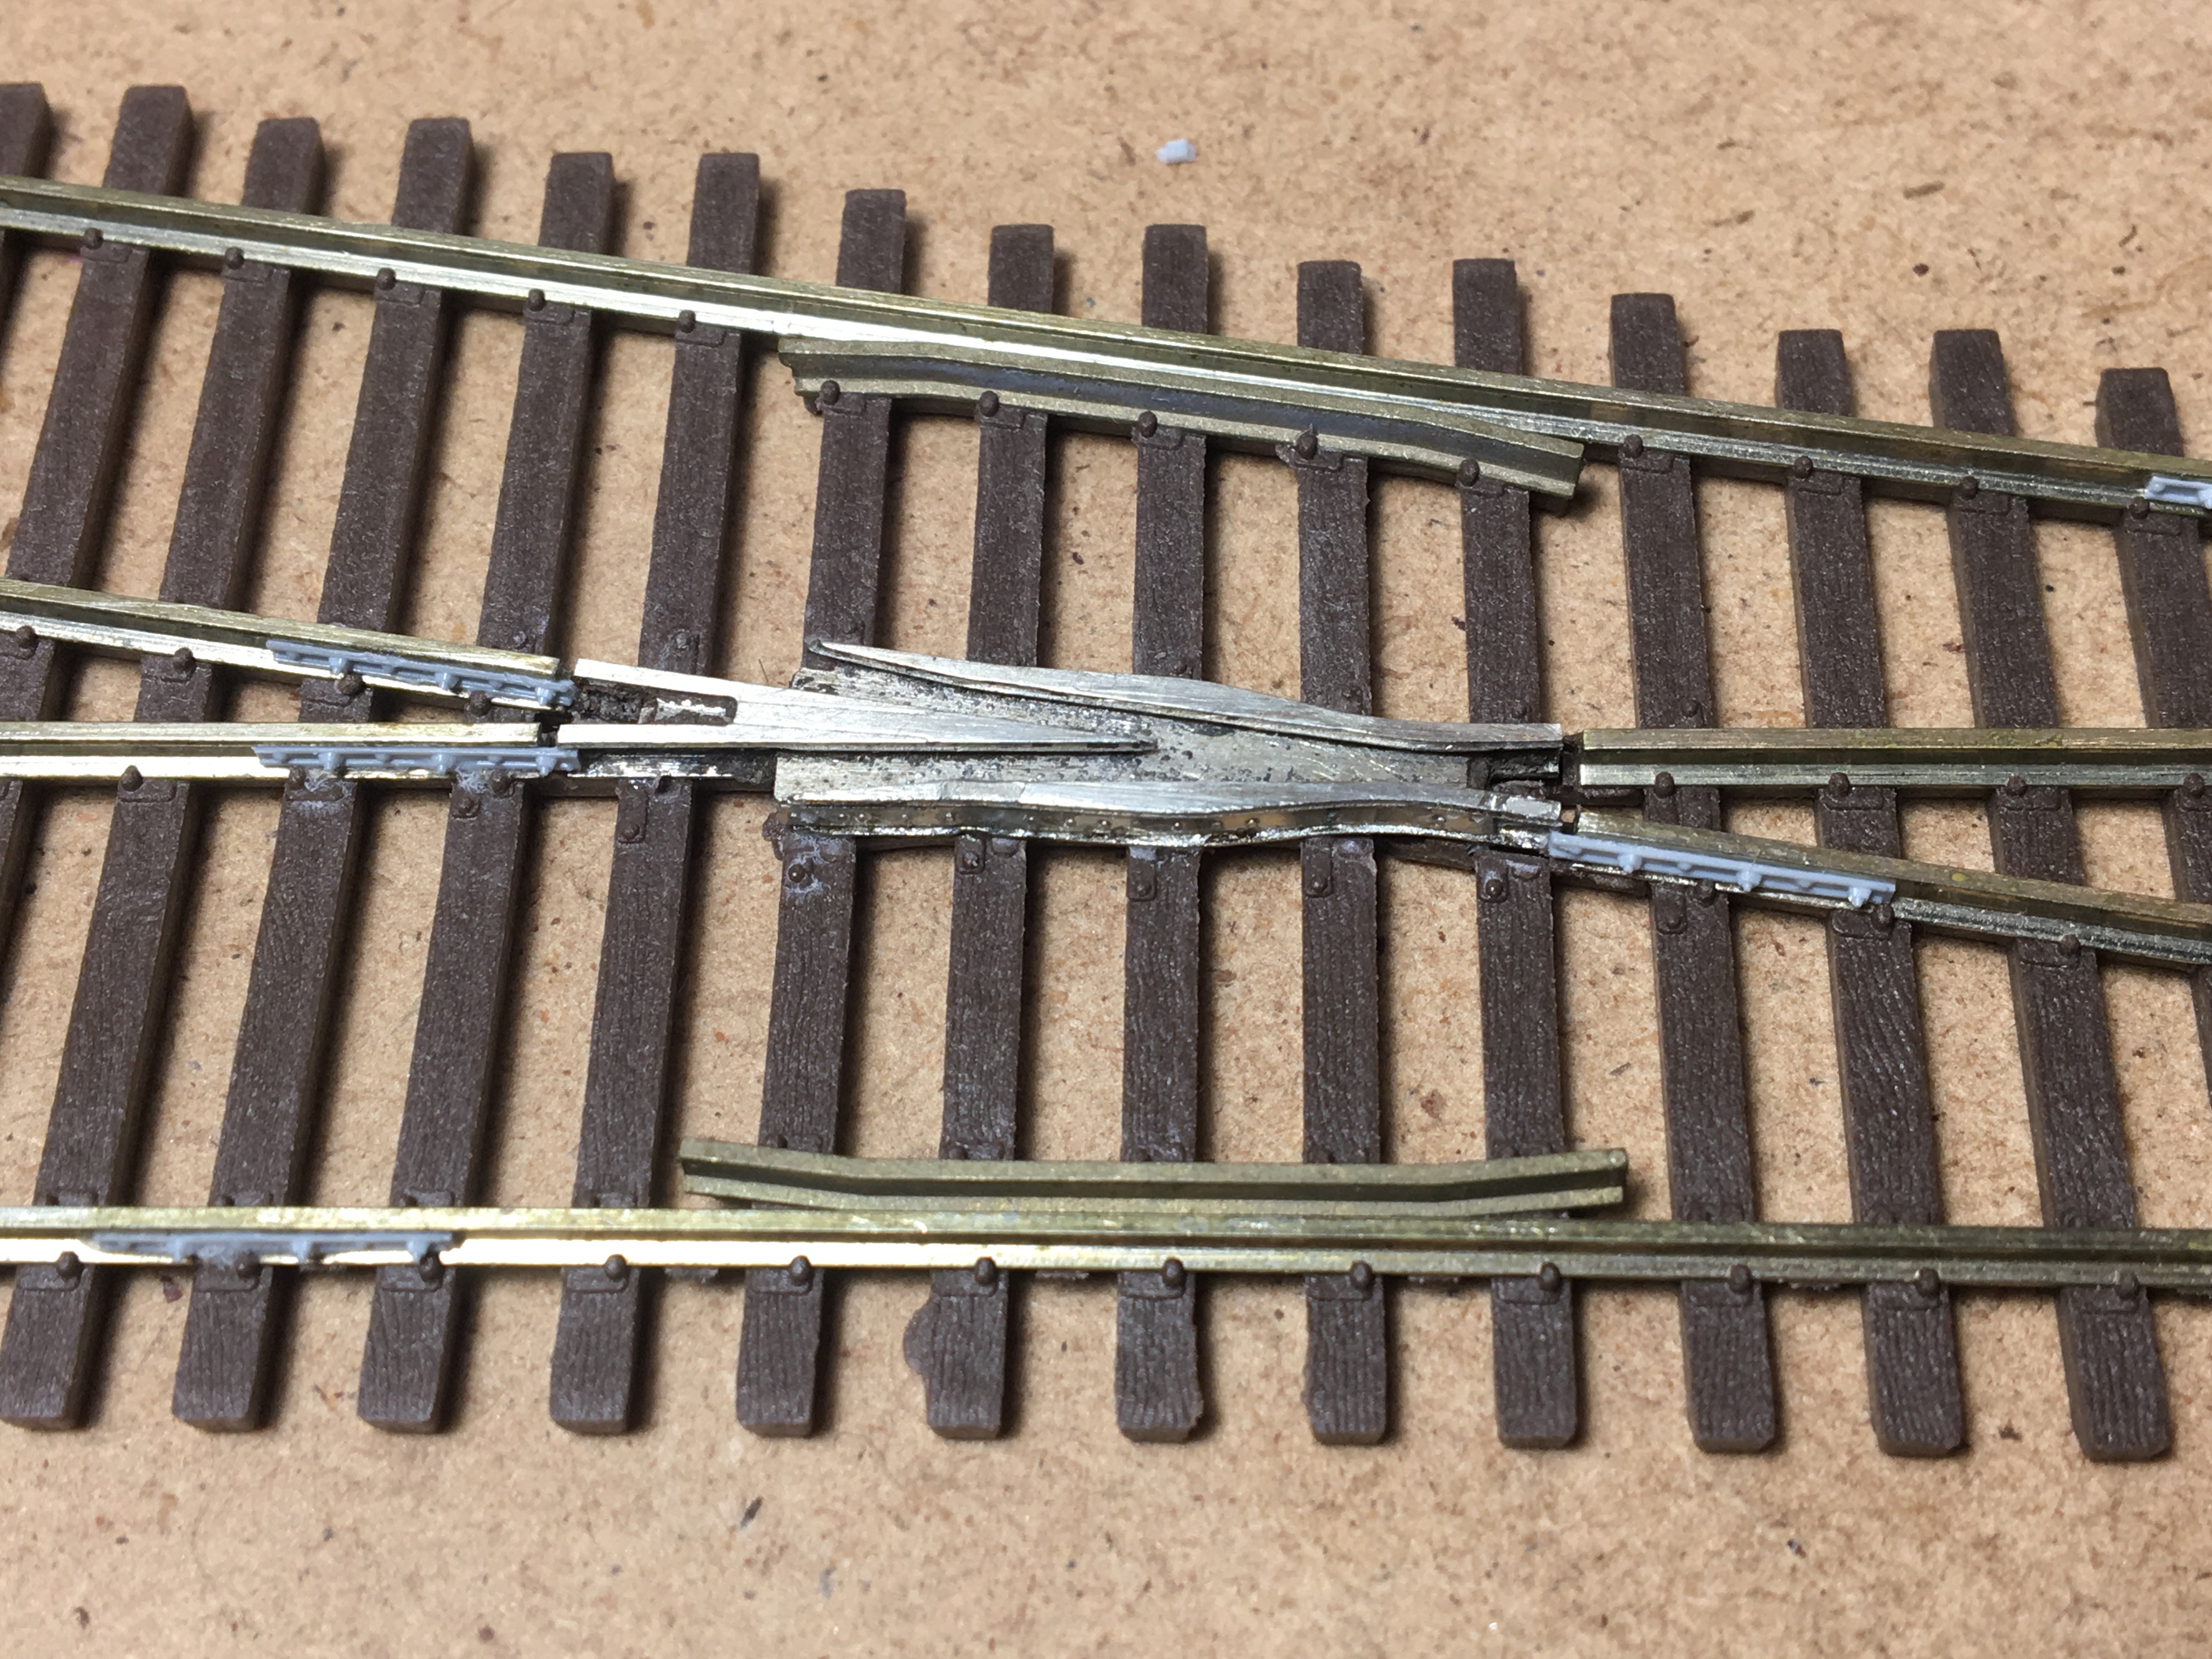
Here’s a much more complex rebuild. This is a Shinohara Code 70 #4 Wye. About all I kept was the rail. I have replaced most of the ties, and the frog and throwbar are all completely new.

Below. Here’s a closeup of the throwbar. I replaced the ties in front and behind with Central Valley ties. To do this, I first installed an underlayer or .005 styrene and then slid each tie in position one by one. The throwbar is a PCB tie from Fast Tracks, soldered to the point rails that were originally installed on the turnout. The header ties are Micro Engineering wood ties. The detail parts are from Details West. The tie plates are from Proto87 Stores and are applied to wood ties that have no detail.
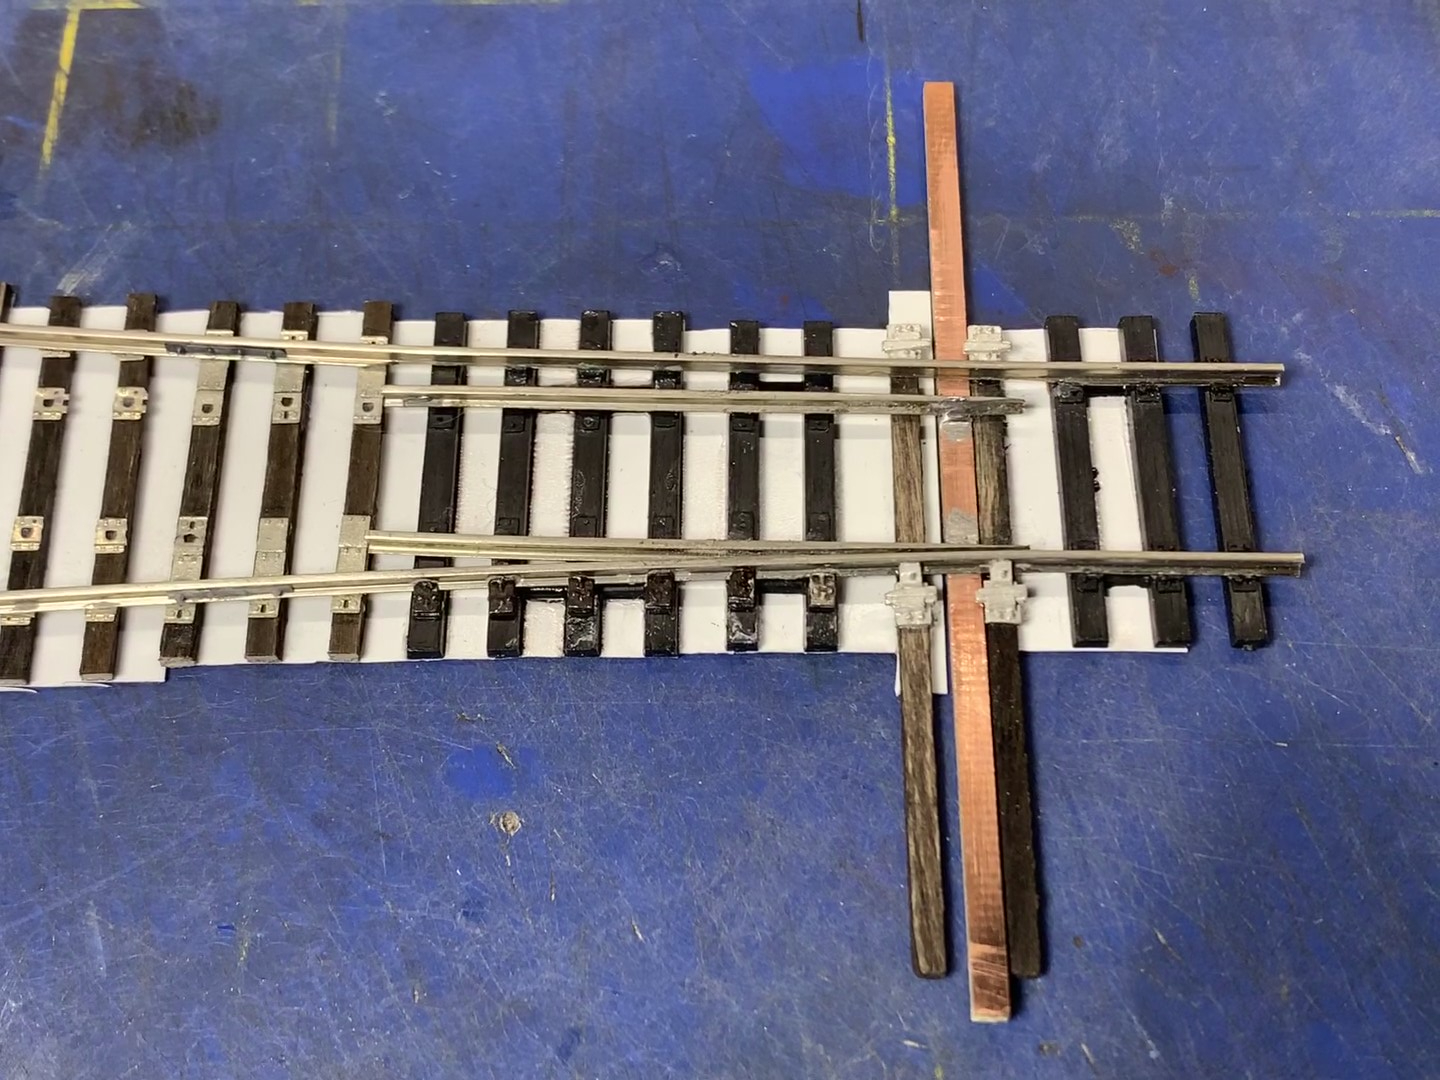
This one isn’t finished yet of course. I just recieved the replacement #4 frog from Andy Reichert at Proto87 Stores a few weeks ago and haven’t had time to install it yet.
Someday soon I will rebuild this Shinohara Code 70 #8. I originally installed this turnout on a small layout I built in my first house in Charleston, South Carolina way back in the early 1990s. I don’t know if I’ll ever use this turnout, and it’ll take a whole lot of work to complete, but it’ll be nice to have in case I ever need it.
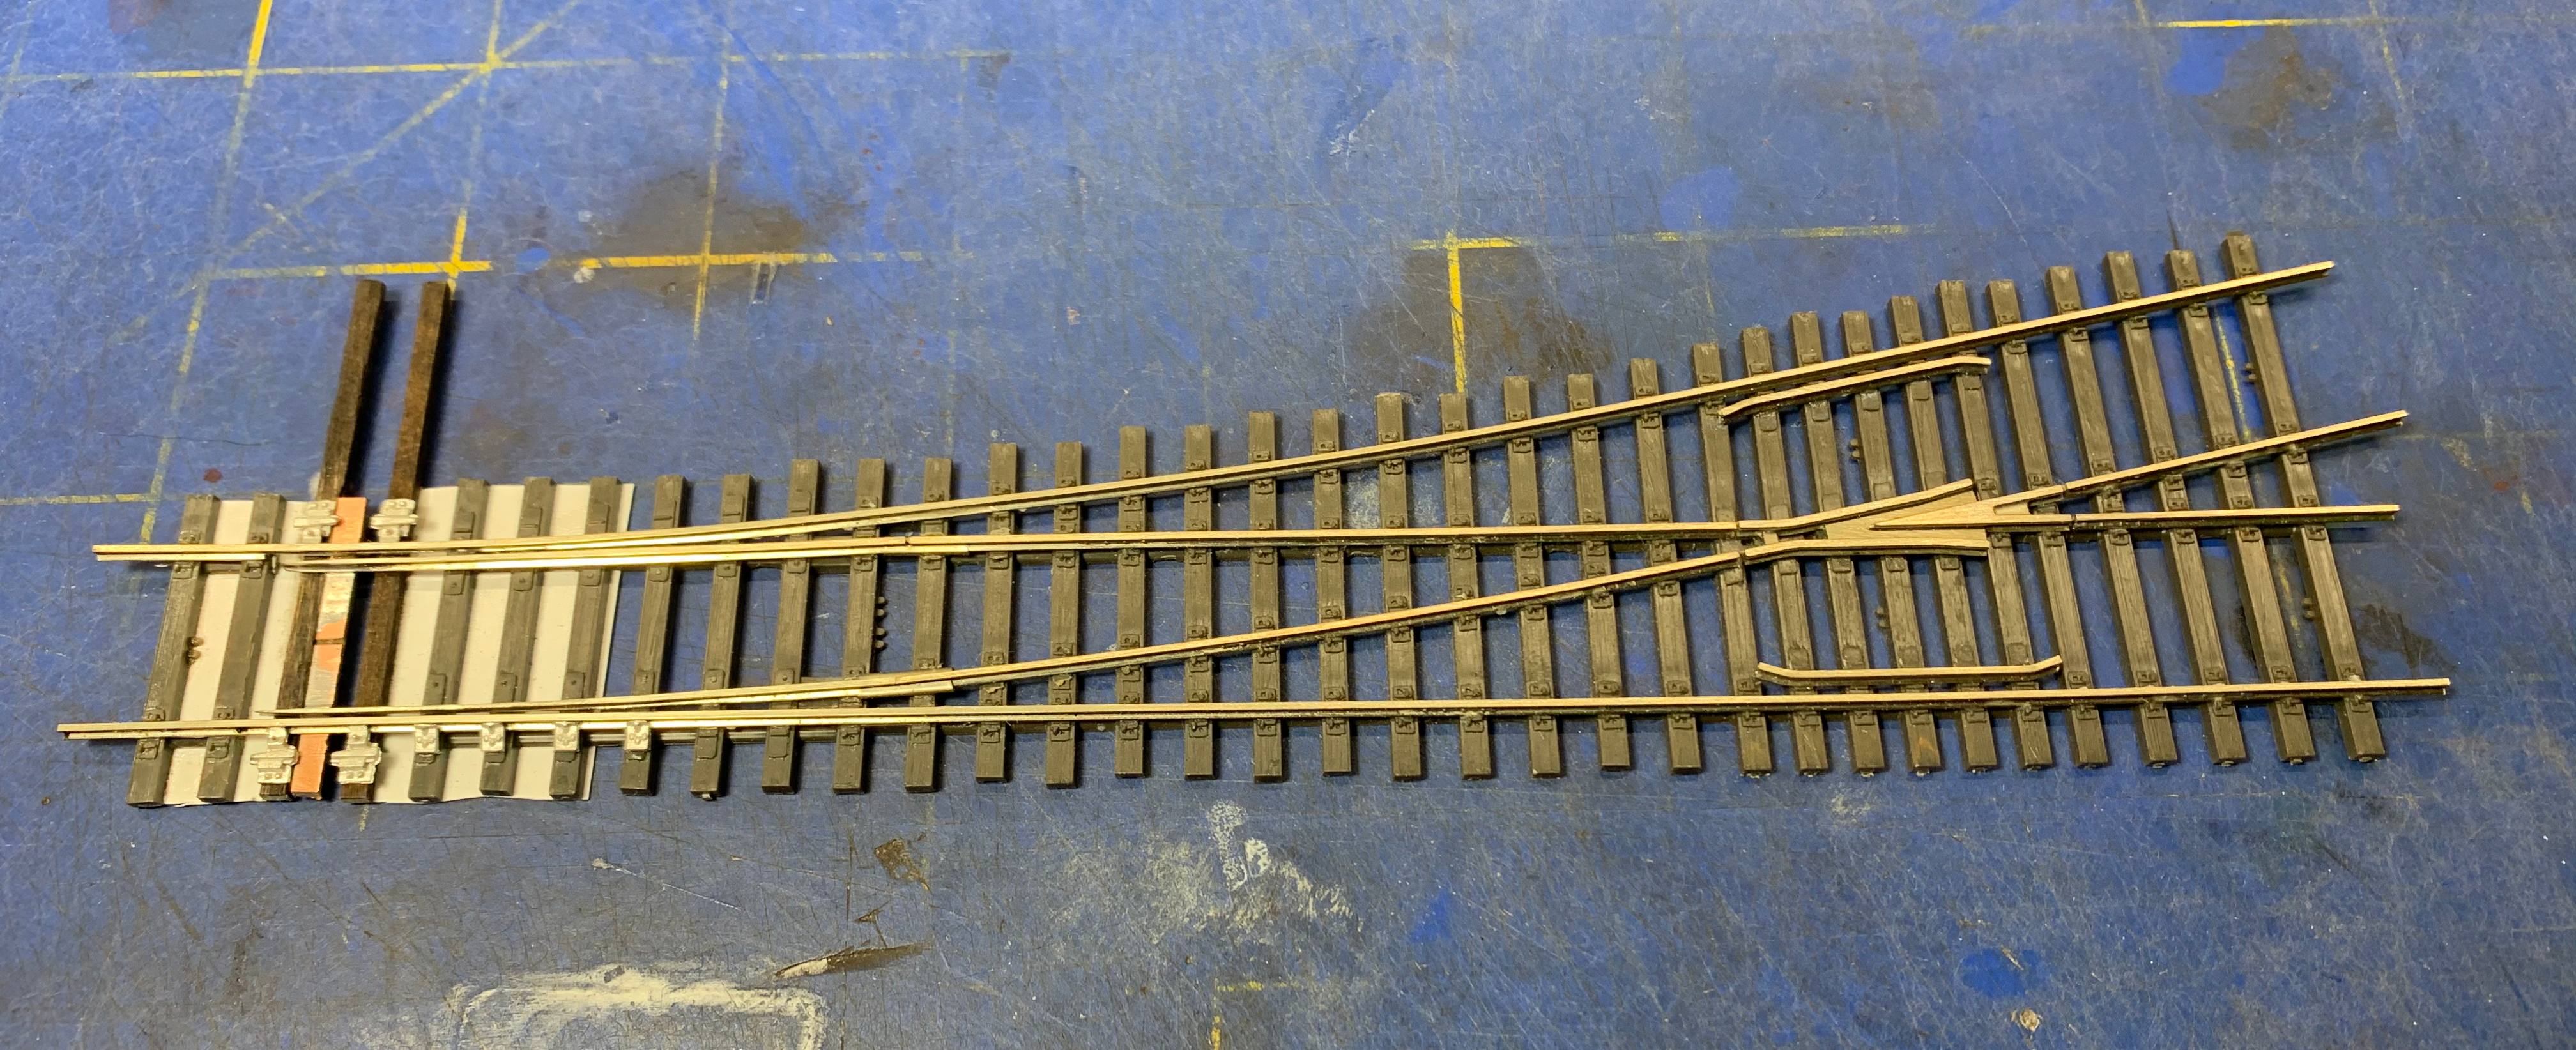
I’m also building turnouts using Central Valley (CV) tie strips. This is an easier process but usually requires that I file my own point rails, which is time consuming.
The turnout below is a Code 55 #5. Not commercially available of course–hence the challenge. The tie strip is a Central Valley product, and the rails are all cut, filed and fit by yours truly. The frog is from Proto87 Stores. Like the Shinohara turnout above, I used rail joiners to join the point rails to the closure rails. To provide a level track surface using the rail joiners I use a miniature round file and file a divot in the ties underneath the joiner. The ties are each end are Central Valley.

Another Code 55, #5 is below–this one a left hand. I have added some details to the throwbar. From Zero to Finished and Totally Detailed, the build for these turnouts takes about 2-1/2 hours.
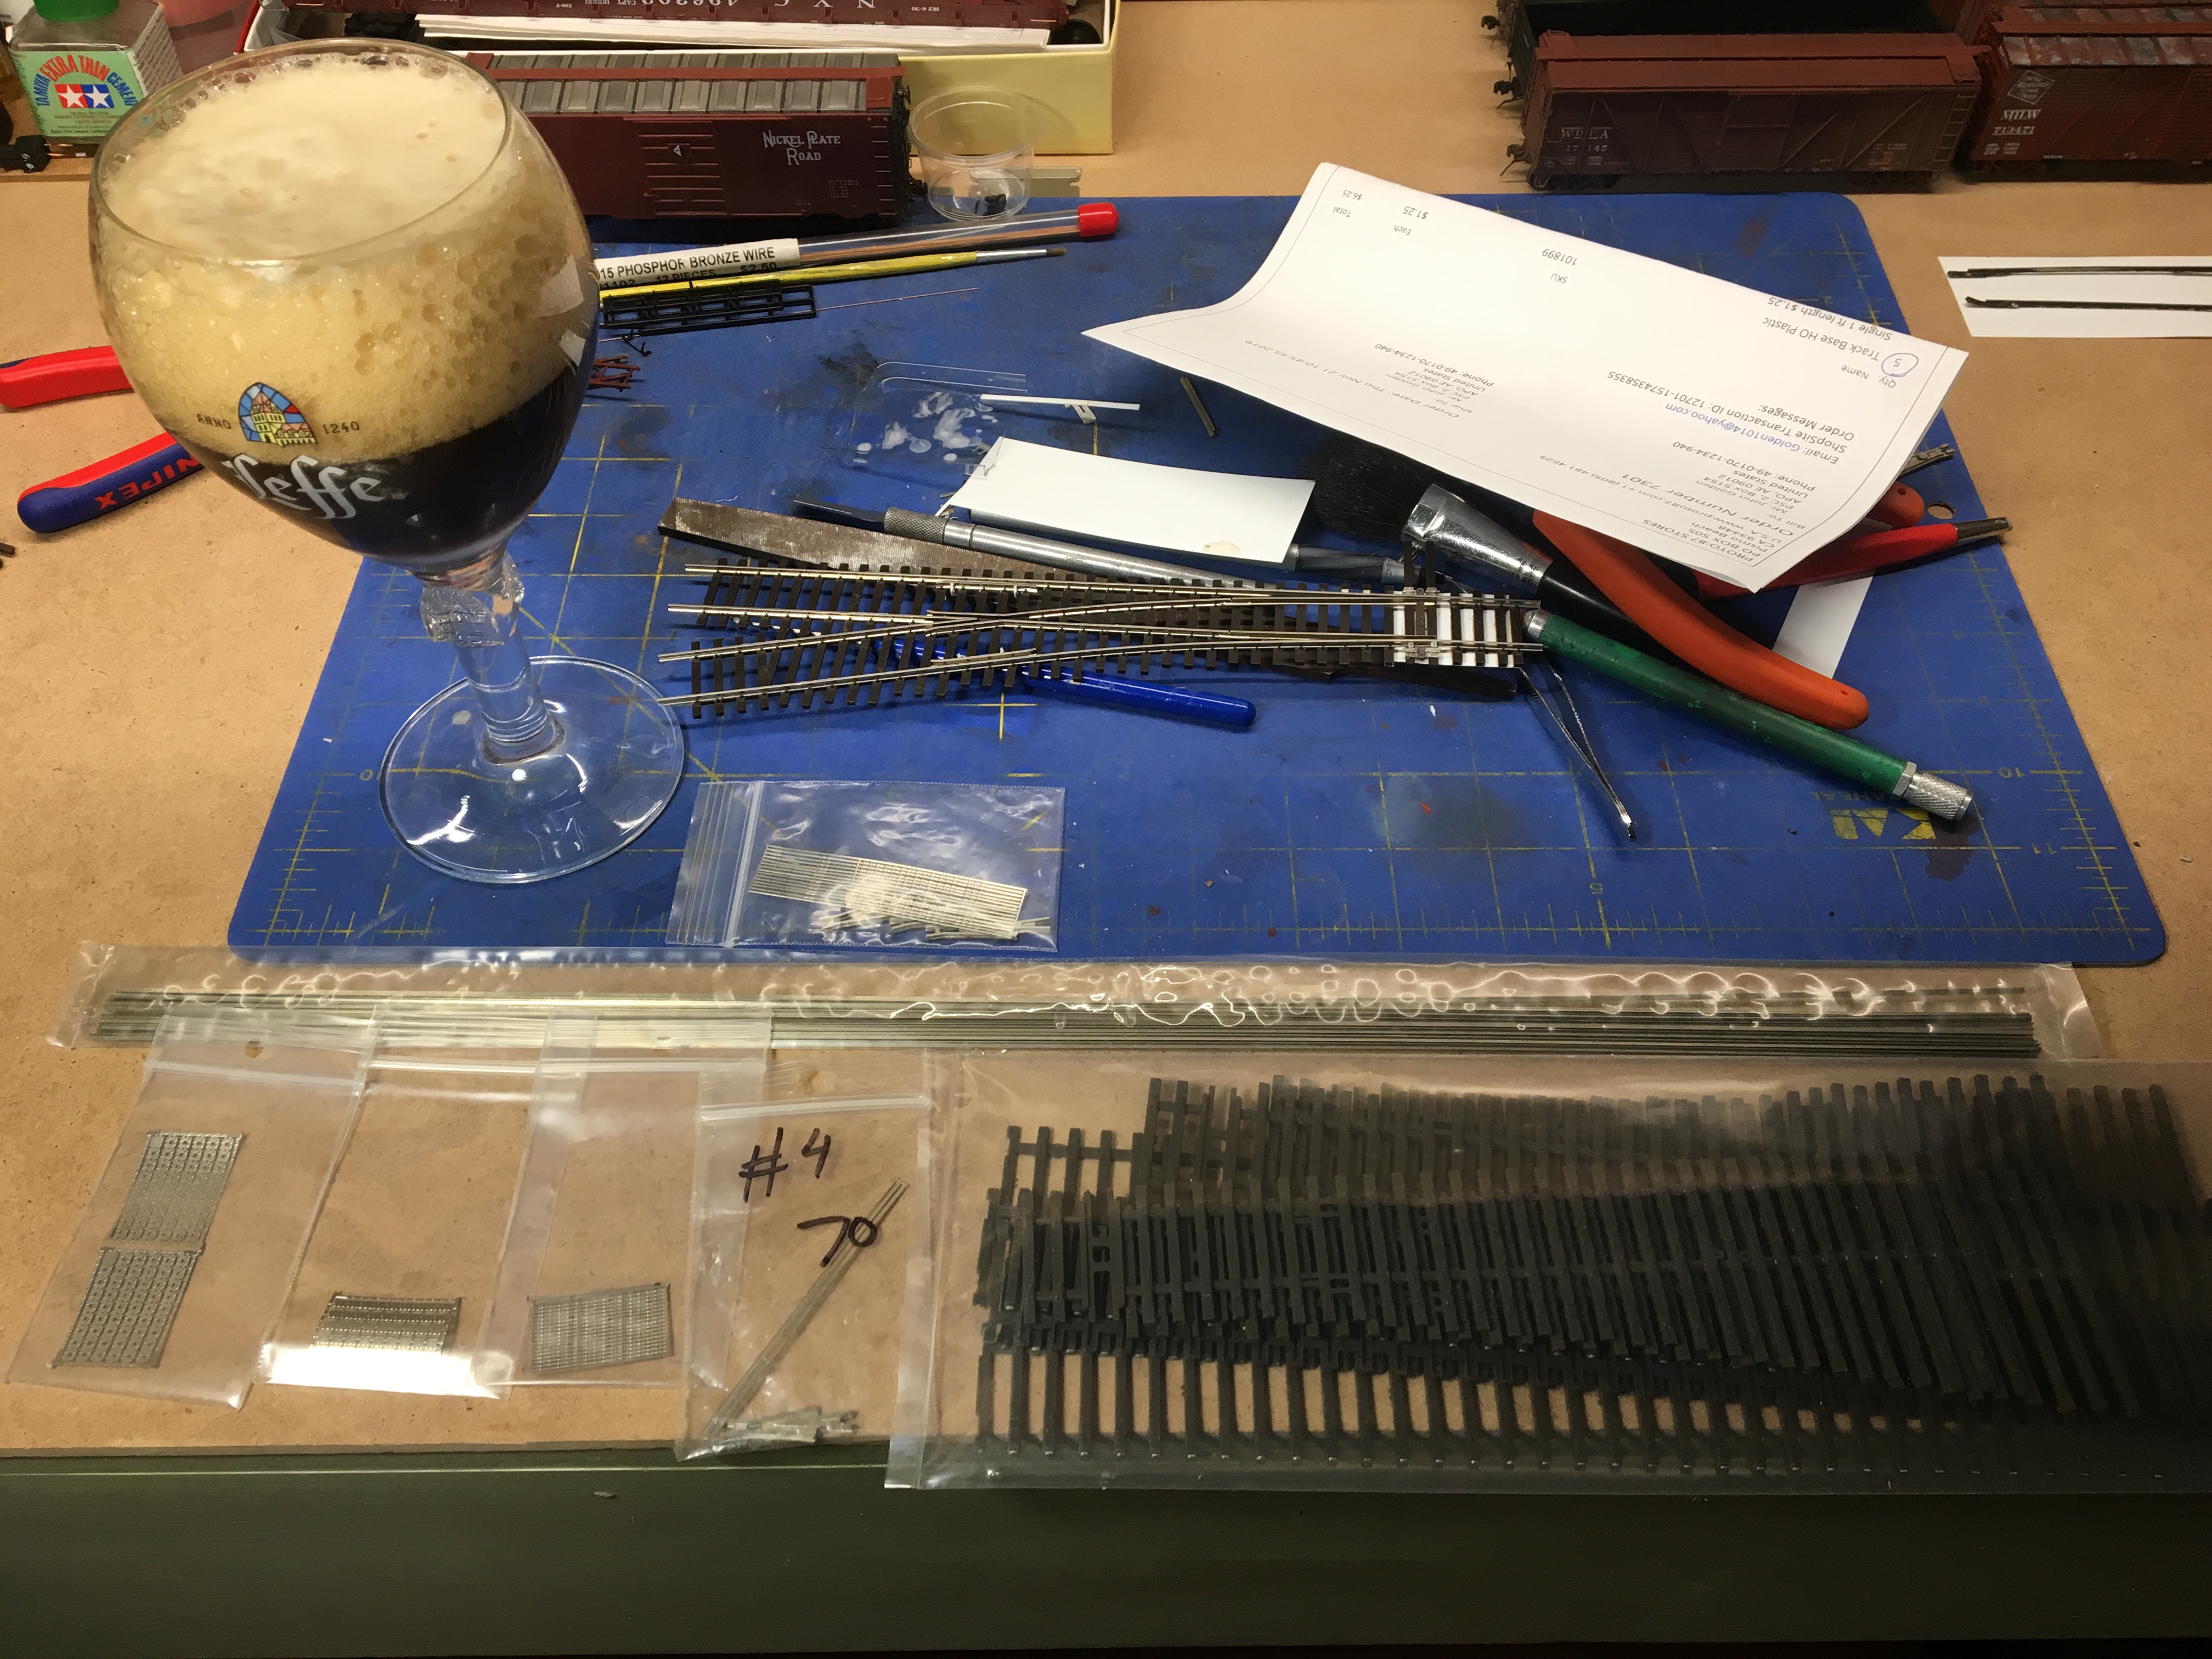
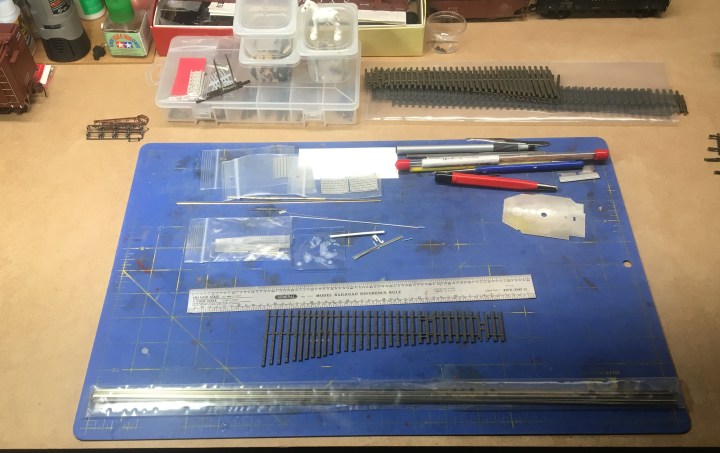
Below. Here’s what the workbench looks like when I start. Gotta have the Lego horse–that’s a top priority.
Here is the Code 55 throwbar and point-set after construction. It probably takes 10-15 minutes to file the points to shape. Then I use masking tape to secure the point rails in place on top of the PCB tie—ensuring the rails are completely 90-degrees vertical (that’s VERY important!)—and then I solder them in place. The line cut between the rails is done with a motor tool with a cutting disk to isolate the rails.

Here’s another Code 55 turnout. This one has a few more details installed.
This photo shows one of the Code 55 turnouts with Proto87 Stores joint bars installed. The joint bars disappear when the turnout is painted, but magically reappear in closeup photos.

The hardest part of building these turnouts is getting the frog in the right position, and it’s not all that hard, really. I lay both outside rails and then position the frog so that it is in alignment with both outside rails. The Central Valley tie strip is built to make this process easy.

Below. Here is a Code 70, #6 turnout built from Central Valley tie strip and mostly Proto87 Stores parts. The frog is a re-used part from the Ackley layout.

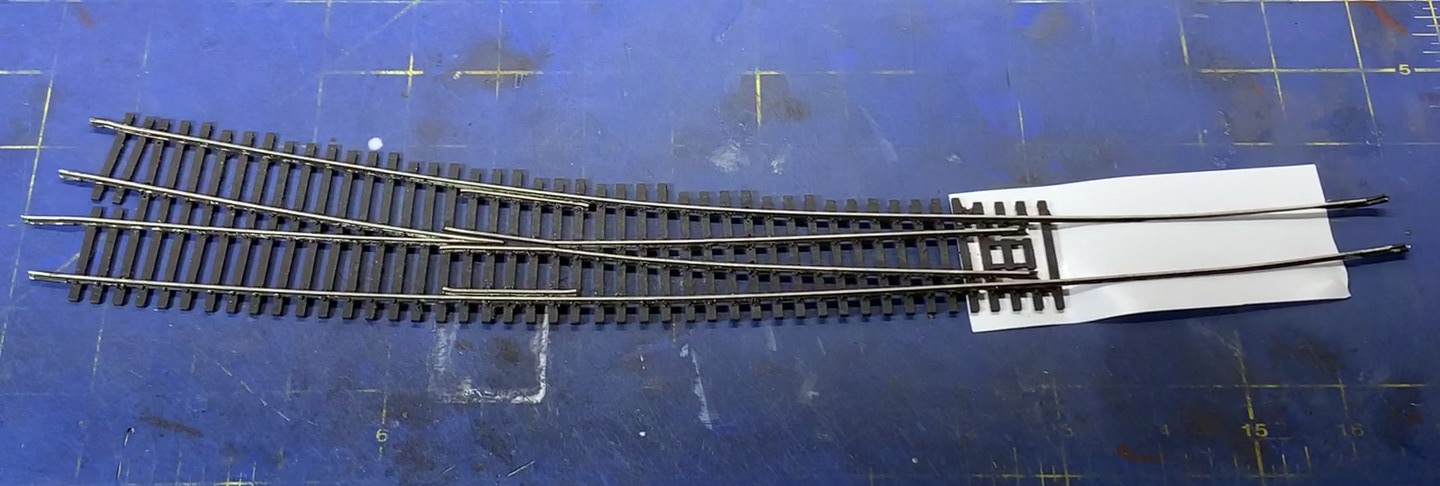
The easiest turnouts to rebuild are Micro Engineering switches. On Micro Engineering turnouts I replace the frog with Proto87 Stores frogs and add some detail parts, and that’s it.
Below. The turnout on top is a Micro Engineering Code 70 #6 right out of the package. It’s a great product. Below it is a rebuilt Micro Engineering turnout with a Proto87 Stores “Manganese Frog” and some additional detail parts added. No header ties are installed yet.

The advantage to using Micro Engineering turnouts as a starting point is the detail level is good, and the throw bar is durable. Digging the ME frog out is easy. Here, below, is Code 70 #6 right with a replacement “Manganese” frog from Proto87 Stores. The new frog was glued into place with Gorilla Glue.
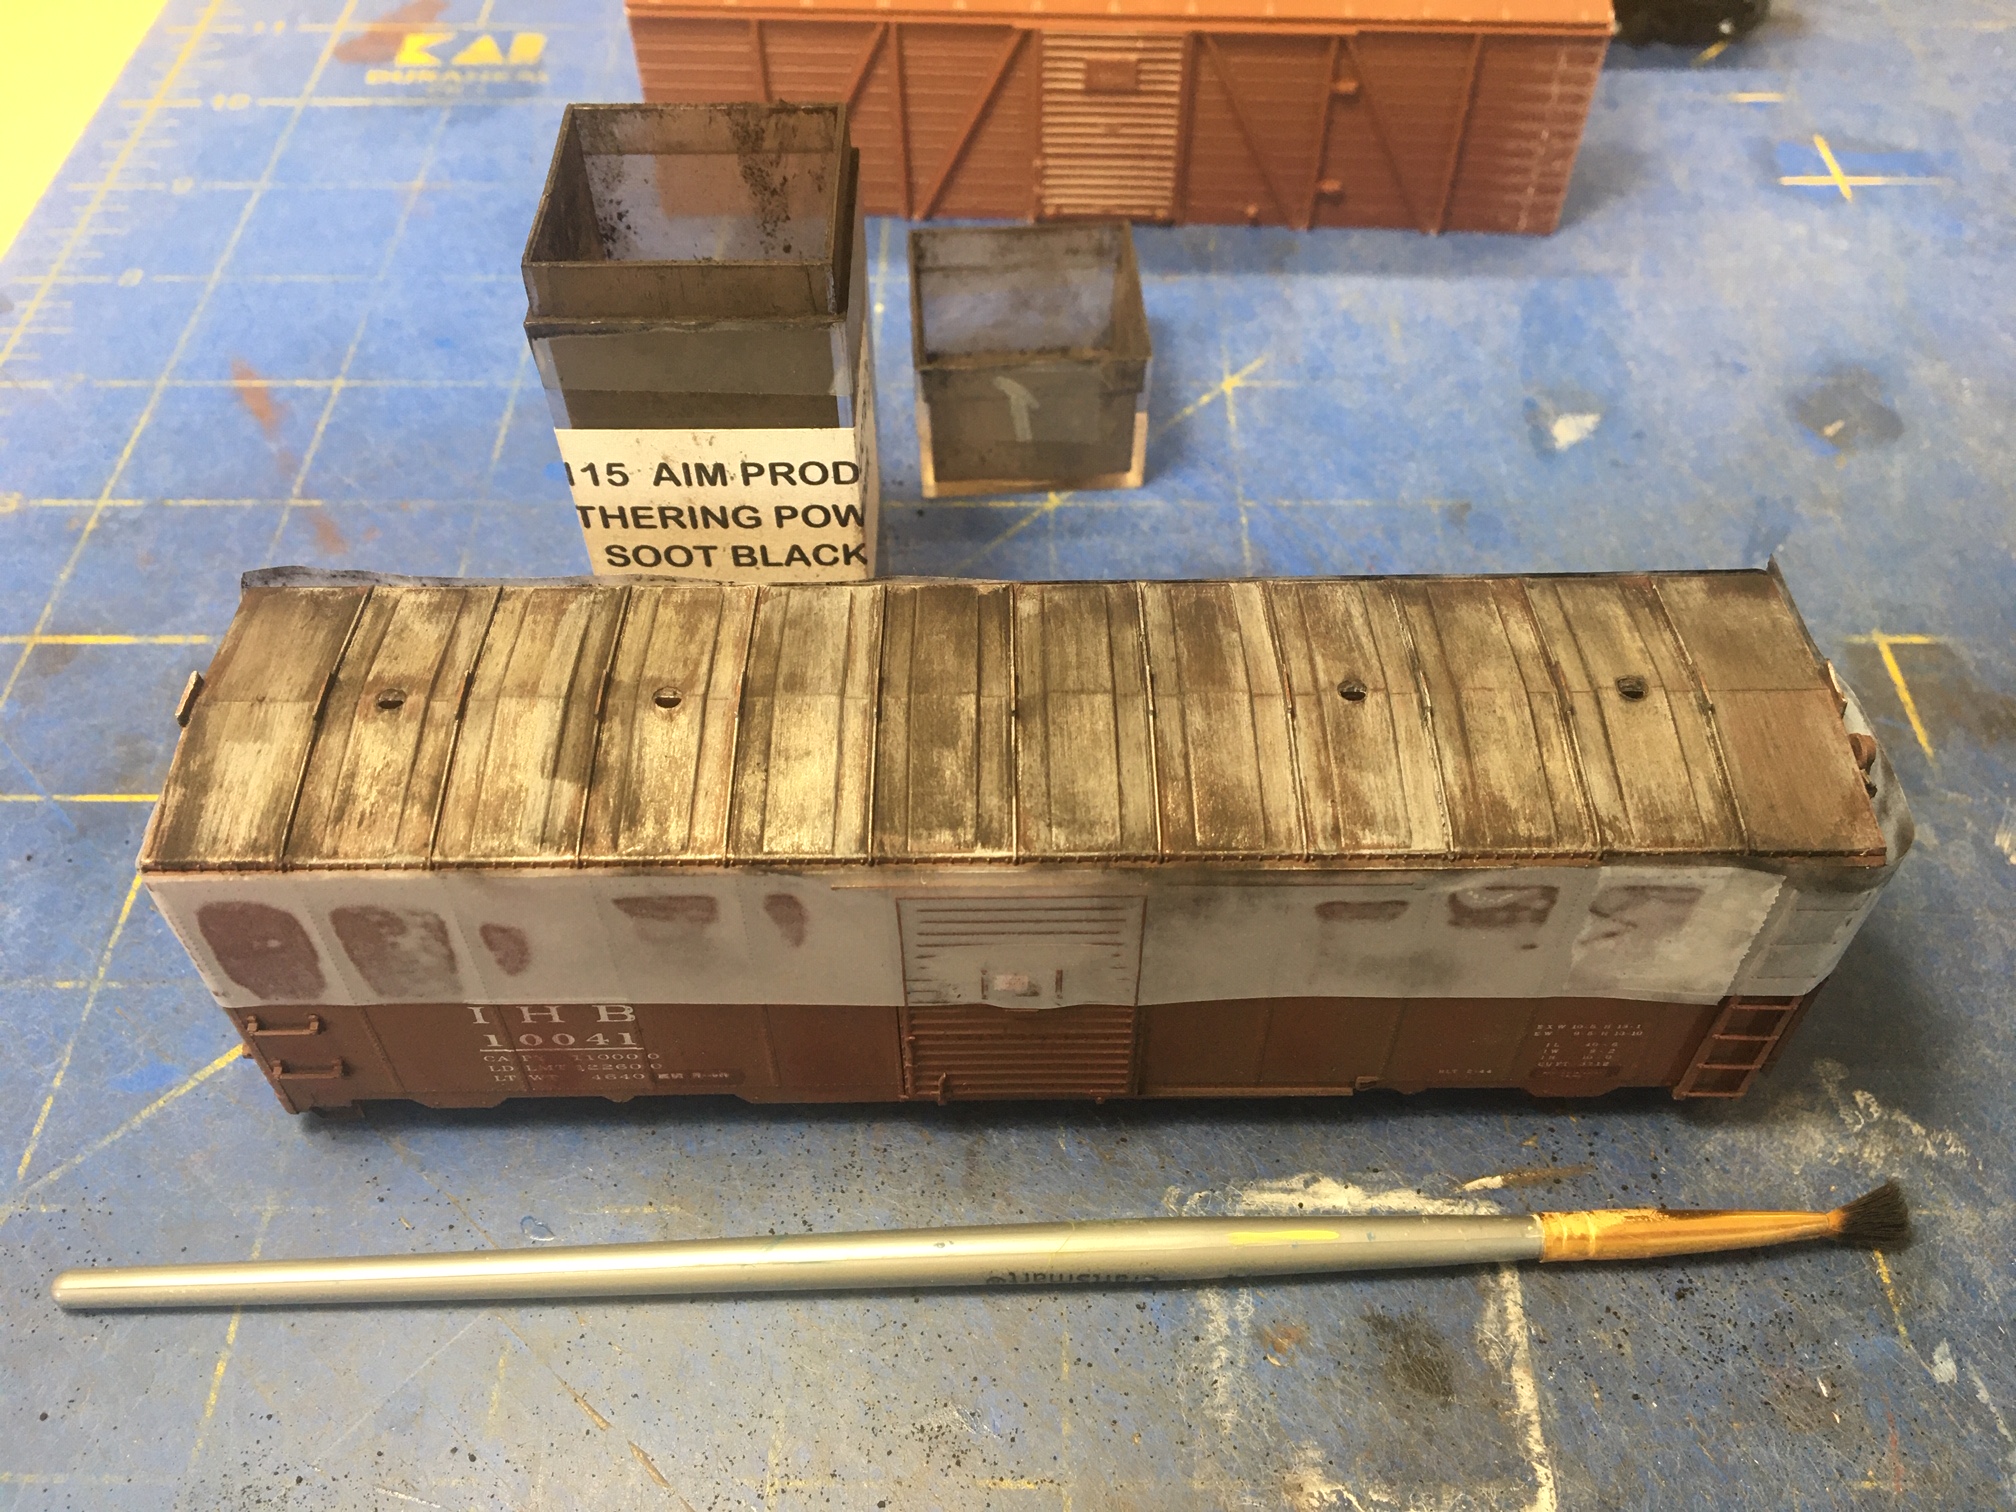
Although I didn’t get any modeling done on my latest work trip, I was a little productive online after hours. I agreed to write three articles for a friend’s blog, agreed to provide material for a manufacturer who wants to release a new model, and planned four more blog posts. I’m also still helping just a little bit with St. Louis RPM, and am finishing six freight car models for another friend. All that in addition to the three of four builds of my own on the workbench. The rest of March is going to be quite busy!
Be sure to stay away from that darn Corona Virus! – John G

John:
Do you use Proto87 frogs because you use code 88 wheels, and which level of Proto87 frog do you buy? “Leave as kit” or? Many thanks and may you and yours be safe from corona virus.
Chuck Wille
LikeLike
Hi Chuck, how’s it going, man? I use the Proto 88-SAFE UNIVERSAL SUPER-DETAIL HO Frogs, which are suitable for standard HO scale (NOT Proto87) as found at http://www.proto87.com/product1903.html. This page, http://www.proto87.com/HO_Proto87_Fast_n_Easy_components_and_spare_parts.html, has just about everything I’m using. John G
LikeLike
Great post! Thanks John. I’ve been wondering how to upgrade my shinohara turnouts for my new layout, and how to come up with some code 55 turnouts with comparable detail.
LikeLike
John,
Great information.
How do you throw the turnouts? Manually, or with a motor?
LikeLike
Hi Marty, I prefer using Tortoise or Switchmaster motors. Installing them means a lot more work up front, but during operation that keeps hands out of the layout. In my opinion the less hands in the layout, the better. There is already enough reaching-in for uncoupling. I also like a small fascia-mounted switch to throw the turnout and nothing else. I guess that’s the minimalist in me. A nice clean fascia I think focuses the operator on the layout, not on maps and things all over the fascia. John G
LikeLike