

My wife and I moved back to Germany for work in January 2025. With all three kids in college in the US we thought this would be our last chance to live overseas prior to my formal retirement.
I must tell you truly that it was terribly hard for me to move overseas again. I had to pull up roots again, leave my train buddies again, leave my weekend soccer crew again, and leave my old crew at work that I’ve known for decades–again. I left three kids in college out in the Mountain West, and some darn good health care here too.
I started packing up in November and ever since then, Model Railroading has taken a back seat to moving, getting my wife and kids settled and learning a new job. My Hermitage Road layout that was included in Model Railroad Planning 2025…

…has been carefully put into long-term storage in the U.S. while we’re on assignment here. Here’s the last view of the layout, below, stripped of it’s structures and detail parts, and ready for mummification.

It took five months to get all my models and supplies organized, documented and packed up. I took hundreds of photos of models and boxes and so forth to document everything being shipped in case of damage. To lighten the load I sold and gave away a lot of things before moving too. I spent hundreds of dollars on boxes and packing material to ensure that everything arrived safely, and I’m happy to report that everything did make it safely except a box of Sunshine freight car kits I send ahead to myself via US Mail. That box is Gone. Five kits, paint, tools, and all the things I thought I’d need to sustain me after we arrived.
We moved into a rental home in the little village of Eulenbis (OIL-en-bis) in late February. Eulenbis, which loosely translates to Owl Town, is a hilltop village overlooking Weilerbach, which is about five miles from Kaiserslautern. The house is new, modern and has four stories, but it’s small–having a footprint of 35 x 35 feet, or 1950 square feet total.
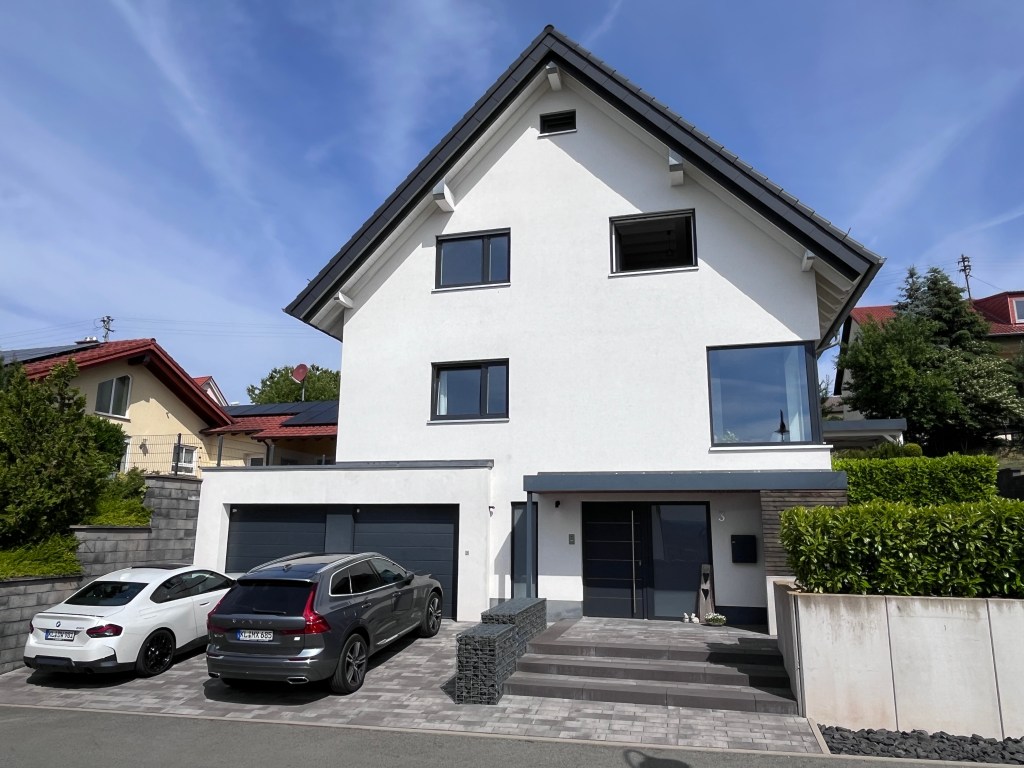
The first floor includes the garage, foyer and laundry. The second and third floors are living spaces, and the fourth floor is a large loft measuring 35 x 10 feet. My wife insisted on a house with a “train room” so I got the loft. I added a bedroom set at one end of the loft which consumed about 8 x 8 feet, but the rest is mine for my train room or modeling studio.
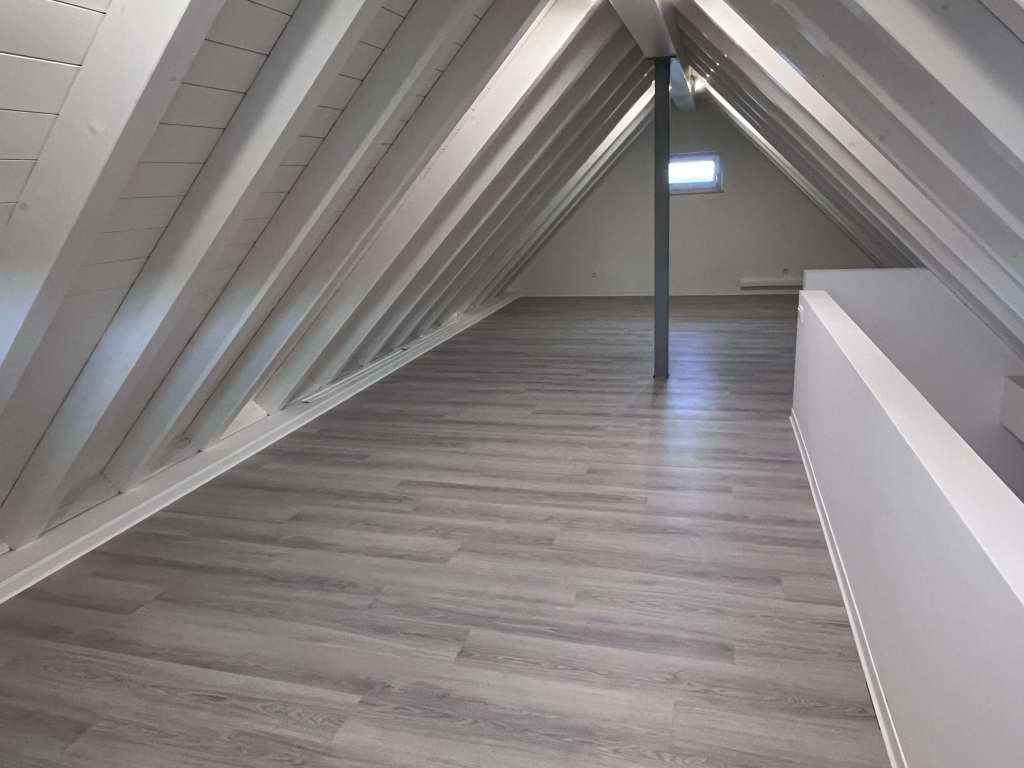
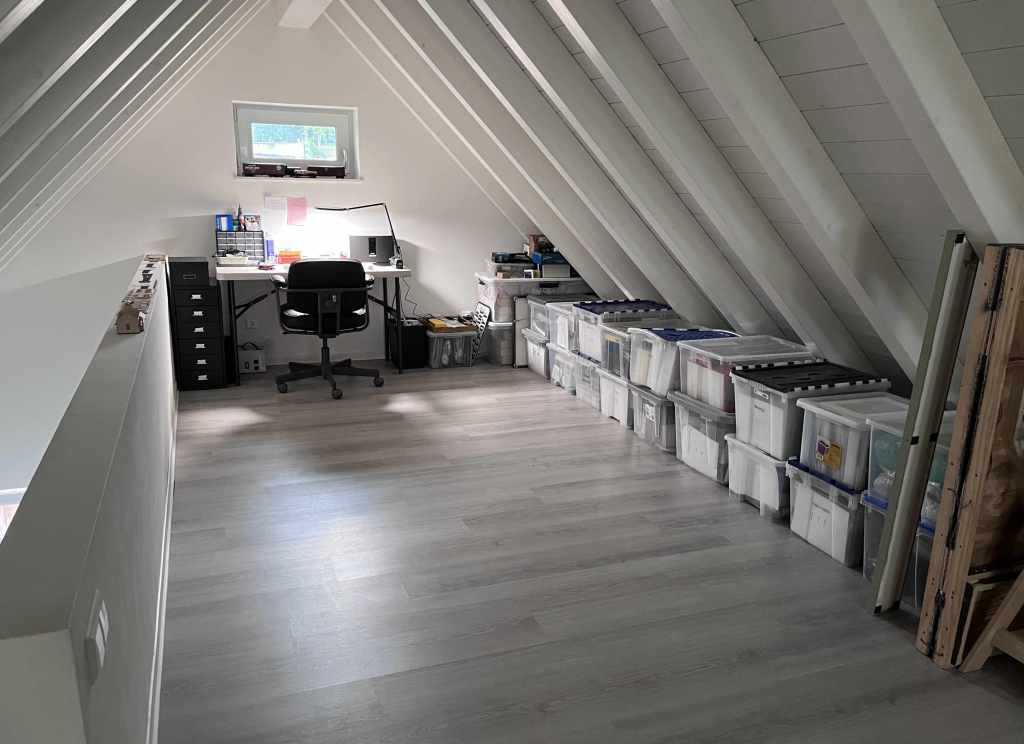
Above. This is the bedroom side of the loft before we moved in. Below. Here’s the “train room” side with my workbench and most of my train stuff in place. Interestingly, the side on the left is open to a bedroom below. It is a true loft space.
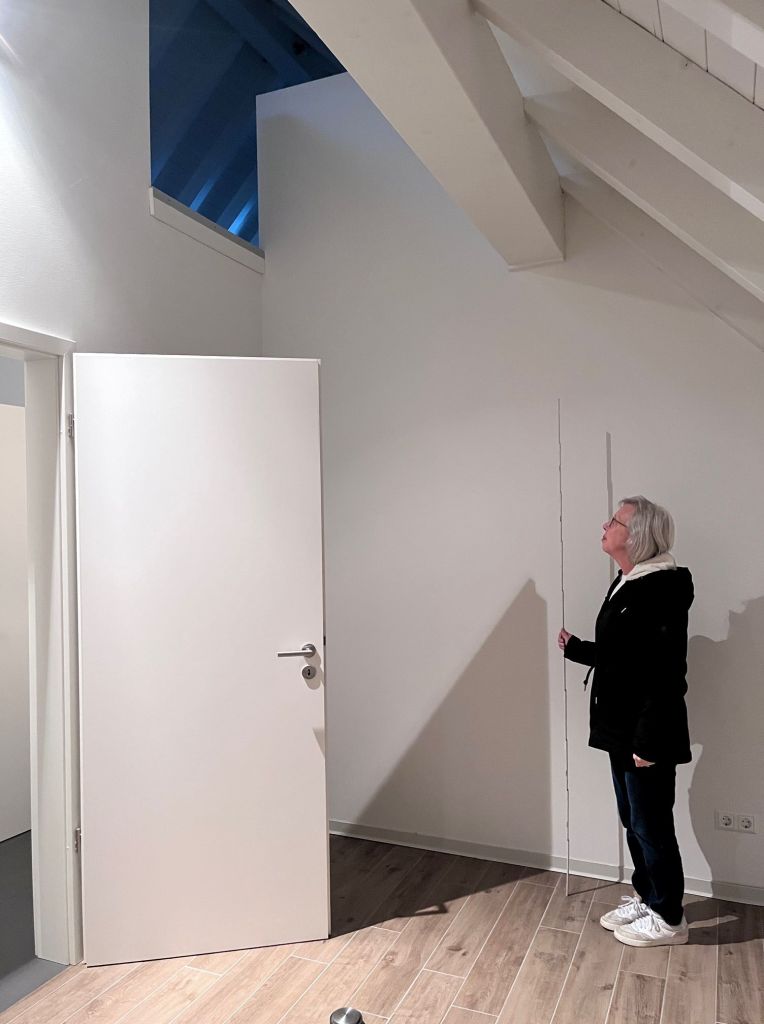
The owner used the loft for storage and used an aluminum ladder to access the space. Knowing I needed something more substantial for access I offered to build a staircase. She was so thrilled she offered to pay half. And why not–I was free labor.
Below. Here’s my little wife, Kristina, looking up into the entrance to the loft when we moved in. She’s 5′-2″. The vertical distance to the floor of the loft is 290 cm (9 feet, 5 inches).
I bought a staircase online from my local OBI (Germany’s Home Depot equivalent). The staircase came as a kit and it took two months to sand, paint, assemble, paint (again) and install the bloody thing. That’s all done and it looks good, and that’s all I need to write about that.
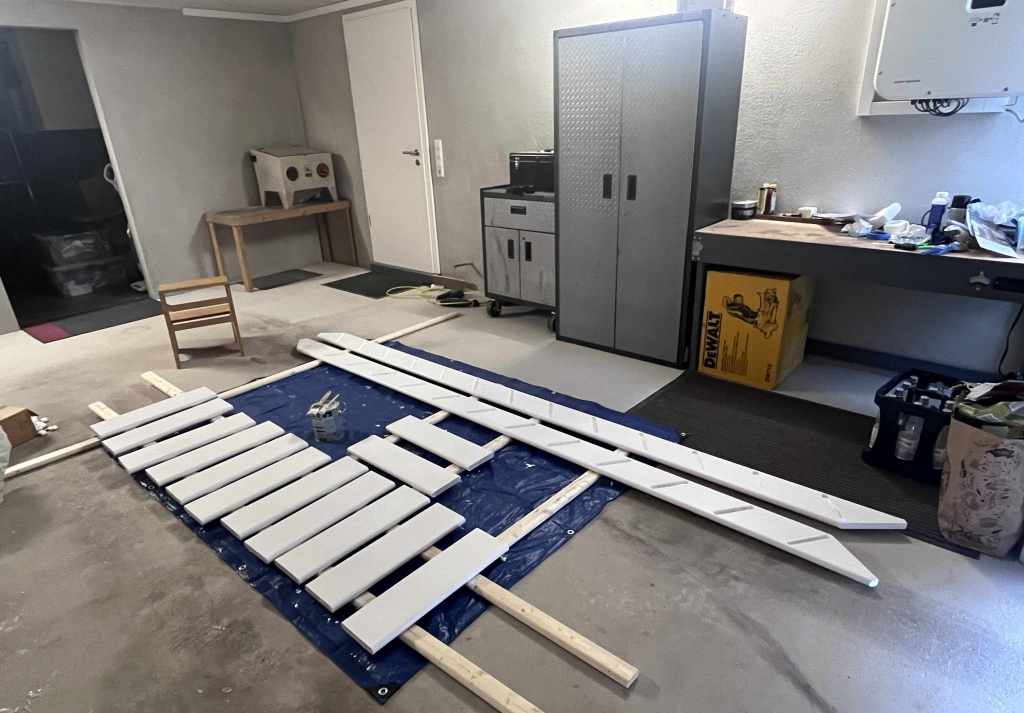
Below. Here’s an under construction view of the staircase kit on the garage floor. My old modeling workbench is at the far right. While I’m living here it’ll be my paint bench.
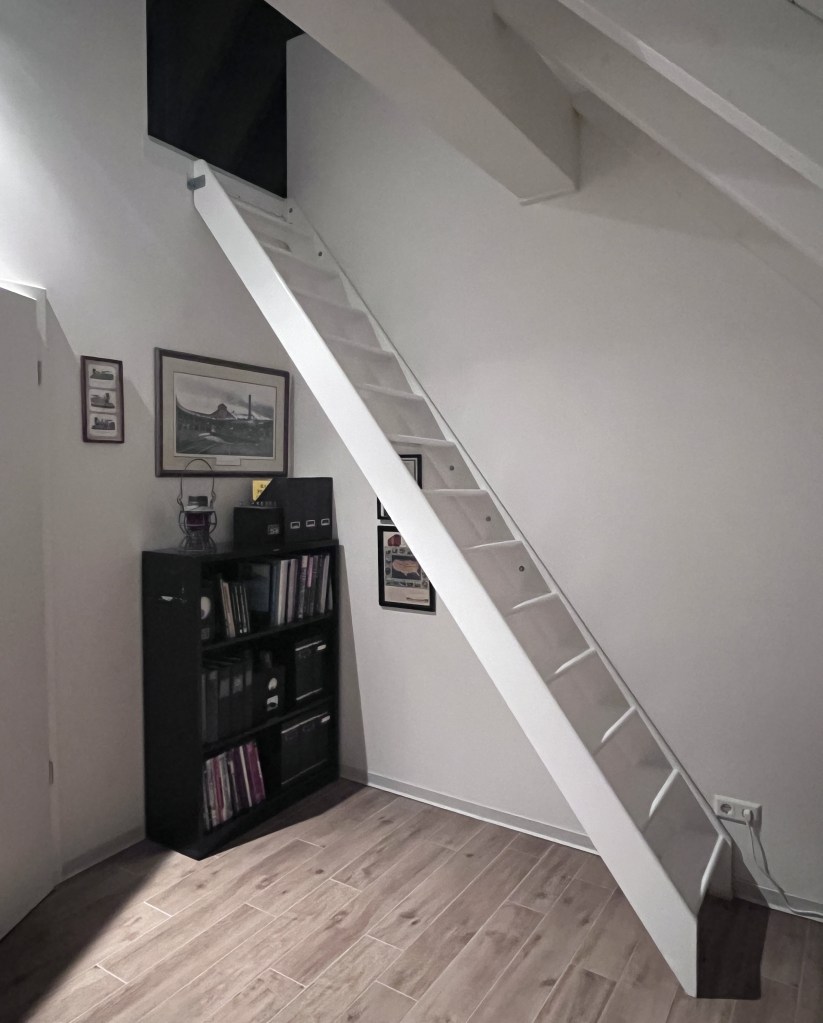
And finally, below, here’s the thing installed in the bedroom. Technically this type of staircase is called a “Ship’s Ladder” because it’s not a quite ladder but not quite a staircase. Yes, I come down backwards. Be advised there’s a 500-ton beam overhead that doesn’t move when it comes in contact with your skull (ask me how I know).
The family computer desk is just out of the picture to the right so my train-reference bookcase is in a good spot–accessible but out of the way.
Now That We Have Access…
The useable space in the loft measures around 7 x 20. Because of the sloping ceilings I can make best use of the space by building another sit-down type layout like my old Ackley, Iowa and Hermitage Road layouts. I’ve got a great rolling chair and the floor is laminate, so building and operating a layout from a seated position would be…well, very comfortable.
I’m building towards two separate layout goals. First, in HO, a small-town, point-to-point layout I call Karlberg Junction, roughly 20 feet by 18 inches. For now, Karlberg Junction is based on Lakeville, Minnesota, circa 1950, Milwaukee Road. This layout would occupy the right side of the loft. All this is pending some mock-ups, so I reserve the right to change my mind at any time.
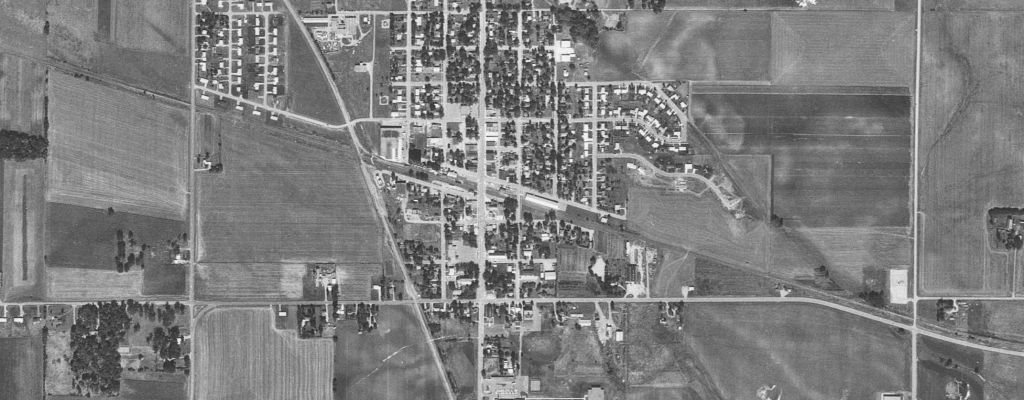
Below: Karlberg Junction. Actually Lakeville, Minn, c. 1970.
Second, on the left side of the room, a Proto48 industrial layout, 15-1/2 feet by 12-to-18”. I don’t have a prototype location yet, or even a prototype I’d like to model. Nevertheless I’d like to start building turnouts at the workbench “soon” (within the year). This layout will take second priority to the HO layout.
Lakeville is a pretty typical Midwestern small town location, with an elevator or two, and large flour mill, a couple of oil jobbers, a lumber yard, and a few other typical customers, plus a connection with the Minneapolis, Northfield & Southern Railroad. There was never an interlocking tower here; instead, there was a gate crossing, normally closed on the Milwaukee Road side. Lakeville was the first station west of Farmington on the Hastings & Dakota main line, so the rationale is at some point if I have more room I can build Farmington next and incorporate the much smaller Lakeville section into that layout. Moreover, Barry Karlberg worked Lakeville during his railroad days so it would be easy to convert Karlberg Junction to Lakeville and back.
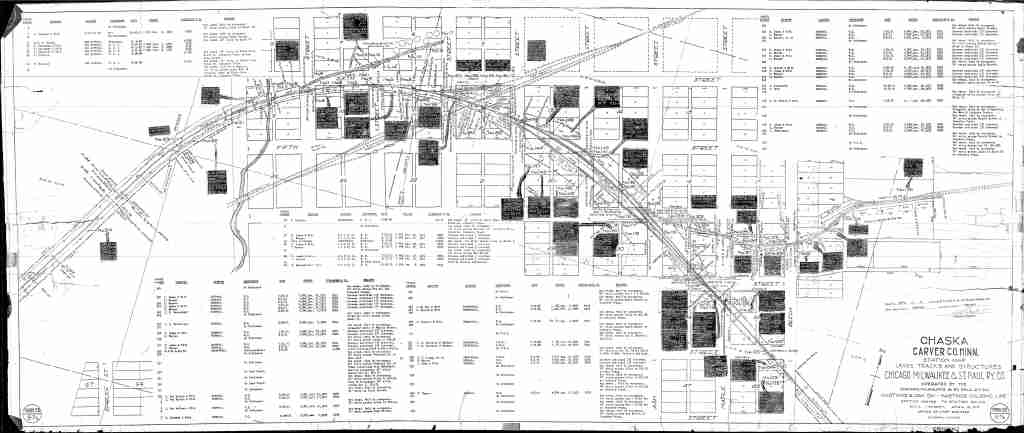
Below. Chaska, Minnesota–also on the H&D–is another strong contender for my loft space. Chaska is two stations west of Lakeville. I have a family connection to Chaska, and it’s close to several other key locations on the H&D.
I have a lot to think about!
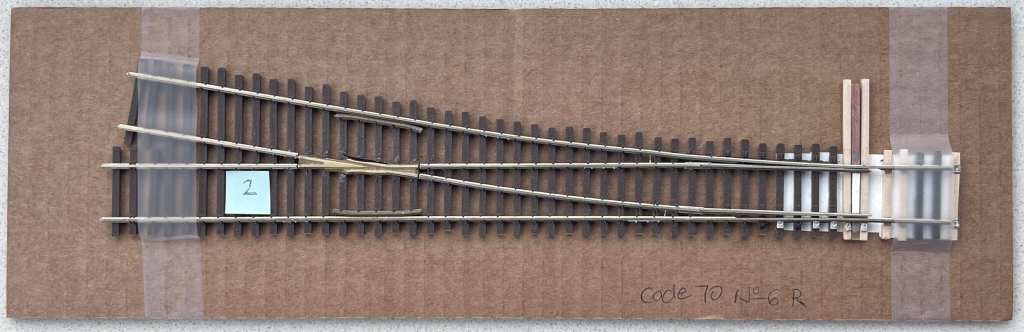
In the meantime I’ve been building and rebuilding HO scale turnouts in what little time there’s been for modeling. I am modifying Micro Engineering Code 70 turnouts using Oak Hill Model Railroad Supply frogs and detail parts exclusively. I am also using Oak Hill frogs and detail parts and scratch-bashing my own turnouts using Central Valley tie strip.
Here’s a partially-rebuild Micro Engineering turnout below. This turnout has a replacement frog and a scratchbuilt points/switch-rod set, plus a few replacement wood ties where needed.
I’ve described how I rebuild turnouts in Post No. 155, Turnouts on Hermitage Road, which can be found at https://railroadprototypemodeler.com/2021/04/20/no-160-turnouts-on-hermitage-road/ and Post No. 140, Turnouts for a New Layout, at
https://railroadprototypemodeler.com/2020/03/15/no-145-new-turnouts-for-a-new-layout/.
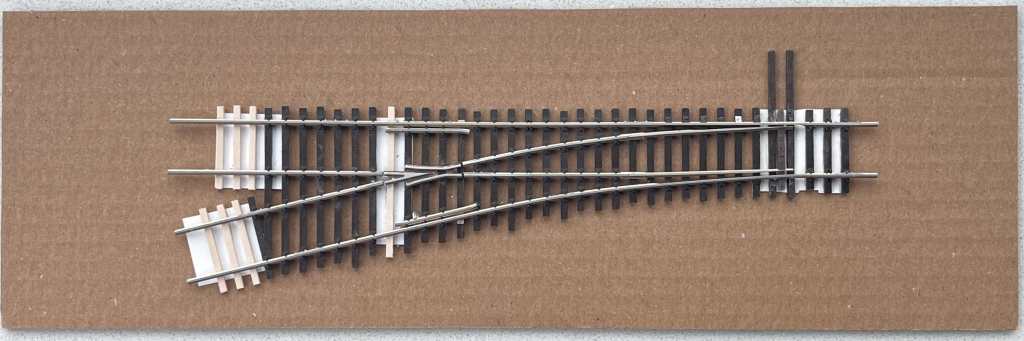
Above. This is an old Shinohara Code 70 #4 turnout that’s been partially rebuilt. The frog is from Proto87 Stores, and I’ve added a few wood ties here and there to replace broken ones. The points/throw-rod assembly is a Micro Engineering part. Oak Hill Model Railroad Supply has really excellent bolted frogs available for rebuilding #4 turnouts, and just about any other turnout you can imagine. Check them out at https://ohrtracksupply.com/. Tell Jeff I sent ya.
I enjoy building turnouts at the workbench and find it as satisfying as building a freight car or any other kit.
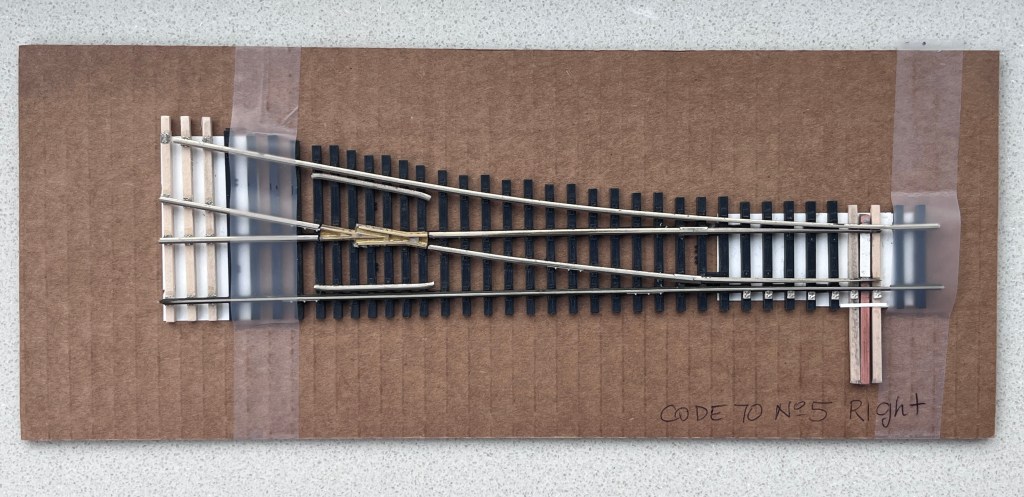
Below. This is a mostly-scratchbuilt turnout using the Central Valley turnout tie strip as a starting point. It has a replacement frog, a few new ties, some added details, and a scratchbuilt points/throw-rod set
Things are looking up here and the signal is clear here in Eulenbis. I hope you all have a great week! – John

I’ll enjoy following along as you build the new layout(s). Looks like you have a great space for it. But, watch your head!
LikeLike
John,
What kits and materials did you lose in the USPS missing package? I am sure your friends back here in the US can pull together what you need and send it over. Let us know!
LikeLiked by 1 person
Hi Bill! That would be fantastic, but…there’s no way to find those old kits. Thanks for the kind offer though. I’ll find a way to forge ahead!
LikeLike
John: have lived in Augsburg and Darmstadt. You will find much to railfan about in GE. The DB used to run Dampfnostalgie fan trips throughout the summer and fall. Also, I did meet many German model railroaders as well and they were very cordial. There are many museum trains as well. I know of one in Darmstadt-Kranichstein. Finally, do not forget to check out the large commercial model display in Hamburg area. It looks like you will have lots of room to model too. Hope you both can jump into the culture as well. Being assign to GE is a plum (versus other places!). Cheers Andy
LikeLike