

This is a long overdue post but I felt it was important to make a record of the work that was done in September and October 2017.
My layout depicting the M&StL main line in Ackley, Iowa has a 16 x 2-foot finished area with a 12-foot staging yard on each end. As of mid-September, I had installed landforms and basic scenery on about 20-22 square feet of the layout. In early October I began installing landforms and scenery on the last 10-12 square feet of the layout, which depicts the south end of town. This area of the layout features the IC crossing at grade and leads to most of the industry tracks in town.

I began the scenery process by completing the ballast on all trackage, which included the M&StL main, the IC main, and the industry leads. On the M&StL main I used a home-brew mix made of light gray N scale ballast from Arizona Rock & Mineral Co. with some home-made ballast mixed in. The home-made ballast was sifted from dirt I collected at the site of the former PRR roundhouse in Richmond, Indiana. That stuff has a neat combination of dirt, coal cinders and soot that I think looks pretty real…because it is real. I also like the idea of using stuff that blew out of the stack of a PRR T1 or a Q2.
Below. A close-up of the ballasting in progress. On top is the Richmond dirt-ballast; at bottom is the home-brew ballast mix.

On the secondary tracks I use my home-brew ballast on everything, which is realistic for M&StL as they often used cinders for ballast. I have a hunch the stuff I’m using is a lot darker than that used on the real railroad during my modeling era.
On the IC main I used Woodland Scenics N scale light gray ballast. The area in the foreground is where the interlocking tower and tool houses will be installed. The farmer’s field is in the background up against the backdrop.

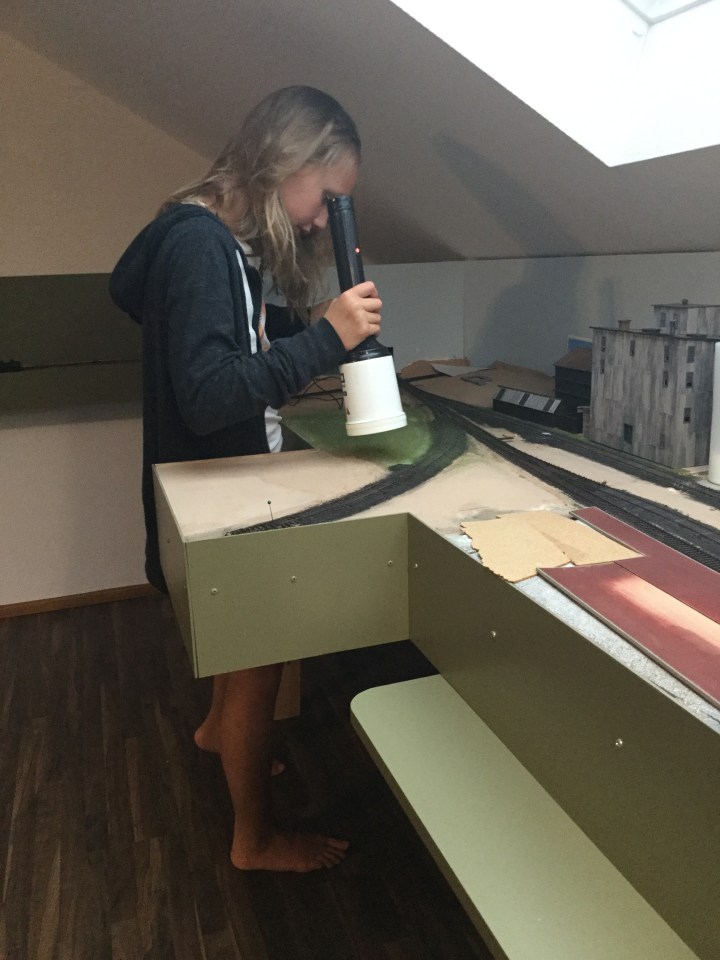
With scenery base complete, I added Silflor 2-mm and 4-mm static grass to the area. My daughter Kirsten did a lot of the initial grass-laying work. We tried to leave a few areas bare, especially the areas where I will install the interlocking tower and the three IC section houses. I can scratch in a dirt road when the buildings are installed.
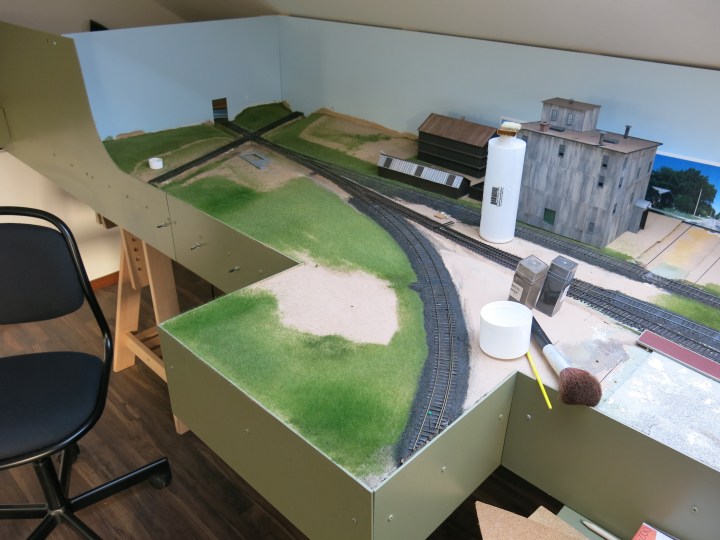
We also did not install grass on the hill across from the interlocking tower where I will install a farmer’s field, in a small area on the bump out where a second grain elevator will be “planted”.
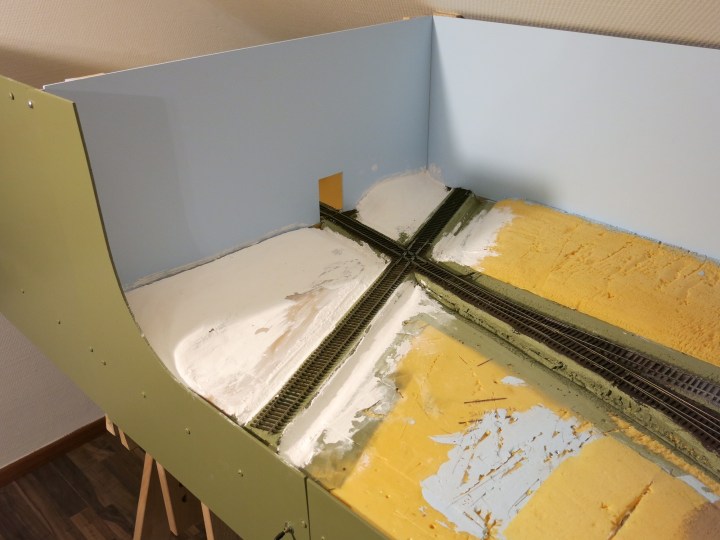
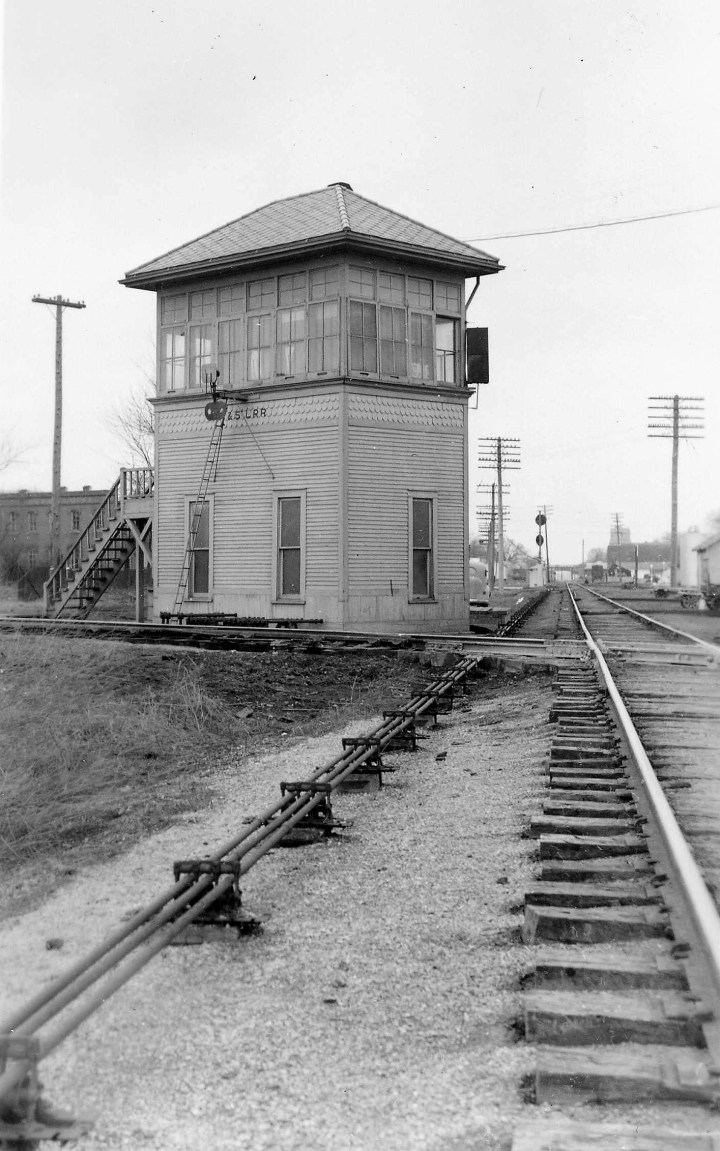
I was not satisfied with my initial installation of landforms along the IC main track. This photo below shows that my roadbed was too high compared with the photo of the interlocking tower. I added a second layer of Woodland Scenics “Smooth It” on all four sides of the crossing to bring the landforms up closer to the top of the ballast. I made a huge mess doing it and destroyed some of the scenery I had already installed, but the adjustment was worth it.

Above. Note the height of the IC main track, as compared to the prototype photo below. My model of the track was too high, so I laid down an additional layer of Hydrocal. I damaged the ballast in the process but was able to easily fix it.

I also added concrete pillars for the old mechanical interlocking in the appropriate places. For this I cut small Evergreen styrene pieces and installed them along the right of way, about five feet from the end of the ties, with the top of each pillar at the same height as the top of the ties. The signal relay box is a Showcase Miniatures product.

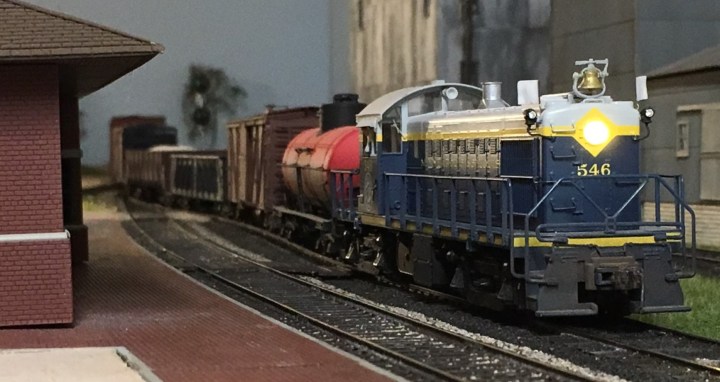
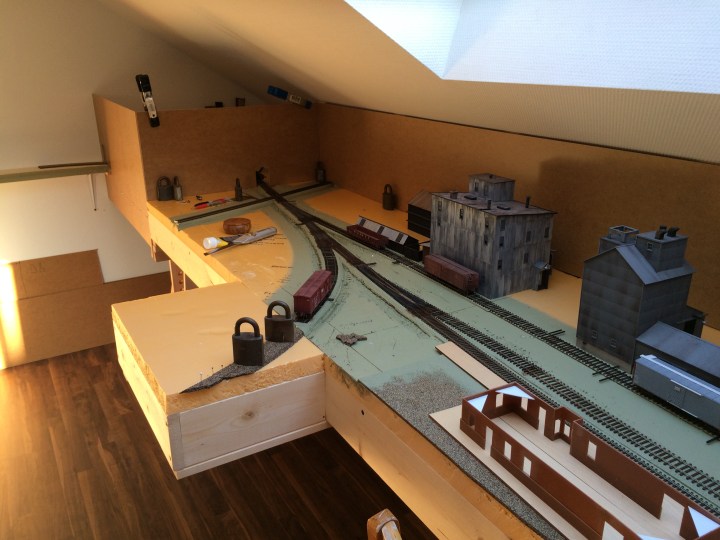
Below. A few views of the finished scenery on the south end. I need to do a lot of detail work, but the hard part is done.


More to follow as I complete the scene. Below. Here’s where I was last November, so we’ve come a long way.
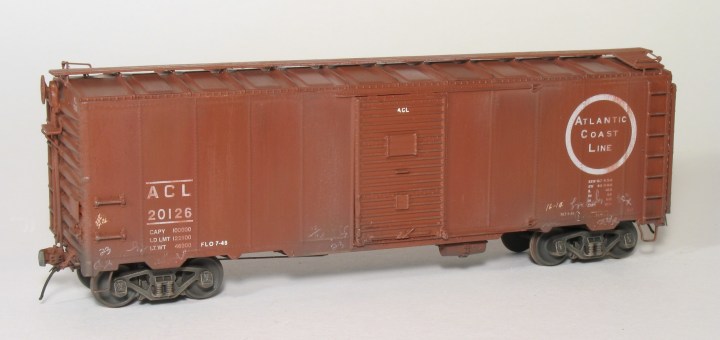
Sunshine Models ACL Ventilator Box Car
Before leaving for Italy over Thanksgiving I took a little time to paint the Sunshine Models ventilator box car that I built in 2015. This is an all-time favorite car and I’m happy to have the model.

Below: Here’s the completed model all ready for sandblasting.

I used ScaleCoat II PRR Freight Car Color for my car and Testors Gloss Black for the underframe and trucks. I did not put a primer on the car first and obviously the car will need a second coat.

I think the ScaleCoat PRR FCC is the closest match to the color Coast Line was using in this era. I want to simulate a car that has been repainted in the then-new 1948 “Small Gothic” lettering scheme, with a 1949 or 1950 shop date, and moderate weathering.
Here’s a nice view of a recently-painted Coast Line car, circa 1951. Compared to the NYC car next to it, ACL 21003 looks like it has a very rich freight car red color.

Below. I finished this ACL car around 2012. I used Scalecoat 2 PRR Freight Car Color. Chad Boas cobbled the doors together using an Intermountain door with Union Duplex Rollers from an old Sunshine Models kit. He sent them to Mont Switzer and I and we finished our cars together. This is an Intermountain model with an AMB wood running board and Jerry Glow decals and a few extra details here and there. I sold this car prior to moving to Germany.
Next up: Finishing and sending the Portage models, and continued work on the layout.
– John G

Very nice, neat work John. Ackley is really coming along … I see you had help with the static grass application.
I like your radual scenery additions, nothing drastic just nice changes in elevation including the IC main at the diamond.
Thanks, for sharing your progress and Merry Christams!
Barry
LikeLike