

After 45 days of working on rolling stock and other projects, I returned to working on the Ackley, Iowa layout just before Thanksgiving.
I know, Thanksgiving 2017 is already old news. I was busy at work and out of town again over the holiday, and the kid’s busy schedule keeps me busier than I deserve, so haven’t been able to post any updates for about three weeks.
In the 45-day period that I spent away from the layout to finish other modeling projects, I got a lot done. I rebuilt my sandblaster and blasted about 25 built-up models to get them prepared for painting. I painted and finished a number of other models, plus I worked on a few projects for my layout and a few projects for my friend Mike Moore’s layout. I was not able to get much done as work and kid’s stuff ate up most of my time each day.
There are three large projects remaining on the layout. These aren’t large projects for most layout owners but for my small layout, they’re big ones:
- Construction of two road crossings
- Installation of the backdrops
- Completing the scene at the Illinois Central crossing, which includes construction of a number of custom-built buildings.
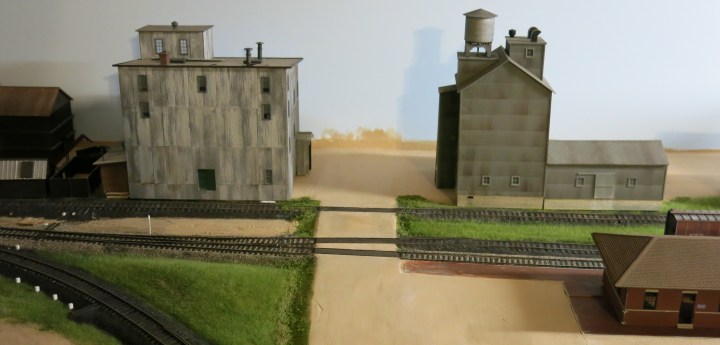
Lincoln Avenue Crossing
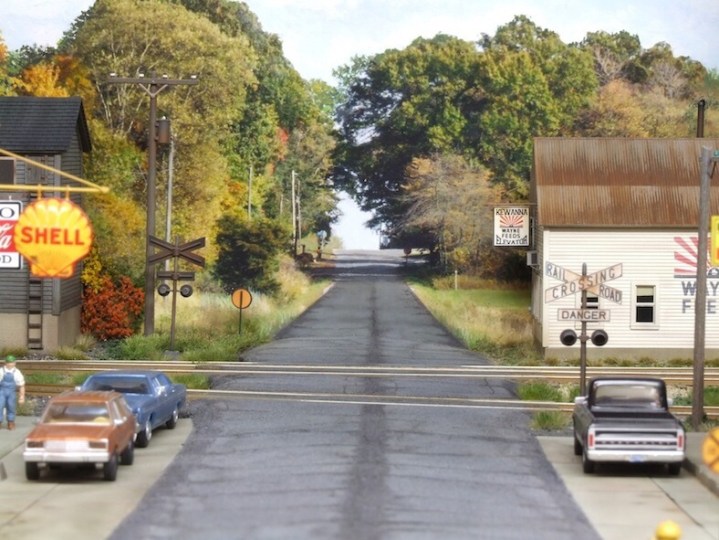
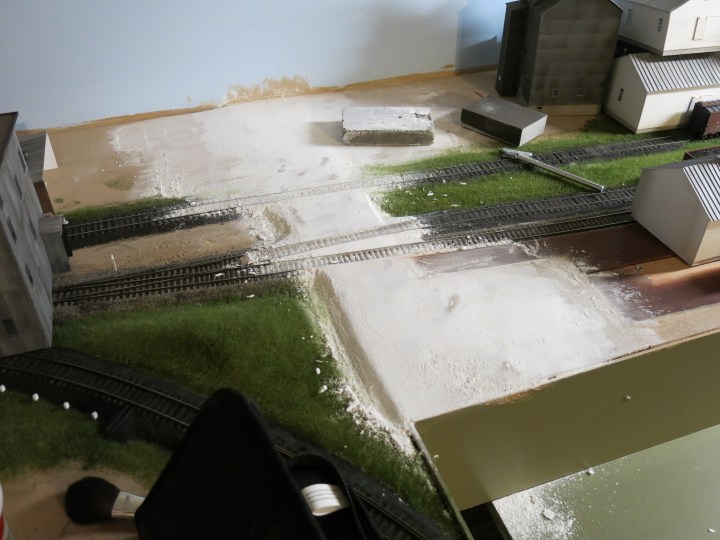
Above. A view of Lincoln Avenue before the road was built. Below, one of the road crossings on Tom Johnson’s layout. My thanks to Tom for allowing the use of this photo, and also for the never-ending inspiration.
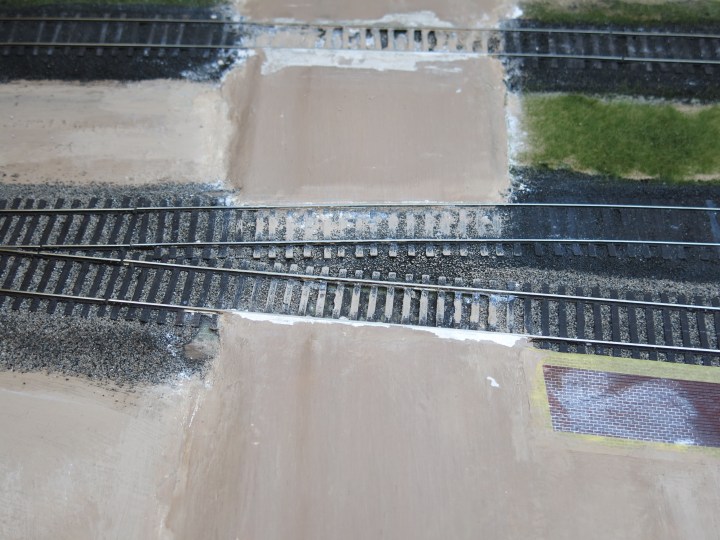
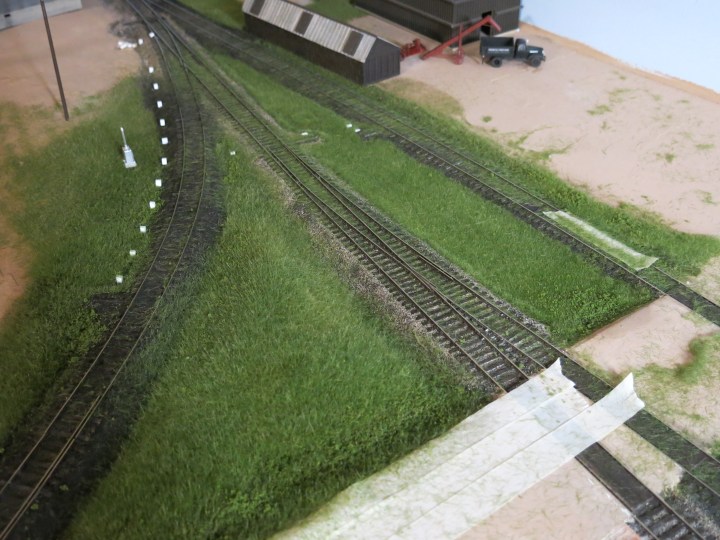
I model 1950 so I chose to depict Lincoln Avenue, the road that passes next to the depot, as a dirt road. During initial construction of the layout I laid down a subroadbed for the station road using cork roadbed. I covered the subroadbed with Hydrocal but kept the Hydrocal off the tracks so I could model a timber crossing.
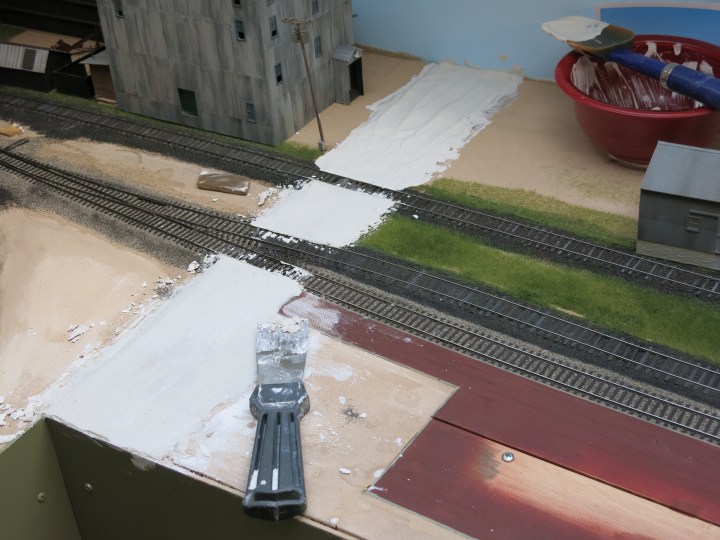
Above. I shaped the Hydrocal as best I could while it was wet, and when it was dry I sanded and shaped it a little more. Then I painted it with the same German house paint I have been using for all my landforms and roads. I was not happy with the results. The road was not smooth and I was unable to get the contours right.
To fix the problem, I tried a special product, called Smooth It, which is made by Woodland Scenics. I sanded down the entire road and tore up a lot of the completed scenery in the process, and then vacuumed off everything, and then put down a thin coal of Smooth It over all the road surfaces. I let that dry and then sanded and shaped everything and I was much happier with the results.
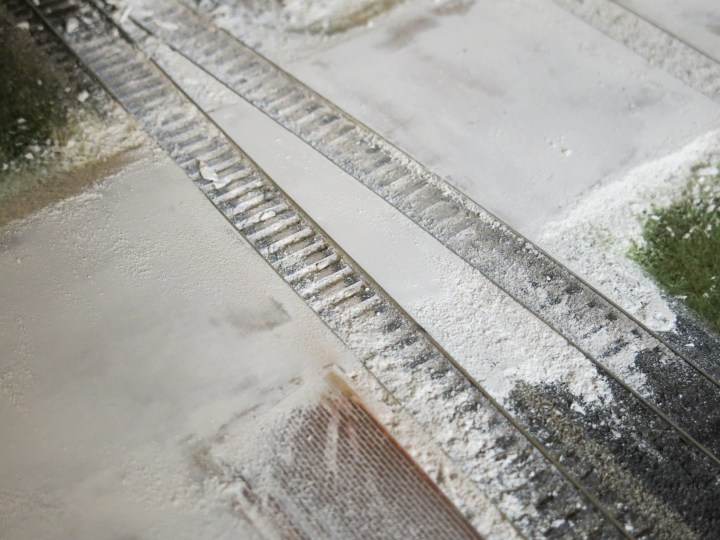
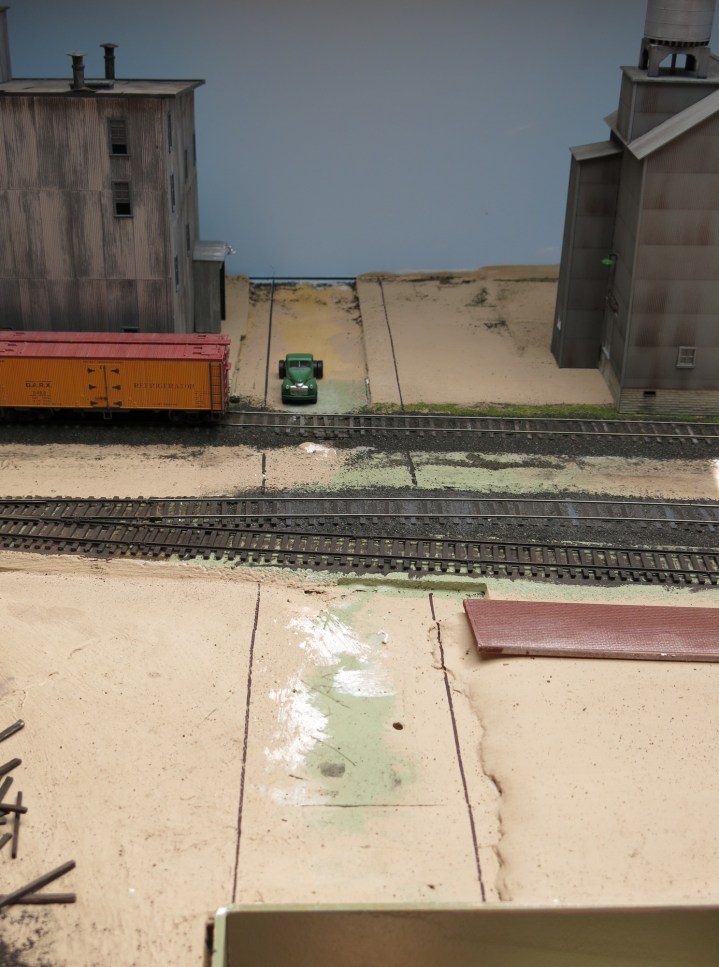
Above. Much more smoother!
I repainted the road again and then installed a wood crossing that I built from wood pieces I had in my scrap box. I painted the wood with Testors Rubber. I kept the vacuum cleaner with me and kept the whole area cleaned up as I worked.

Then I attacked the scenery at the road crossing. First I repainted the ties, then reapplied some ballast where the road meets the track. When that was dry, added some Woodland Scenics fine green grass blend to the area, and in some cases I even added a little ballast on top of the turf to blend everything together.
I let all the dry for a couple of hours and then went back later in the evening and added some static grass. I used a blend of Silflor 4mm and 6mm Late Summer grass. I threw some of the Woodland Scenics turf on top and sealed it with hair spray.
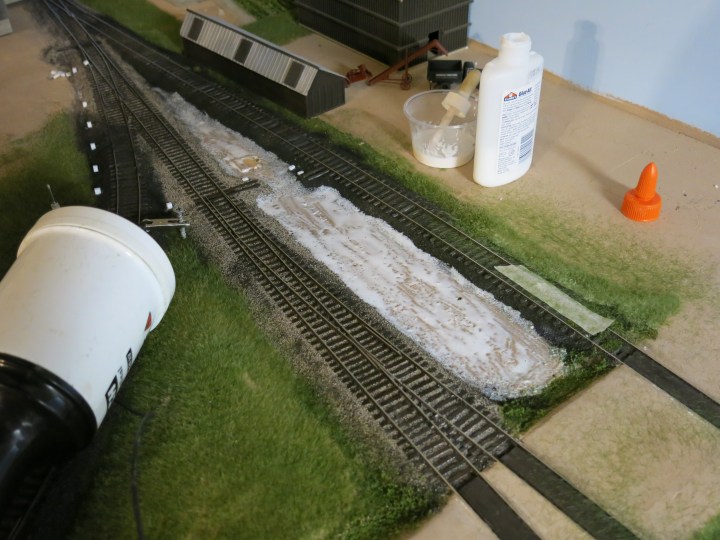
Once that was done I vacuumed again and then called it quits for the day.
Next, I need to weather the road and install the backdrop and some details, and weather the timber crossing, and we’ll be done. I don’t expect my scene to look as nice as Tom’s, but it looks a lot better than last July (as seen below).
Tangent Tank Car
One of the last freight car projects I worked on as November ended was weathering the white, Staley Tangent tank car I picked up at St. Louis RPM last year. This is the most beautiful model I think I have in my collection. It is a magnificent model in every regard.
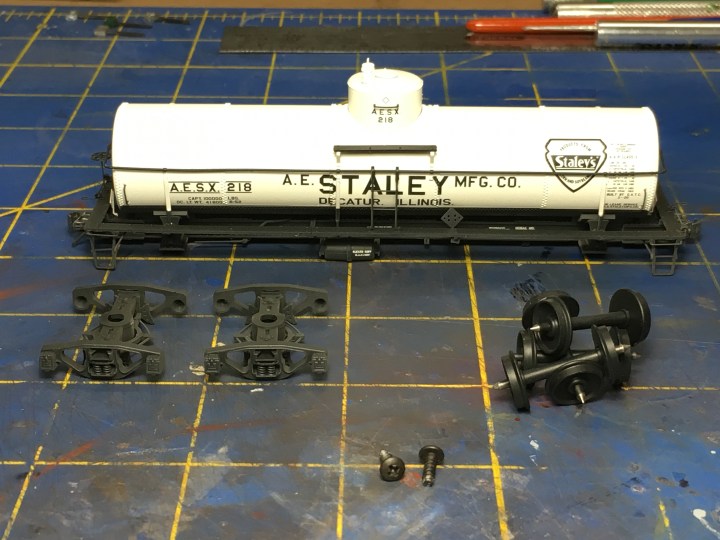
First I disassembled the model and replaced the kit trucks with Tahoe Model Works 40-ton trucks. I sandblasted the trucks so they could be painted, and then airbrushed them with Testors Semi-gloss black.
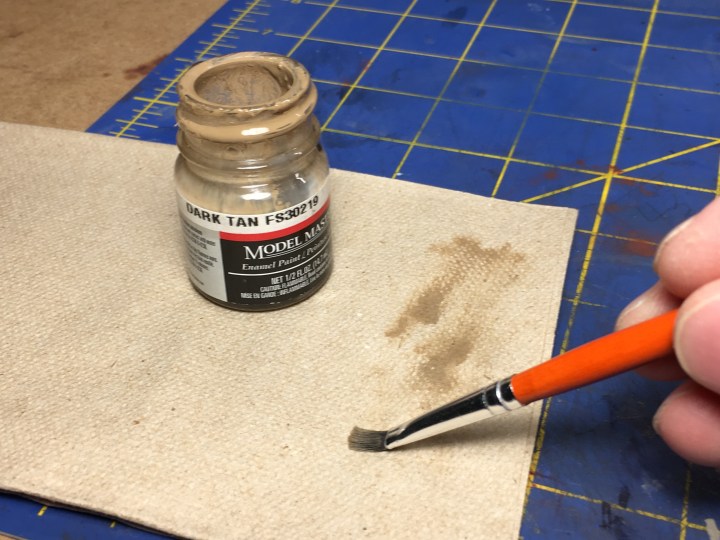
Next I painted the model with a few light coats of Dullcote so the weathering material will have something to stick to. Then I did some “highlighting” with Testors light brown (the stuff in the tiny little bottles) using a brush. I just wanted to get the rivets, corners and details to pop out a little bit. Francois Verlinden popularized the “highlighting” technique in the 1970s and you can find more about it by just Googling “Verlinden” and “highlighting”.
Note to Self: Be careful not to Google Barbara Verlinden. She’s a female MMA fighter…unless you’re into that kind of thing…
Below. Prepping the brush for highlighting. I dip the brush into the paint and then remove about 95% of the paint, and then go over the details with light strokes. The details and corner surfaces pick up just a hint of the color, providing a nice contrast-weathering look.
Next I used AIM dry powders to weather the underframe, trucks, couplers, and wheelsets. I still need to secure the weathering with another shot of Dullcote, and polish up the wheelsets and coupler faces.
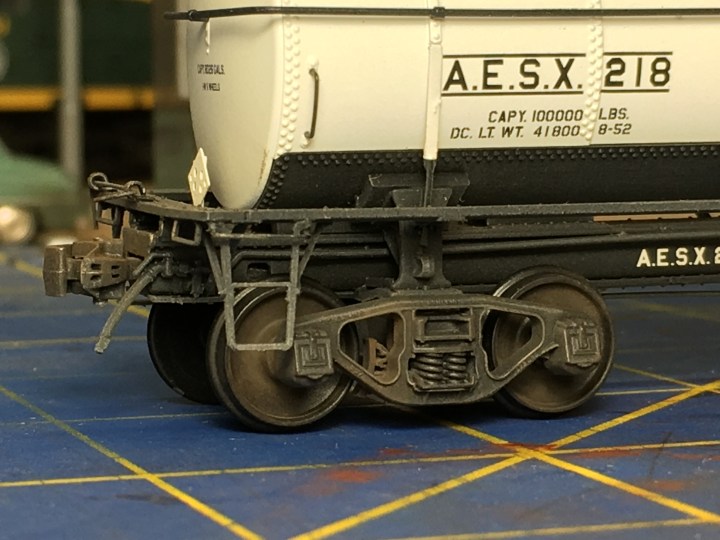
Above. The results of a little highlighting and dry-brushing with weathering powders can be pretty dramatic if it’s not over-done. I took my time and it thing the car looks pretty good. The photos above and below show the detail of the TSM model. Dave Lehlbach is about the only guy in the industry that delivers a good-looking coupler pocket (as seen below). Wow!

I’ve got another three posts written and just need to get them formatted and posted.
Meanwhile I hope you all had a blessed Thanksgiving! – John G
