

We drove to Strasbourg, France over the weekend and it was a really beautiful city. It’s France, so there were plenty of peddlers, con-men and homeless people about, but in general the city was surprisingly nice and it has a large post-medieval-era center that is beautifully restored. Outdoor restaurants were everywhere. We enjoyed our day shopping and seeing the sights. Here’s me and The Boss in “Petite France” on the island downtown in Strasbourg.

The Catholic cathedral downtown is spectacular. A sign outside said it took 400 years to complete. Being a layout builder, naturally the first thing out of my big mouth was “How did they know when it was finished?!?”
Rebuilding Problem Scenery
About 45 days ago I decided to update scenery at a small location on the layout. The location was the “platform” as the M&StL AFE maps call it—what we might call a loading dock. I wanted the dock to appear in good shape but I wanted the track to look abused and the area around the dock to appear somewhat overgrown. Making things look overgrown is really easy with the Grassmaster.
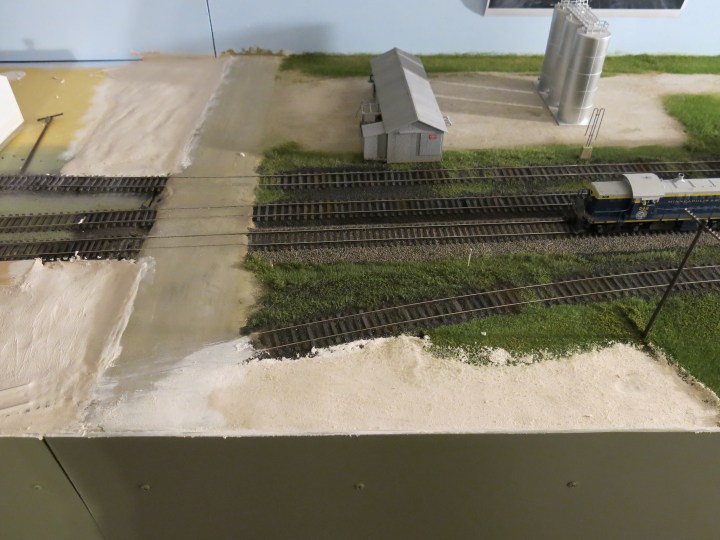
I had taken some extra care to plan the scenery here. I wanted a dirt parking lot area on the aisle side of the platform, but I wanted it to be mostly overgrown except for the places where wheel-wear had carved ruts into the parking area. I finished it like I had planned, but it just didn’t look right. I put down too much tall grass and it appeared too overgrown for my taste. Here’s the photo, below, of the area when I finished it the first time. I guess I would call my modeling up to this point Phase 1.

Phase 2 – An Attempt to Modify the Scenery
I decided to remove the grass and try again. The area in question is on the front of the layout, only about eight inches square, so it was easy to get to. I made a huge mess and tore up a lot of other stuff in the process and eventually had to repair ballast and roads and everything else along the way. The first thing I did was spray the area down with rubbing alcohol and wait for it to soak in and dissolve the glue, and then I scraped everything off with a spackling knife.

Then I reapplied some ballast, and while the area was wet I added a little Woodland Scenics summer blend ground foam in a few spots.


When that was dry I sprayed the area down with hair spray and applied some fine dirt made by Arizona Rock and Mineral.
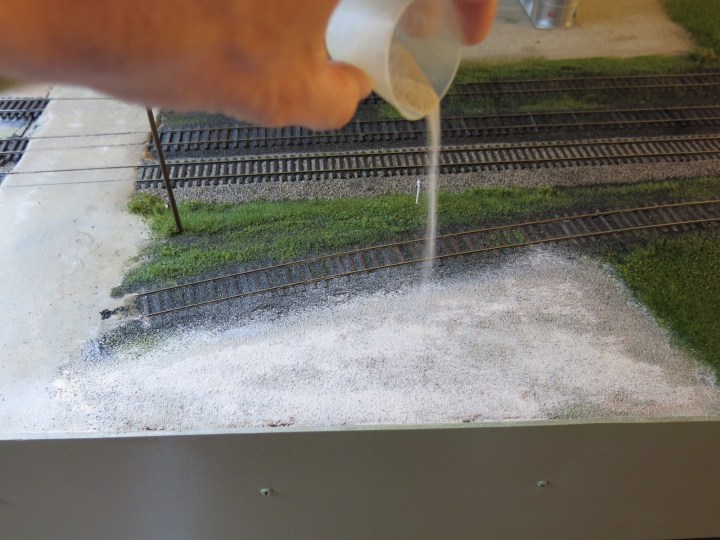
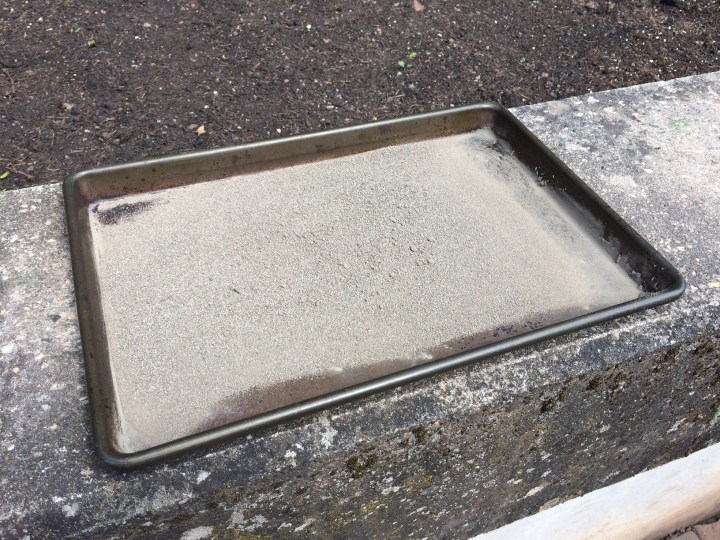
When that was dry I tried adding some dirt from the local area. I found some dark colored dirt near a grain elevator in town and brought home a small bucketful, and I dried some out in the sun on a baking pan and then sifted it down as fine as possible.
You’ve gotta love it when your wife comes home and says “Is that my baking pan out in the driveway covered full of dirt???” That’s good stuff!
So anyway when I added that local dirt it clumped up and to make matters worse it dried really dark. It looked awful…like this (below). I colored some of the ties with weathering powder and they looked awful too.
Phase 3 – Starting From Zero (Almost)
I was pretty frustrated at this point and decided to almost completely wipe the area clean and start over. I popped off the loading dock and set is aside and moved everything out of the way. Then I cleaned all the scenery off again with a bunch of rubbing alcohol and the knife. Then I mixed up a batch of Hydrocal and applied a light coat over the whole area from the road to the end of the dock. I added a whole lot of water-based tan house paint to the Hydrocal. It’s the same German paint-paste that I used for all my other landforms. It’s a nice medium tan-brown color.

While I was at it I put Hydrocal down across the street by the depot parking lot, and over by the grain elevator.
A few days later when that all was dry I used a hand-sander and sanded the plaster top-coat nice and smooth. I made a huge mess and had the vacuum upstairs for a week.

Then I repaired the ballast on more time, and while I was at it I added a little more Woodland Scenics fine grass foam again to blend the scenery into the road and dock area.

Okay, this is better.
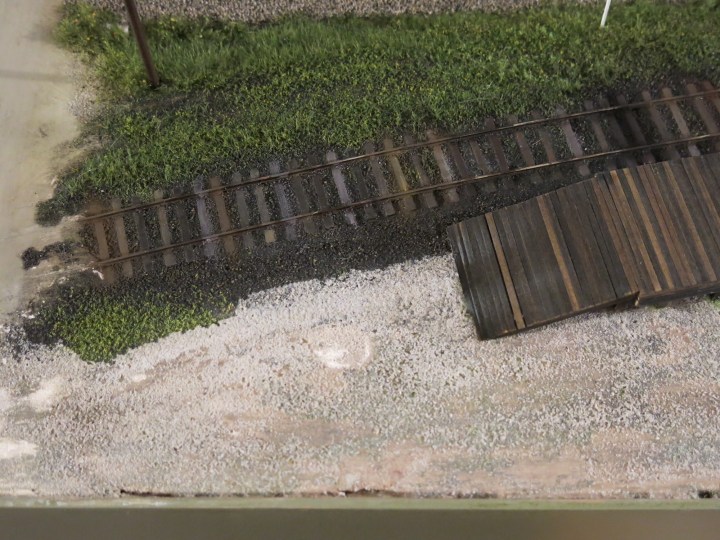
Then I applied a little more static grass to blend everything together. I used hair spray as the glue and applied 4mm and 6mm late summer blend grass. Not too much–just a little bit. Like, just one or two light shakes of the Grassmaster and that was it. I like the mix of static grass and foam; I think it looks realistic. Once the area was dry I went back with the hair spray and sprayed the top of the grass down and put some of the find foam on top of the grass. That really blended all the colors and textures together. I also put a little bit of foam between the tracks and then went back and repainted some of the ties with various shades of brown and gray to give them some highlights.
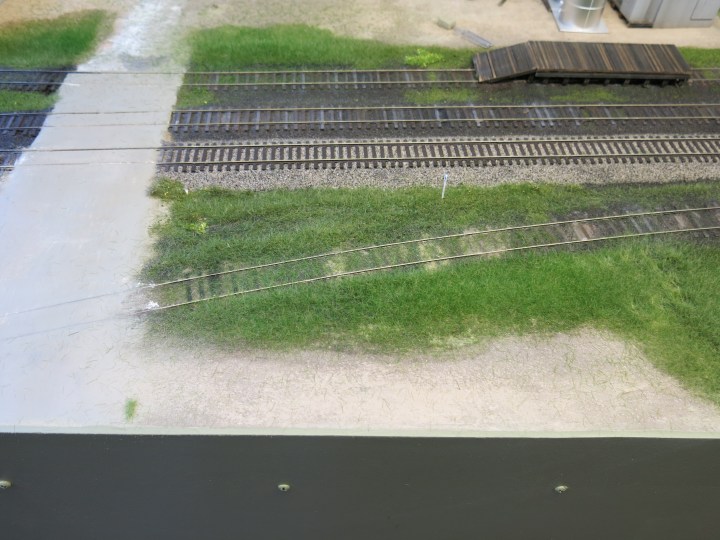
One more view, below. This one taken with my son’s iPhone. The lens in that camera is phenomenal for model photography. The Code 55 rail looks just right in situations like this. Next, I need to add a few wood scraps and a little bit of leftover packing material. Not much…just a little bit. And maybe an old tire, and maybe a truck loading up a few things.

Here’s a final view, below, of where I was last November. Things have come a long way since then. All done in just a couple hours a week.

I hope you all have a wonderful, blessed day! – John
