
")
I was e-mailing with Frank Hodina in early December and I mentioned to him that it was miserably foggy and cold and rainy here in Germany. I had just been through Bastogne, Belgium a few weeks before and I said it would be a good time for a Winter Offensive on the layout.
We both had an “LOL” moment and then I thought, hey, that’s not a bad idea.
I talked to my wife about it and she approved my plan to take a few vacation days so I could start a Winter Offensive on the Ackley layout. The objective was to finish up most of the big work on the layout over a four-day period (a Friday, the weekend, and a Monday) and get the layout ready for scenery installation.
Operation Ackley started on Friday December 9th at 0730 hrs. Here is the original To-Do List:
– Build and install the last 15 feet of benchwork (the north-side staging yard)
– Install the remaining switch machines (3-4, plus re-install one Tortoise)
– Wire and ops-check all the switch machines
– Install the frog juicer on 2 x Switchmaster machines
– Invade Luxembourg and change all the road signs around (optional)
– Paint and install all the fascia that’s ready for final installation
– Organize all “train equipment” boxes and clean up the area below the layout
– Temporarily suspend the offensive in the event of favorable weather (clean front gardens instead–shift to night-only ops)
– Paint the backdrop
– Install landforms/paint landforms to prep for scenery
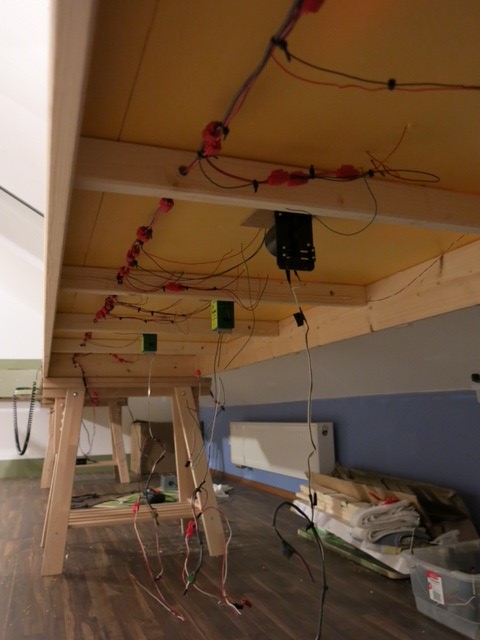
 Above. Here is what the layout looked like before the Winter Offensive began. It was coming along nicely after just five months, but it needed a lot of work to get ready for scenery.
Like all good, old soldiers I started prepping and positioning forces on Thursday night (to get ahead on the work list…or in case I need a nap on Friday). I sent a SITREP (Situation Report) every night to the guys on the Proto Layouts list.
I managed to get almost everything done with ease. The only thing I didn’t make much headway on was building the North staging yard, but that is a very simple process and I did manage to cut the lumber for it.
I took 4-5 hours a day and got a lot of things done, except for Sunday and Monday. I caught a little stomach bug that reduced my work to about two hours on those days. So I got a total of about 15 hours of work done. I completed backdrop painting, all the basic layout wiring, completed all the switch machines installs, and I painted the fascia. I also got all the major landforms done (that was a messy process).
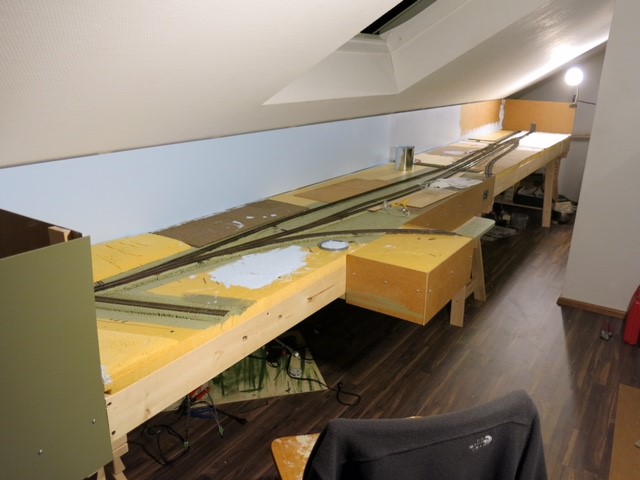
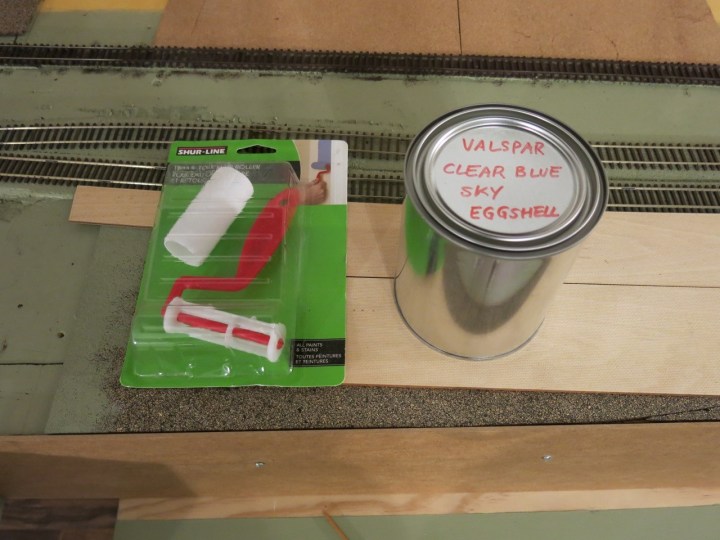
Above. On Thursday evening I cleared off the layout and painted the backdrop. I used a light blue Valspar paint I brought over from the U.S. applied with a miniature roller. This view shows the whole “visible” layout–a whopping 16 feet. There is also 12-foot staging yard on each end of the layout.
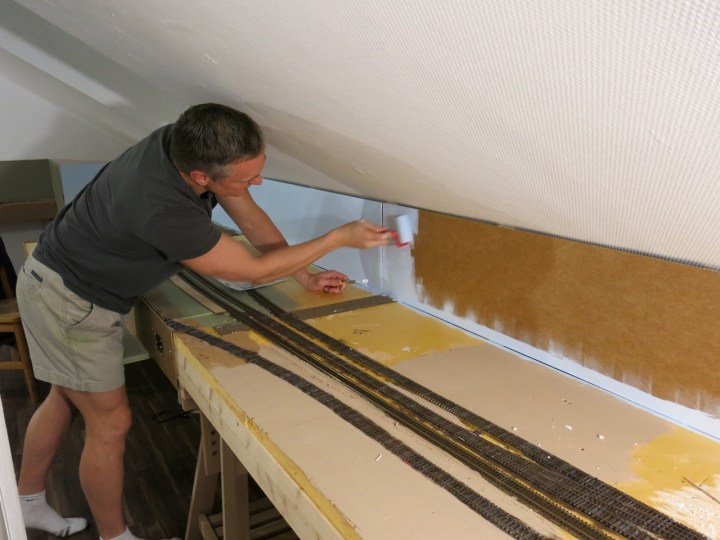
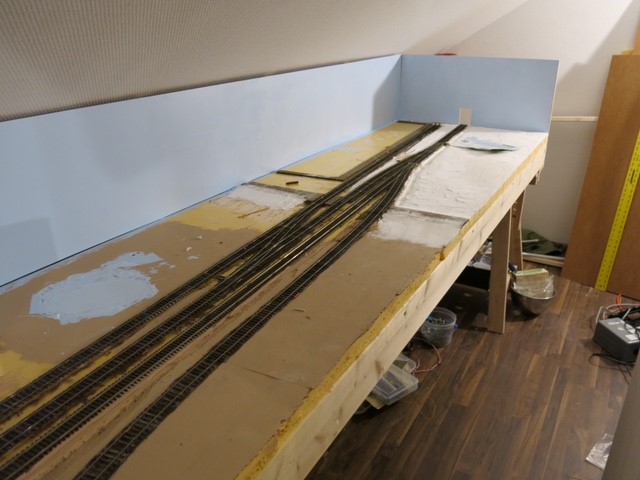
Above. This photo shows the remainder of the backdrop painted, and landforms going in. The flat area in the foreground on each side of the track is cork because I need it flat (that’s where industries will go). The white landform at the layout edge is made of regular old plaster where a farmer’s field will go.
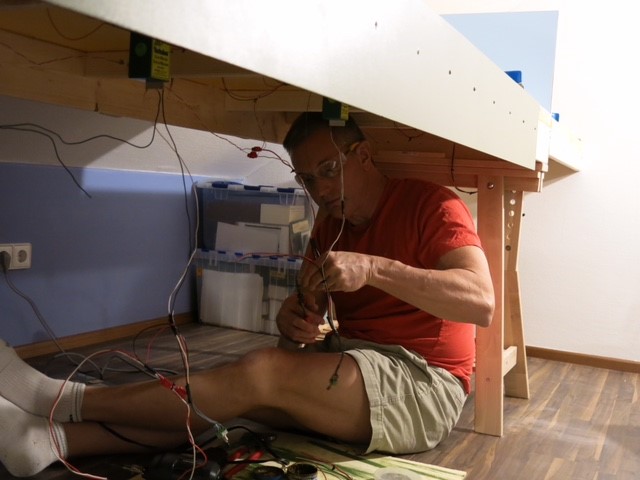
Above. After the backdrop was painted I moved to wiring. I had to install about 25 wire drops to the track, install three or four switch machines, troubleshoot the switch machines, install wiring to switches on the fascia, and get the wiring all tidied up.
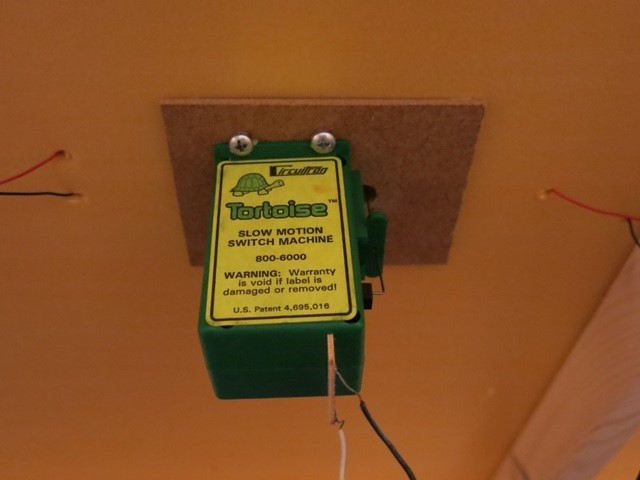
I installed my switch machines underneath on Masonite pads. I cut Masonite to about a 4 x 6-inch square and glued the pad underneath the switch machine. Simple, and very effective.
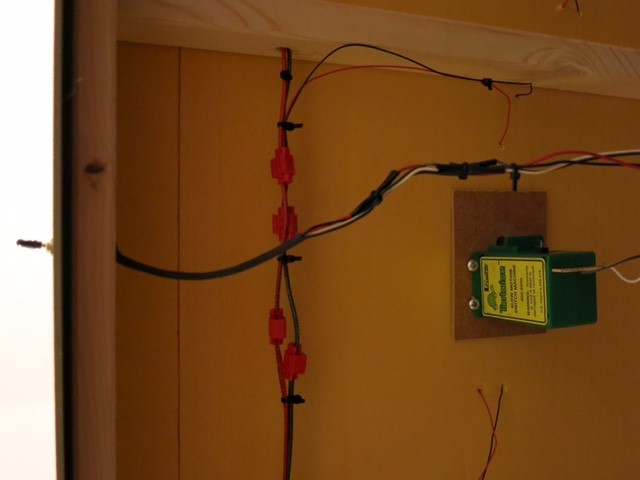
This photo above shows the underside of the layout with a switch machine installed and wired up. At the far left is the underside of the fascia–you can see the control switch installed and the wires leading to it. The wires running top to bottom are the main power bus.
Above. After a half day of work, this is what things looked like. I relaced the Switchmaster in the foreground because I wanted to power all my frogs, and the Tortoise has a more convenient connection for that. The dropped wires are the switch machine switches that will be routed through the fascia.
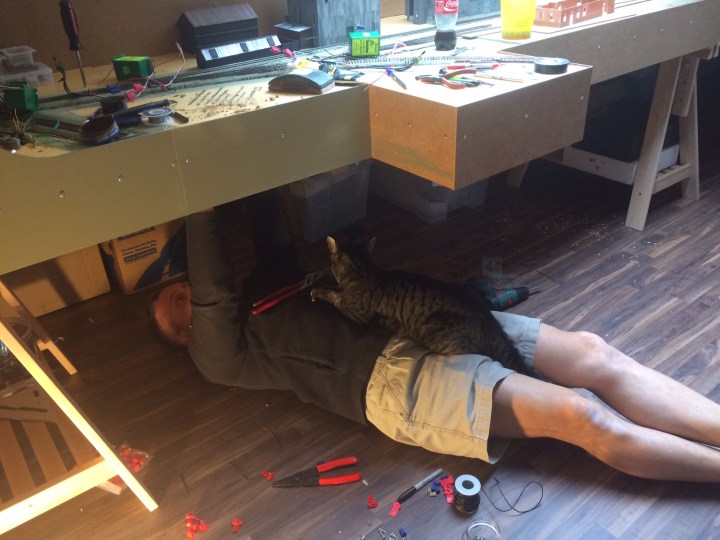
Later that night (above). It’s not easy to get stuff done when you’ve got Scooter The Cat cozied up on your chest.
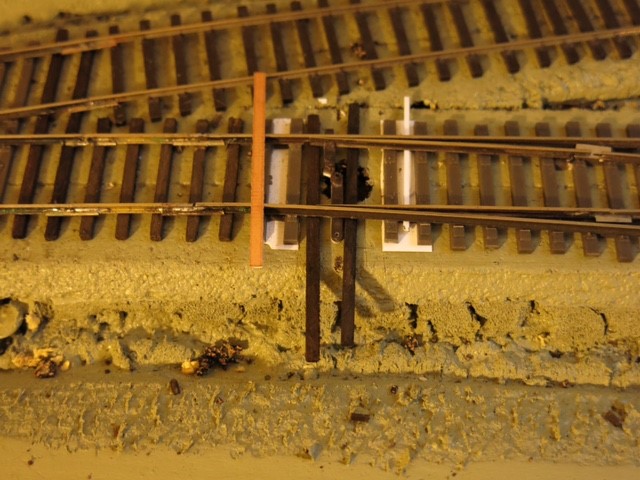
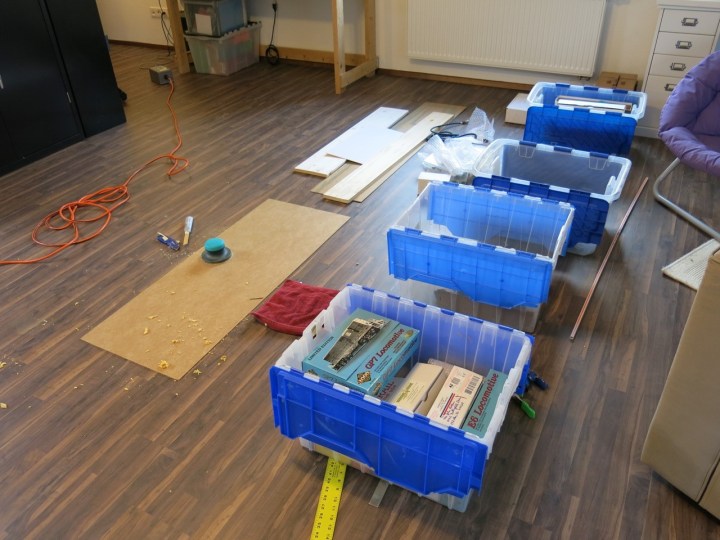
Above. One of the additional things I had to do was repair a turnout with a broken throwbar. I handbuilt all my turnouts; on a couple of them I used the Micro Engineering points set to speed up the process. In this case, unfortunately, I broke the ME throwbar so I had to replace it with a throwbar made from PCB board. Below: Here is one of the reasons for the winter offensive. What a mess!

The first thing I had to do was clean up the corner and organize everything into boxes. Then I began constructing the turn module to the north staging yard. I built a simple box of 2 x 3s, attached one end to the layout and the other end to the wall, and built up the fascia around it.
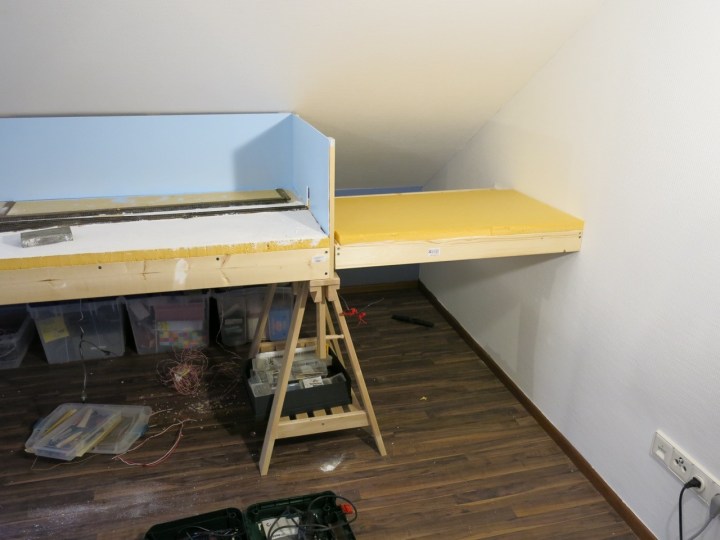
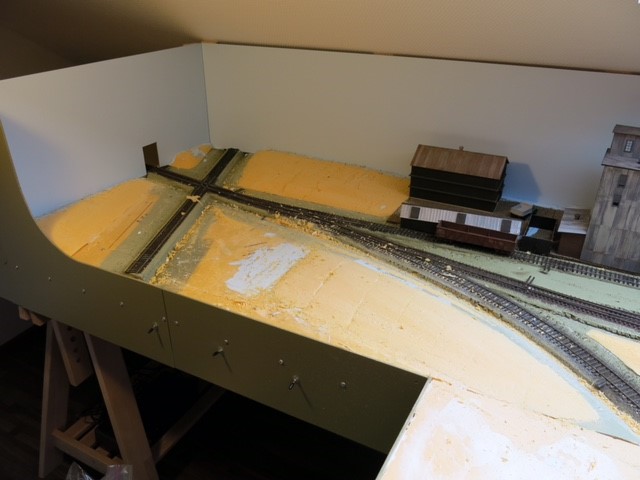
After the weekend it looks like this:
Better, no? The “tunnel” at right leads to the “north” staging yard, which represents all points north of Ackley, including Mason City and Minneapolis. Below, to get the layout ready for scenery, I used a rasp and a sanding block to smooth out the plaster landforms where the farmer’s field will go on the north side of town. What a mess.

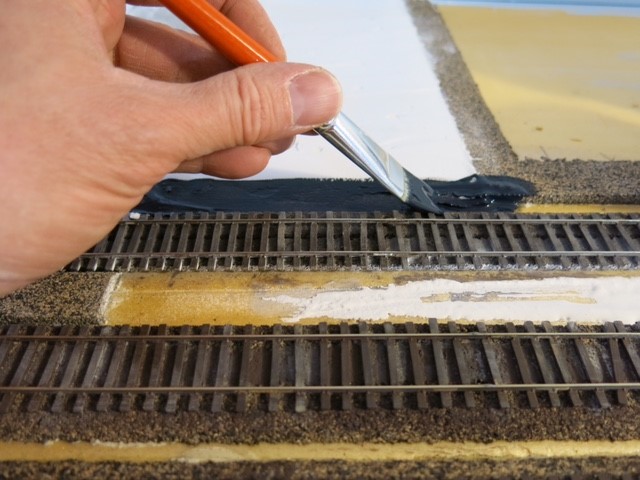
One of the things I did to prep for scenery was paint a few inches on each side of the roadbed black (see below). This was to make sure that the orange styrodur subroadbed didn’t show through after the track was ballasted.
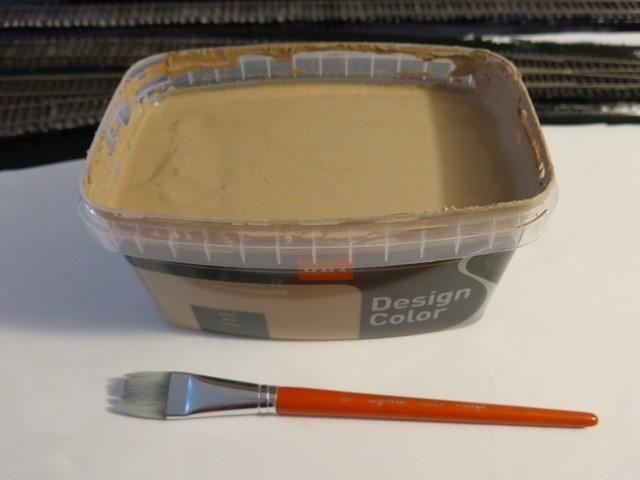
I used the paint (above) to paint all the landforms and cork layout base. This is a typical German house paint, which is water-based, but it is thick–almost what we Americans would consider paste. It works good though and doesn’t drip as easily as American paint. It just takes little getting used to. A couple of liters of paint was 11 Euro-bucks.
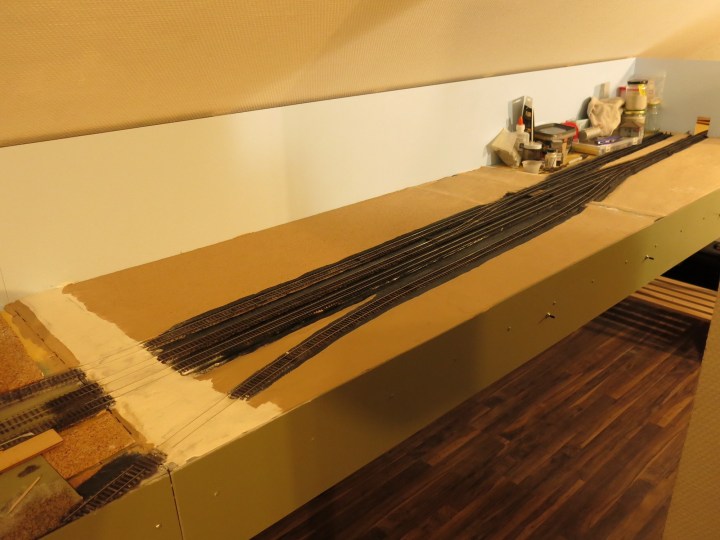
Below: The finished result, ready for scenery. The track on the north end of the layout has been fully wired and painted, the landforms painted, the roadbed edges painted, and the first of three grade crossings is underway (the “dirt” road in the foreground–made of Hydrocal).
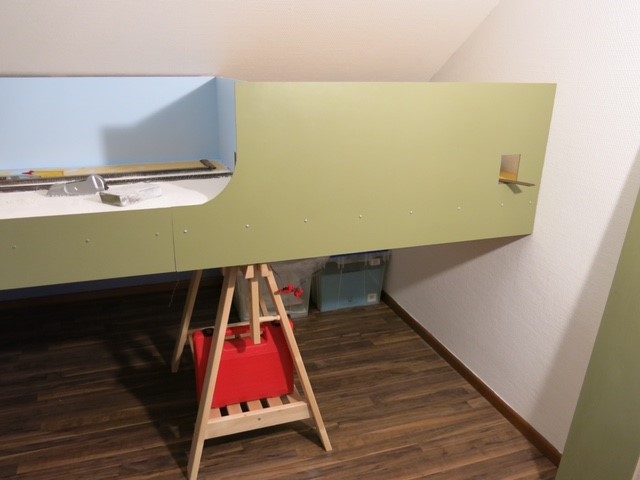
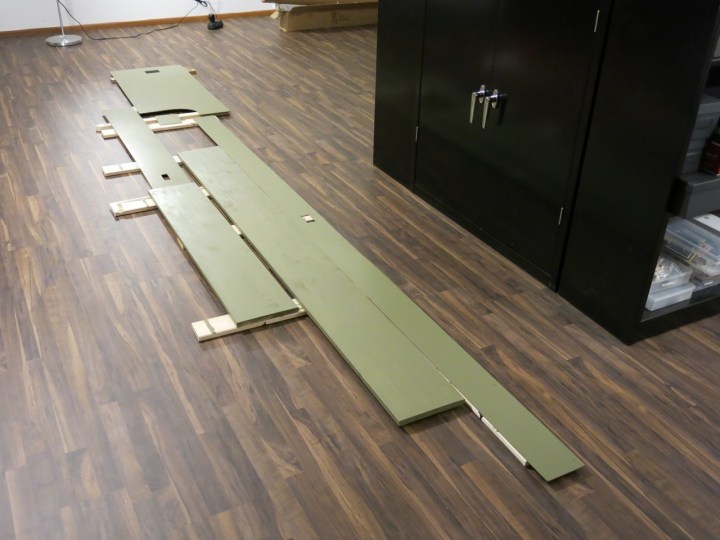
In the photo below, I’ve removed most of the fascia for painting. I’m using a nice German color, RAL 6013, for all the fascia.
In addition to painting and wiring and building and all the other tasks, I reorganized all my train stuff, and re-packed the storage boxes I keep under the layout. I basically emptied them all out and re-packed them as the weekend progressed.

On Monday I cleared the layout and loaded it up again to check progress. It looks a lot better than when I started! You can see a large chunk of styrodur in the foreground that will be “rasped” into a gentle landform later in the day.
The landforms were made with the same German “styrodur” material that I used for the subroadbed material. It is two inches thick and harder than the standard US blue Styrofoam. I had some scrap pieces and cut them to shape, then shaved them down with a rasp. That process made a tremendous mess but I was able to shape some good landforms for the south side of the layout at the IC junction.

The styrodur landforms were made primarily for the south end of the layout. I shaved them down with a rasp, glued them in place, and then shaped them with the rasp to make smooth transitions for the scenery. The photos below show the landforms for the south side of the layout at the IC junction.
By Monday evening I was tired of working on the layout. I grabbed a beer or perhaps two, or three, I can’t remember–and called the Winter Offensive a success. Next: Finish the highway crossings and start laying ballast.
Lot of work in progress! – John G

John its looking good.
LikeLike
Ausgezeichnet! Good to see I’m not the only person who writes their to-do lists directly on the layout…
LikeLike