

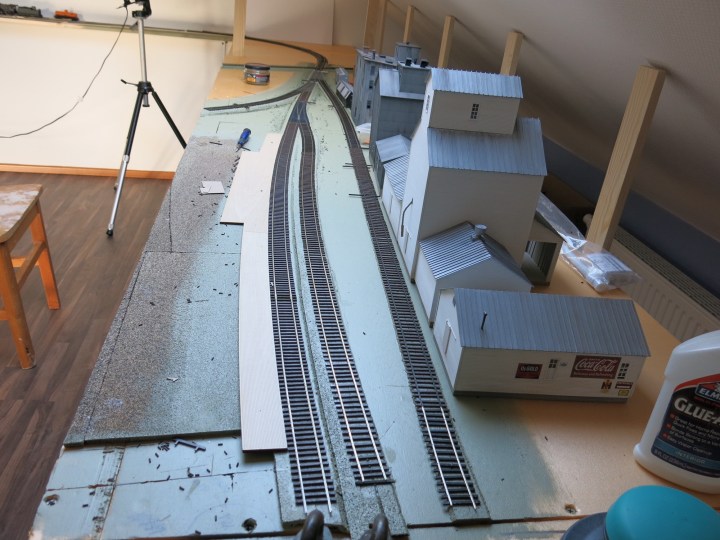
On the current Ackley 2.0 layout, I began the track-laying process by laying the mainline roadbed and then laying track at the Illinois Central Junction on the south end of the layout.
I am using Micro Engineering track exclusively. I like the track detail and ease of application. I wanted track profiles to match the prototype as closely as possible so Code 70 is used for the main line track and Code 55 for everything else.
Turnouts were built at the workbench using Proto87 Stores parts and Central valley tie strips. I enjoy building the turnouts and have built about 25 in the last few years, although the current layout only uses seven total turnouts on the visible portion of the layout, and Atlas Code 83 turnouts in staging. I am a big advocate of Proto87 Stores and use many of Andy Reichert’s products. The Stores can be found online at www.proto87.com.
A view of one of the scratchbuild turnouts on my previous Ackley layout is included below. I do not use a .005-inch sheet of styrene under my current turnouts, however. Instead, I use a small sheet of .005 styrene under the header ties only. that is done to keep the header ties in position since I build them at the workbench.
I will cover turnout construction later; the process will also be seen in a future edition of the New York Central Modeler magazine. As mentioned there are only seven turnouts on the entire visible portion of the layout; five are Code 70 and two are Code 55. Because of space limitations I used No. 8 turnouts for the main line station siding and No.6 everywhere else. I preferred to use No. 8s on the entire layout but I had to compromise due to space limitations. To ease operation I eliminated sharp curves off the turnout leads to improve performance.
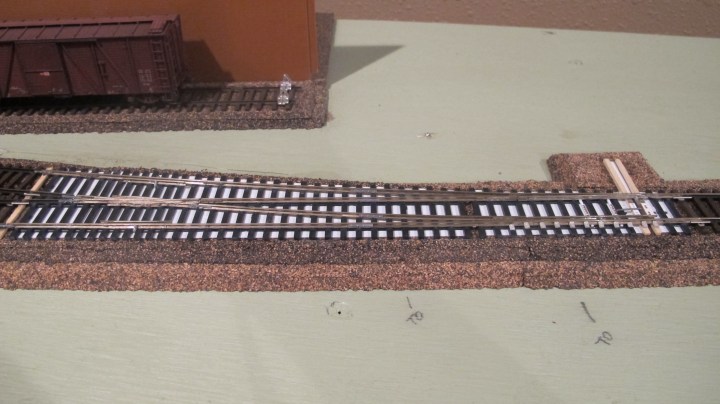
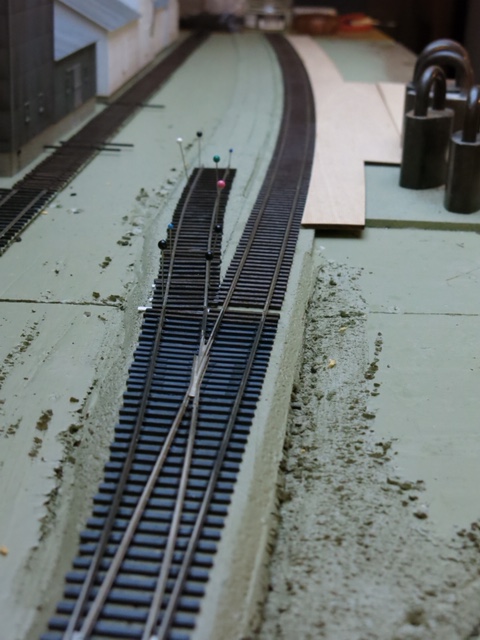
I began the track-laying process by assembling a long section of track that included—from left to right—a short lead to staging, the IC crossing, and two turnouts. The two turnouts were scratchbuild Code 70, No. 6 turnouts. I used a Code 70, 60-degree Shinohara product for the crossing. I pinned everything to the layout in the proper position, then soldered everything together into one continuous 2-1/2-foot section of track. I marked the location of the throwbars and drilled 3/8-inch holes for Tortoise switch machine linkage. In the photo below you can see that long section of track and the switch machine linkage holes.
Prior to laying the track permanently I sanded down the roadbed one more time to ensure I had a smooth surface. This is important to eliminate as many rough spots under the track, as it ultimately improves operating performance. When everything was ready I laid down a bead of Elmer’s glue, spread it out with my fingers, and gently laid the track into position being careful to not glue the throwbar to the roadbed. I checked the alignment continuously and then set the alignment with sewing pins, and finally put old railroad locks on the track to keep it in place until the glue dried.
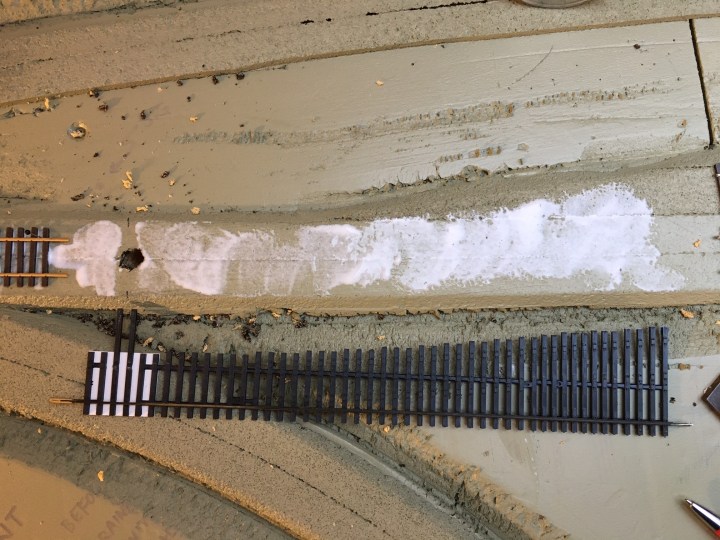
I used Micro Engineering ties to fill in gaps where ties were removed to facilitate track-laying. In some cases I cut down the original ME ties and re-used them, but I was concerned that by trimming the ME ties I would lose the tie plate detail. So, in most cases I use ME wood ties and added scale tie plates from Proto87 Stores. Installing individual ties plates is a long process but on such a small layout, I feel that I can afford some extra time needed to super detail the track.
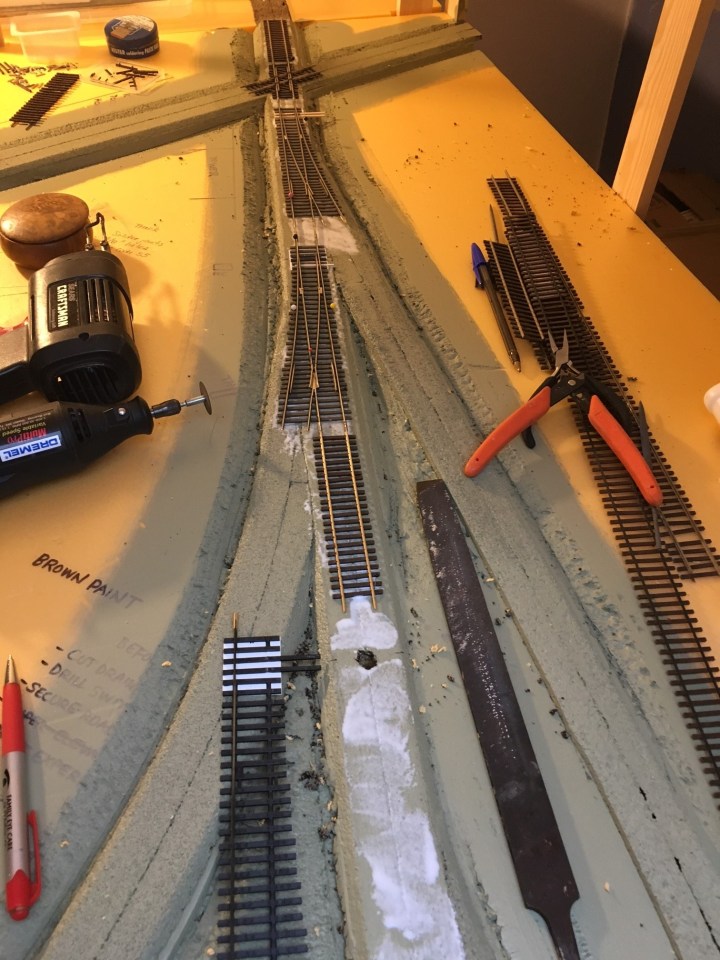
When the track was in place and the glue dry, I removed the weights and pins and then laid down a Central Valley No. 8 turnout strip which will serve as the south end station siding turnout. This turnout was slightly curved on the prototype and I wanted to include that same feature, so I laid the turnout strip first—slightly curved to the left—and built the turnout in place. I laid this turnout using the same process, by locating and drilling the 3/8-inch hole for the turnout linkage first, then gluing down the tie strip, and then securing the proper alignment using pins and locks. Below, I included a photo to try and show the slightly curved main line turnout.

The process of building the turnout in place was a little more difficult but it still went rather quickly—probably about two hours tops.

Later on, during testing, I had a lot of difficulty with this turnout. This turnout is located where the curve easement begins; I laid the tie strip slightly curved to the left. I found during testing that I had continuous derailments between the frog and the switch points. After a lot of testing I found out that the gauge was compressed between the frog and the points, causing one axle to ride up on top of the rail and derail on the switch. I had to remove some of the track from the turnout and re-install it, ensuring the gauge was wide enough to ride through the switch. Lesson learned. It took three or four hours to get everything working correctly.

Above. The pins are essential for keeping the track in alignment while the glue dries.
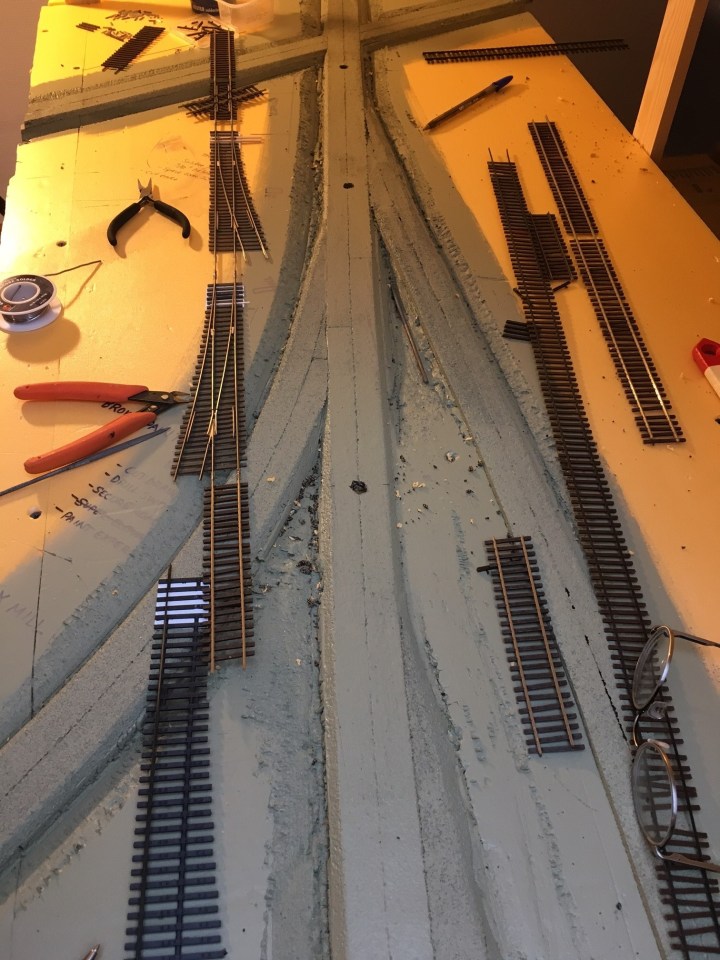
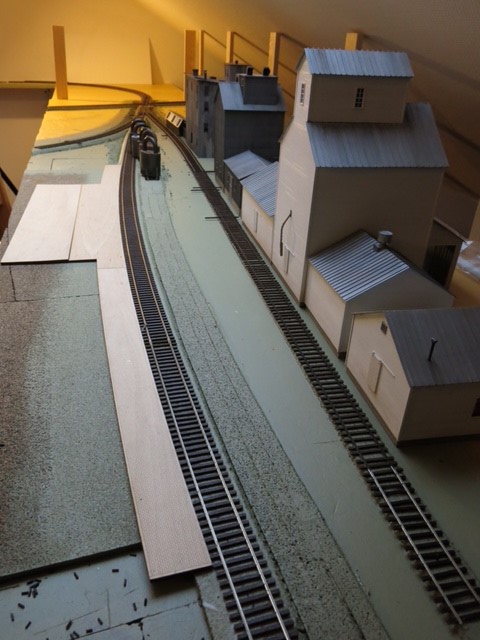
Above. After this initial section of track was laid I laid the rest of the main track on this module and then laid the town siding. You can see I’m a big fan of using the wife’s pins.
Laying the main line curve was easy. I simply followed the station platform and curved the track around it. Then, again, I laid a bead of glue and pinned the track into place. The curved, flowing platform allowed me to lay a perfect, flowing main line track along the platform. Maybe Bill Hoss should consider making easement products to make laying easements simple for everyone???
I transitioned from Code 70 to Code 55 rail by laying the Code 55 on top of an exposed Code 70 joiner that was trimmed down to provide a smooth railhead surface across the rails. I then soldered the whole joint.
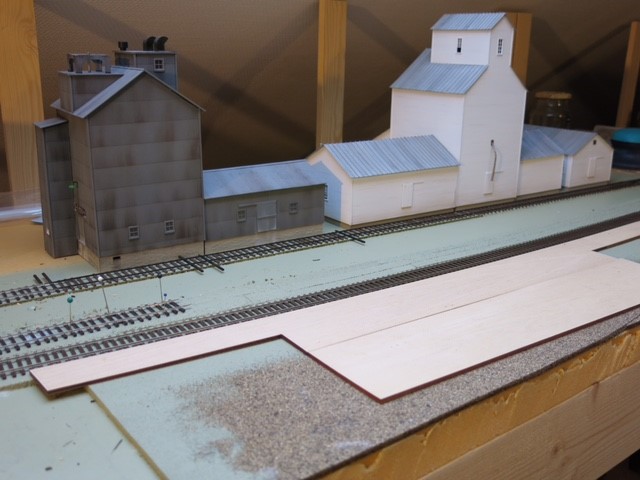
Above, another mocked-up view of the layout. The long ties were used to fill gaps from lost ME ties. I ran out of ten foot ties and had to use turnout ties (which were later cut down to the correct width).
one final view above. I really hate the green paint but I can live with it for the time being. The two tracks at right are Micro Engineering Code 55; the main track at left–along the platform–is Code 70. The layout is starting to take shape.
If I were to offer any advice on track laying, it would be Take Your Time. There’s an old adage: Quality Takes Time, so take your time. Make sure you build a smooth, level road bed for your track. Do what it takes. And when laying track, ensure you have smooth, flowing track. Eliminate kinks, joints and bumps where ever you can, especially on turnouts and crossings.
