

The new Ackley layout is being built as a point-to-point, one-town switching layout with a staging yard on each side. I call the staging yard on the south side of town South Side Staging and the staging yard on the north side of town North Side Staging.
To access the staging yard from the visible part of the layout, I first built a very simple corner module our of standard benchwork components. The 2-1/2-foot square corner module contains a 24-inch radius curve made from reliable Atlas Code 83 sectional track, and connects the visible main line to the staging yard. In the photo below, you can see the corner module, blocked by a section of tall fascia, with a hold cut for access to the staging yard. The staging yard will be built on the open wall at center.

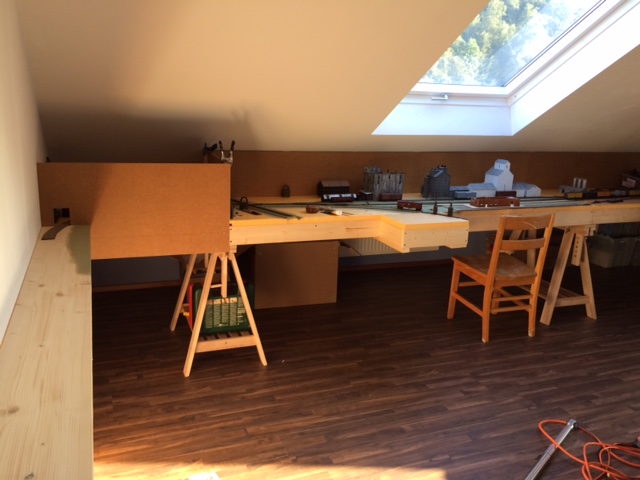
The photo above shows the visible portion of the layout at right, the corner module with the high fascia at left, and the staging yard benchwork at far left along the wall. The benchwork is hardwood shelf board secured to the wall. Of course I would prefer to have a staging yard that had six or seven tracks but I want to keep it simple for now. South side staging will have just three tracks.
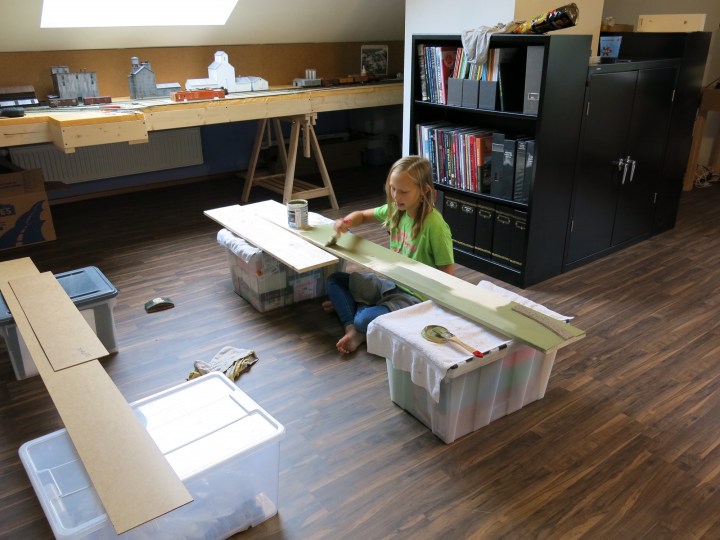
The photo below shows the benchwork in place, along with some color-testing on the staging yard benchwork, and some backdrop testing on the yard itself.


Above. I pained the shelf board a medium-dark green color using a German water-based paint from the local Obi hardware store. The color I used was RAL 6013, which is close to what we American modelers call “CTC-Machine Green”.
When it came time to paint the shelf board, I had a little helper…
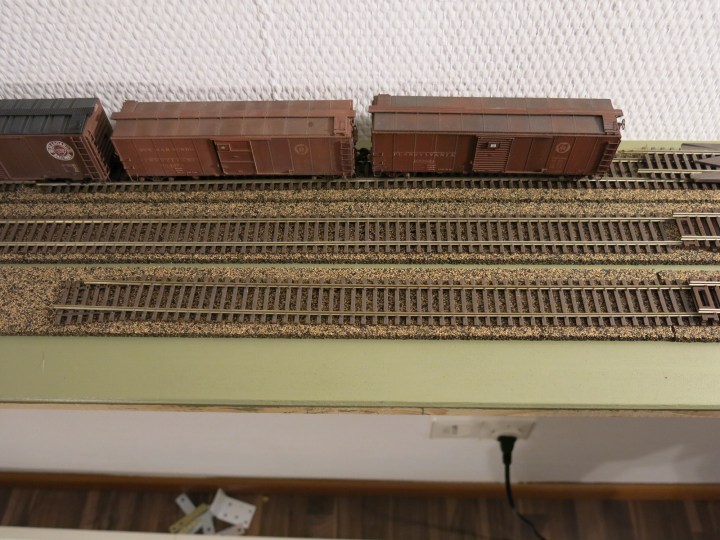
Above. With the staging yard shelf board painted, I mocked up the track and roadbed and checked out the look. I really like the color contrast between the dark green, brown cork, and Atlas ties. Another mock-up photo is below.

At this point I was ready to lay track. I installed one layer of HO cork roadbed on the shelf board and then glued the track to the cork using Elmer’s glue. The track is Atlas Code 83 track leftover from a previous layout. It works fine and looks good. The process was fast and simple and the yard is sturdy and very reliable. There are only four turnouts in the entire yard—two at the yard throat and two more at the rear end of the yard where I installed an escape crossover. I control the turnouts with Caboose Industries ground throws. The whole yard is simply wired for DCC. I did not power the frogs.

Above. Here is the yard with all the track installed, ready for wiring and installation of the backdrop and fascia. I removed the high fascia in front of the corner module for painting. You can see all kinds of tools and things hidden back there. The fascia for the rest of the layout is on the floor ready for painting as well.
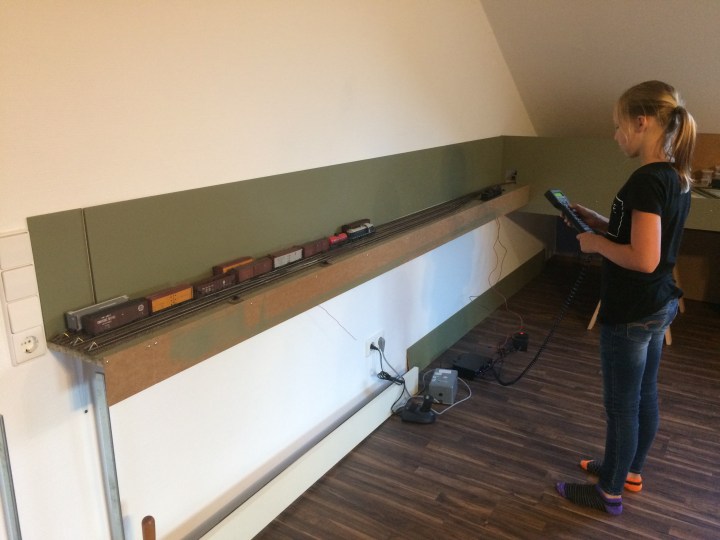
A week later I had wired the layout and installed the backdrop fascia, and connected some temporary wires to check operation. In the photo above, my daughter Kirsten already has the NCE in hand, trying to get the cars as close as she could to the bumping posts. She did well, and I didn’t complain because the slow-speed operation and control needed for such a game was readily available, thanks to NCE and the good old Atlas RS-1. She was able to step down the throttle to one scale mile-per-hour and stop just as the rear coupler was about to touch the bumper.
Obviously I still need to paint the rest of the fascia and install an NCE port, but the big work is done.
Finally, a note about the RAL paint color. When I lived in the US and wanted a certain color paint, I could drive to Lowes and pick something that I liked from the wide selection of colors there. Things are different in Germany. The big hardware stores here offer standard colors, which are defined on a “RAL Chart”. RAL is a standard series of colors that are available throughout Europe. I used RAL 6013, which is close to “CTC-machine Green” but is a little darker—almost a military olive green color. I am using RAL 6013 for fascia and everything in the staging yards.
The good thing about using RAL colors is that you can always find your color no matter where you buy the paint. When I bought my can of paint, the lady at the paint counter gave me a special sticker with the color data on it and told me “Don’t lose this!”
A complete listing of the RAL colors is available on RALcolor.com. Or, just Google RAL and you’ll see all kinds of color charts in the “images” tab.
