

Pictures make blogs more fun, so here are more pictures of the Ackley layout built at my Illinois home before it came down last fall.
Below is a view of the main town site under construction. I used Micro Engineering Code 70 on the main line and sidings, and Code 55 everywhere else. All the turnouts were built using Code 70 rail and were kitbashed using Central Valley tie strips with Proto87 Stores parts and scratchbuilt throw rods. I laid all the track on two layers of cork on top of wood subroadbed. I used HO or N scale roadbed where appropriate to change the height of certain tracks. I used very thin plywood subroadbed which warped a little after a short while and caused problems at the joints between the layout sections. After gluing down track and roadbed, I used the heavy switch locks and some stick pins to hold the track and roadbed in position

Below is a photo that shows the basic construction features. Open-frame benchwork was used, and the gaps filled in with two-inch blue Styrofoam. Thin Masonite was used for the backdrop and curved to fit. If I were to do it again I would use Styrofoam for everything–the subroadbed, the scenery forms–everything.
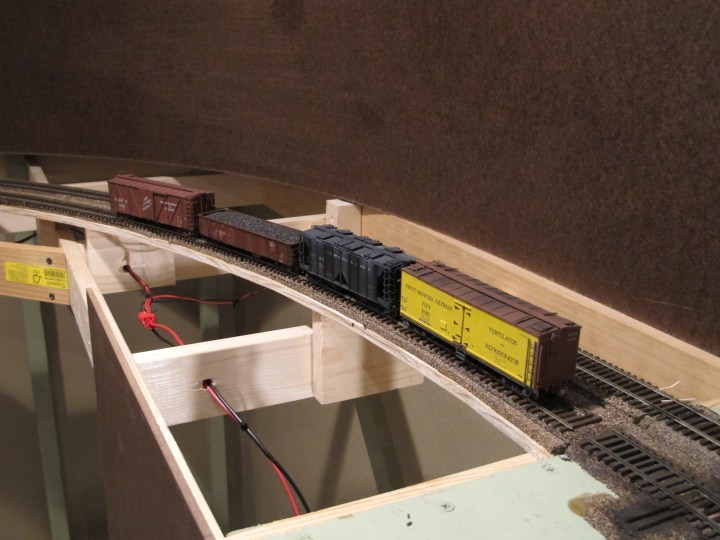
Above. Tracklaying is well underway. The stickpins in the foreground were used for a variety of things. In this case they are put in places that need attention.
Below. Here is what the layout and layout room looked like when I was deep into a track or layout building session. There’s stuff everywhere. I was watching old English soccer games that day—looks like Wolves. There are hundreds of games available on YouTube.

Below. This photo shows the versatility of the layout. That Pennsy engine looks pretty much at home. PRR had secondary lines all through Ohio, Indiana and Illinois with lots of towns that look somewhat like Ackley.
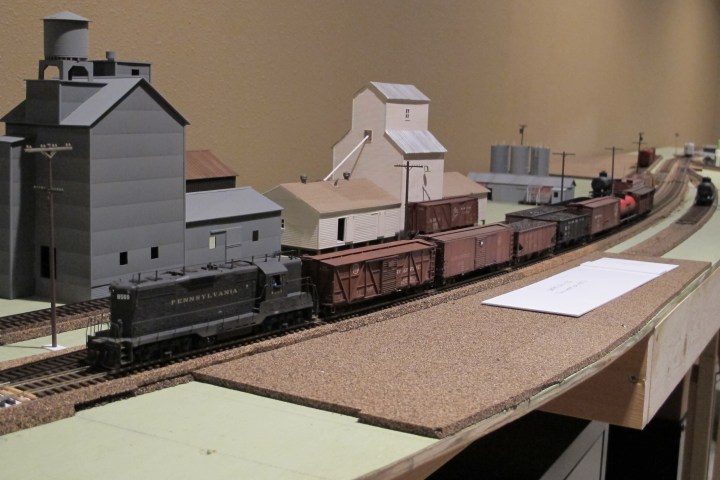
Above. In the previous photo, the original elevator I built can be seen. The photo below shows the “new” elevator I built around 2013. As no photos of the Ackley elevator have surfaced, I scratchbuilt this elevator using a photo from another M&StL location as a guide. I used Sanborn maps of Ackley to determine a scale footprint and built he rest of the building to fit.
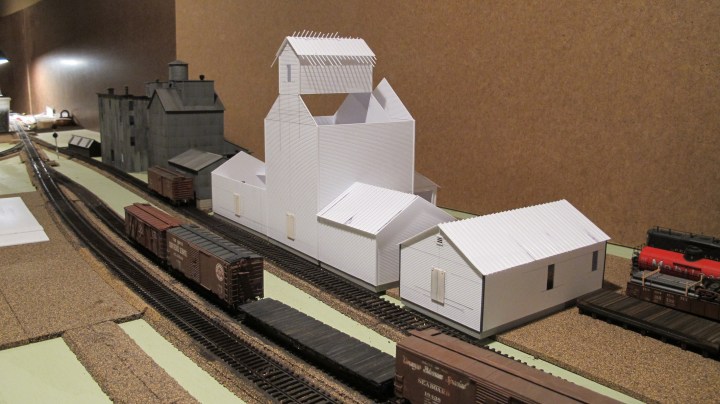
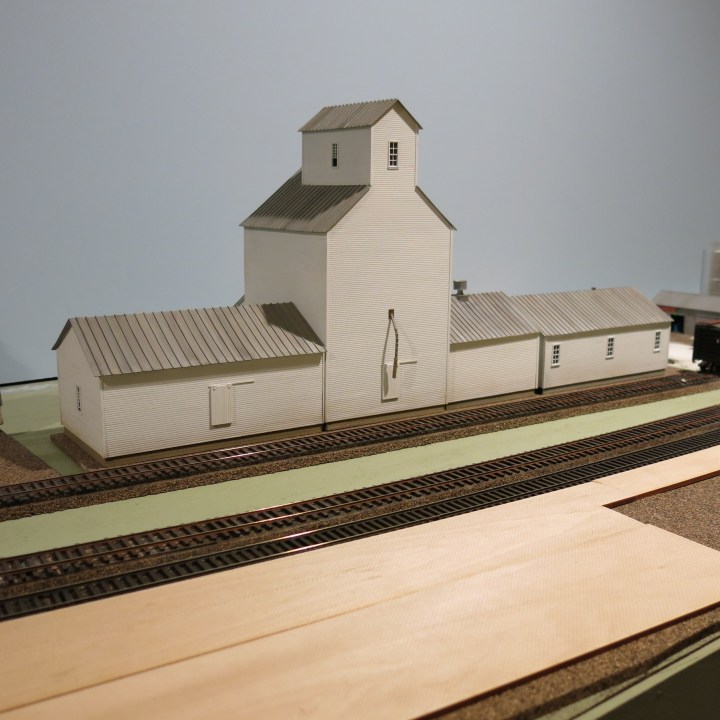
Above. Here is new “new” elevator, completed and ready for action.
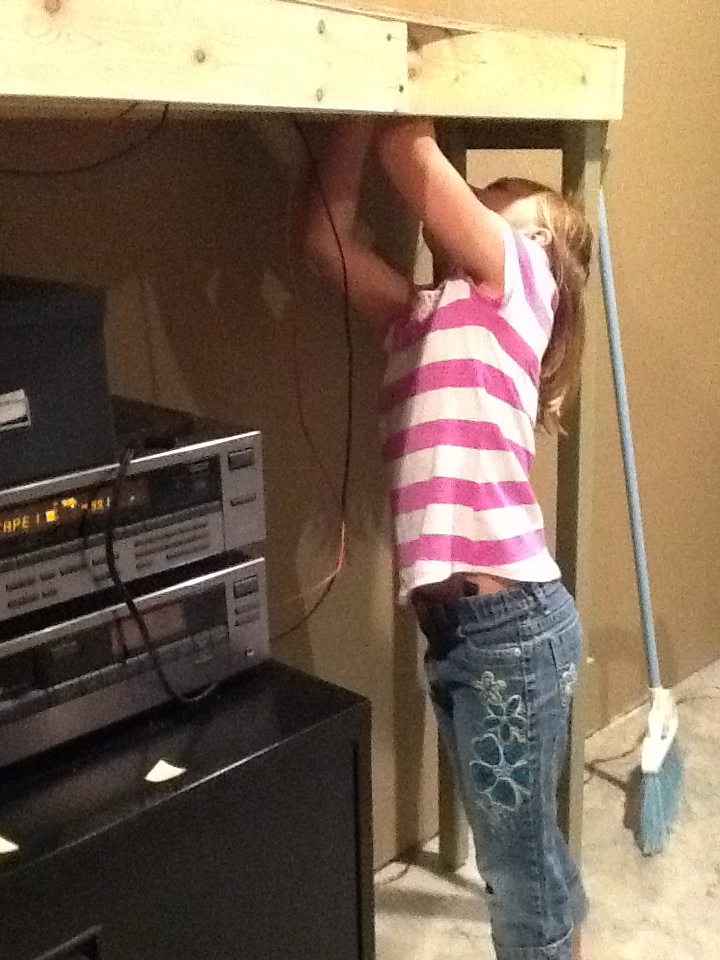
Above. Little helpers come in handy to wire the layout!
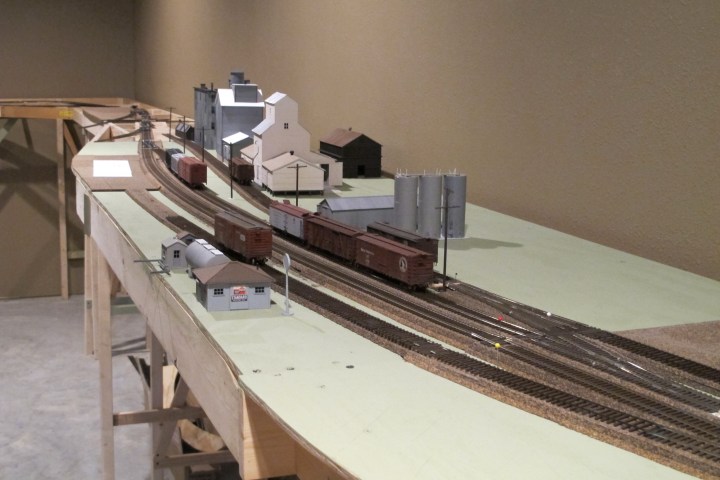
This photo, below, gives an example of the clean look desired for the layout. This is the South Side or Interchange module.
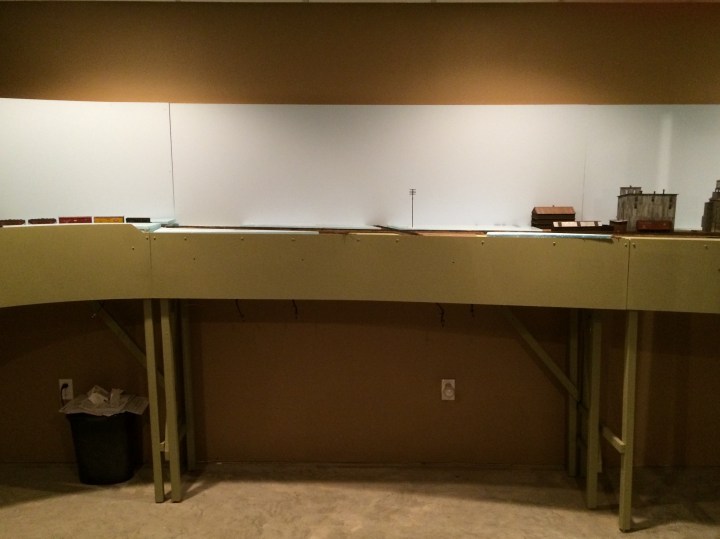
This photo (below) is from the back of the layout room looking toward the room entrance. The tracks curving at left connected with the staging yard, which was to be built on the right side of the viewer. The main town site is to the left along the wall, of course. The item on the wall is a timetable display cabinet I built about 20 years ago.
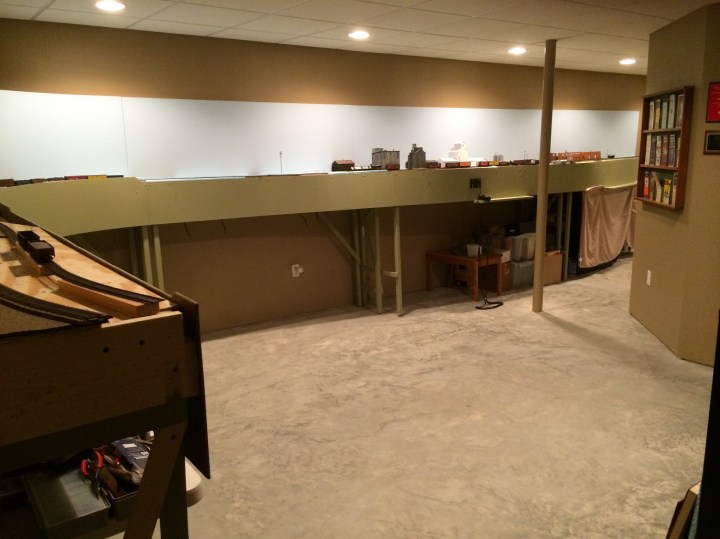
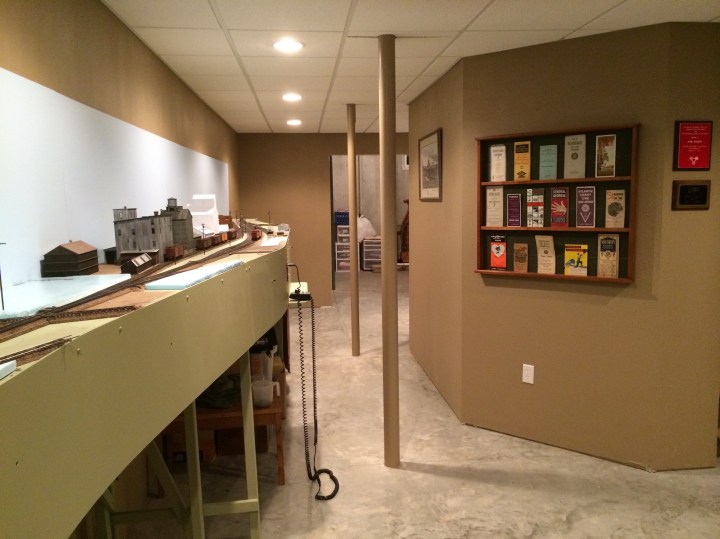
Above. Here’s another view of the layout in the room. The Styrofoam was used to make small hills in the foreground and background. I never got flooring installed while the layout was in operation. I just couldn’t afford everything. We have a better view of the Timetable cabinet here.
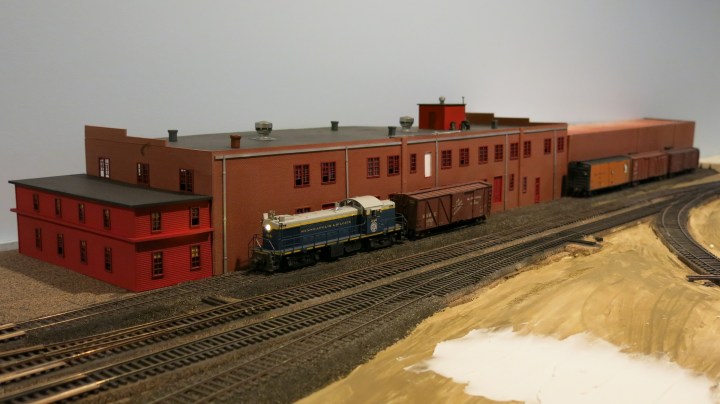
Below. This is my version of the Marshal Canning Company, which was the largest industry in town and was located a few hundred feet north of the depot. In my timeframe, 1950, the cannery could hold six cars and during canning season (late summer after harvest–around August to October) cars moved in/out at a frantic pace. The model was about 3-1/2 feet long.
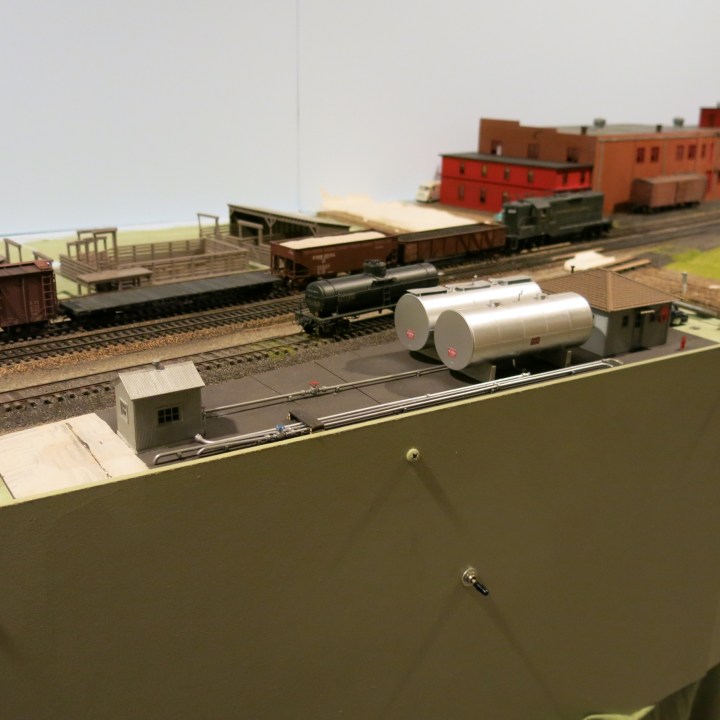
Below. This is my representation of the Standard Oil dealer in town, across the street from the cannery and located on the Team Track. Again that PRR engine looks right at home in the generic setting. The cattle pen on the City Track was retired by 1950 but I decided to model it anyway.
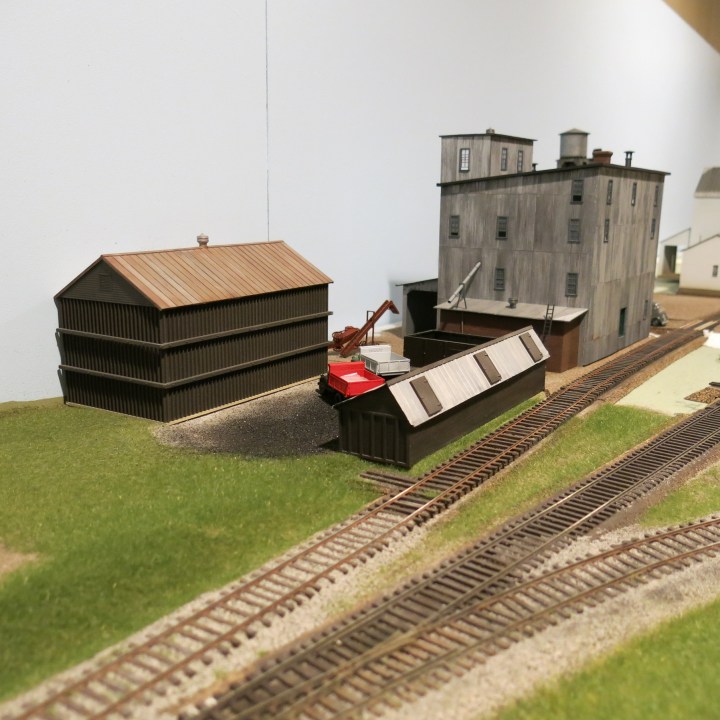
Above. This is as far as I got with scenery. This view is at the south end of the City Track and shows the flour mill with the coal bin in the foreground. I was dissatisfied with the ballast color. I desired a more “dirty” look.
I hope you enjoyed the photos! – John
