

This post is a photo essay of the Ackley layout built at my former home in O’Fallon, Ill. We built that house in 2010 and left it in 2015. In that time I was able to get most of the original Ackley 1.0 layout built. Here are photos of the basic layout and layout room construction process.

Above. This is the original drawing of the basement. The layout was built in the bottom center room, what might be called the mechanical room. Dimensions were 31 x 14 feet. The garage is on the right, bedroom on the left, and downstairs den at top left. I had the builder install a number of additional outlets for layout power and lighting. Note I wanted the outlets 48 inches from the floor so lighting cords would not be all mixed up on the floor. Later, when I hired a private contractor to finish the room, he recommended I put the outlets back at a normal height (~18 inches off the floor) to standardize the room with the rest of the house. The squares are locations of steel support poles for the I-beams supporting the main floor above.
Above. This is a photo after the initial move-in. This is the are of the future layout room. Obviously there are no walls built yet. All my books and boxes of models, and parts of old layouts, are in the room. What a mess. As of today I have gotten rid of about 2/3 of this stuff, including most of the magazines and a great number of older books.
Below. This picture shows the layout planning process. I used two-foot-wide craft paper to mock up the layout, then cut the craft paper to the shape of the layout. Then I used the paper layout form to cut my plywood sub-base. The process worked well, but in hindsight I wish I would’ve used two-inch Styrofoam instead. It is sturdy enough, and costs less, and is much less complex to work with. And it’s faster!

Below. This photo shows the layout room being framed out by my private contractor. Note the mechanical equipment is now in a smaller mechanical closet. The workbench will go in the area on the left, and then layout will be along the right side wall.

Below. Here is the main layout benchwork, built up and placed into the room to test the fittings and lighting and details. This is one reason I made the benchwork “moveable” (not necessarily “portable”) because I knew I would have to move the layout around while I was having the room built around it. Love those support poles in the middle of the aisle! Can I tell you how many times I ran into them?
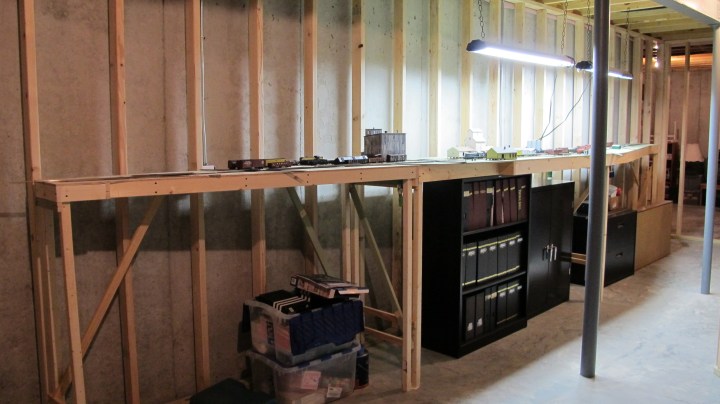
Below. Another view of the layout in place with the framing complete. I had planned to put all my bookcases below the layout so I was also testing those fittings. The workbench would be placed at right. The rail height was about 53 inches off the floor.

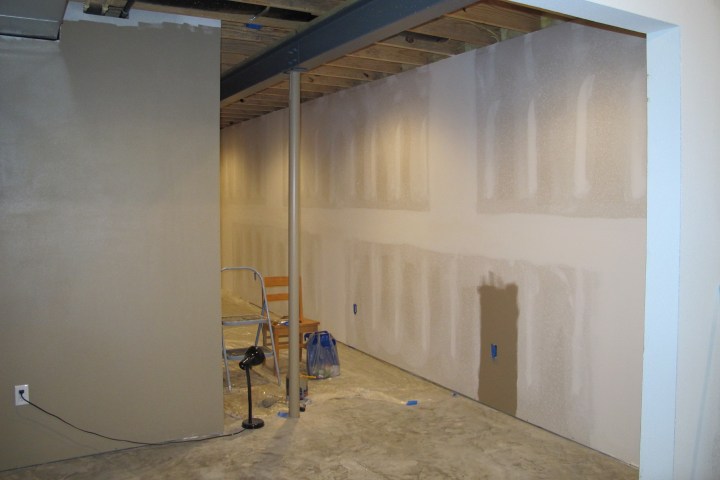
Below. This is a photo of the room being sheet-rocked (yes, that’s now a verb). My son and I have already begun painting the workshop area at left. Note the lowered outlets. The sheetrock process once again required the layout to be removed from the room. What a hassle.
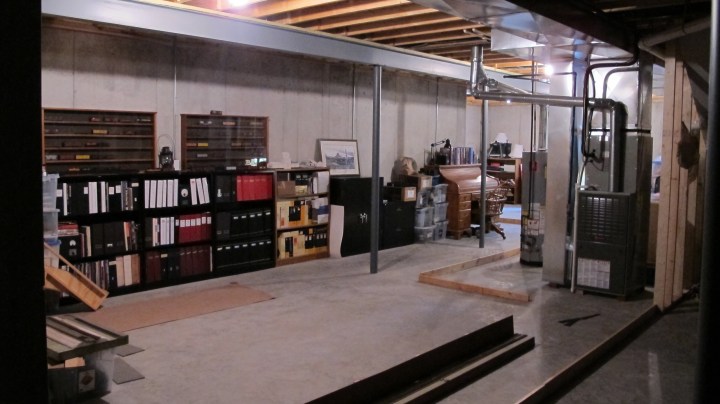
Below. This photo shows the layout back in place after the room has been painted. Once again I am testing fit and form and function. As you can probably see, not much track-laying and scenery had been completed by this point. The layout sections—despite being built “lightweight”—were very heavy and cumbersome to move. This photo was made about two years after I moved into the house.


Above. This photo shows installation of the drop ceiling. I installed a drop ceiling because the train room also served as the mechanical room and I wanted to have free access to home HVAC equipment above. The ceiling installation was completed with the layout in position.
Above. Now that the room construction was complete, I could begin layout construction at a greater pace. This photo shows the “south end” town module under construction, where the IC crosses the M&StL main line. The track at center left leading off the layout is the M&StL-IC transfer (interchange) track. the main town site is seen above the IC crossing.
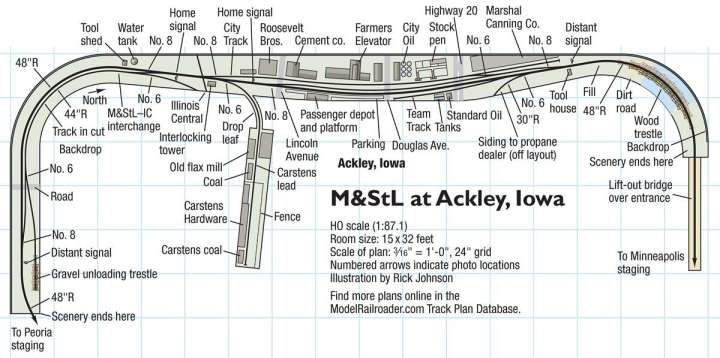
Below. Here’s the layout plan again for your ease of reference.
Below. In this photo most of the tracklaying on the south end module has been completed, and I am moving on to the siding modules. South of the town site was a siding that I had to build with a curve because I ran out of room to build it straight per the prototype. That was not a huge compromise in my way of thinking. The structures are slowly being completed as the layout grows. You can also see the 30-inch frame for the Masonite backdrop installed on the south end module.
The depot site is at the bottom left. The industries seen, starting at bottom right, are the Farmer’s Grain Elevator, the cement distributor, and the flour mill which included a coal bin. The customers are all lined up on a single siding called the City Track.

That’s all for now. I’ll post more photos of the old layout later.
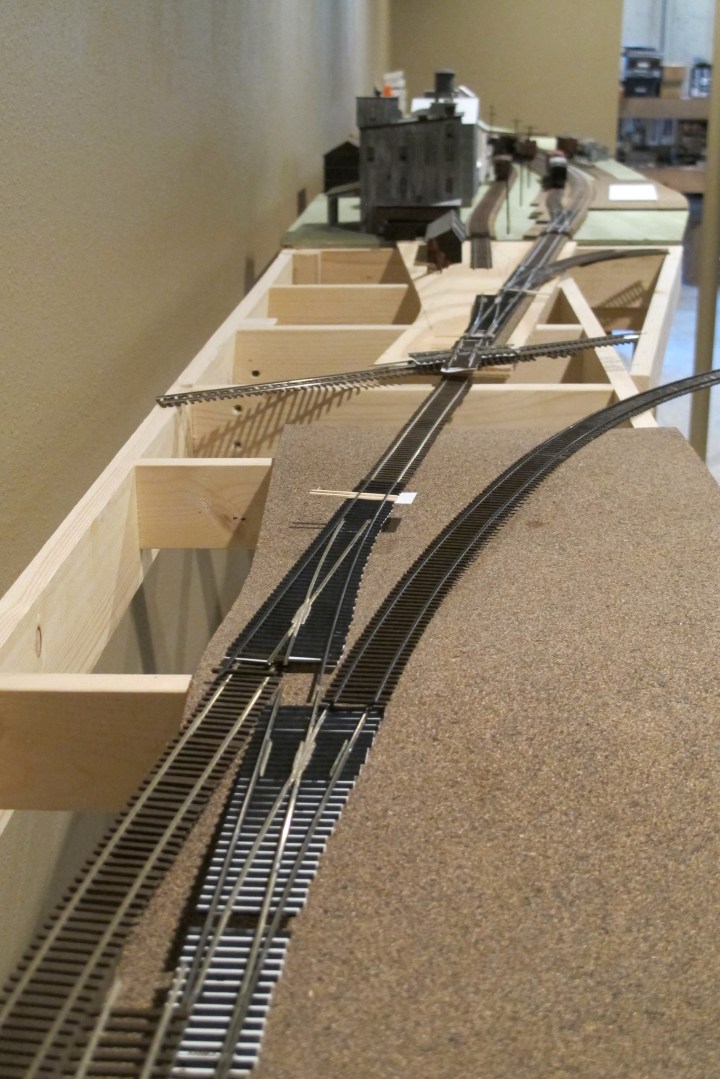
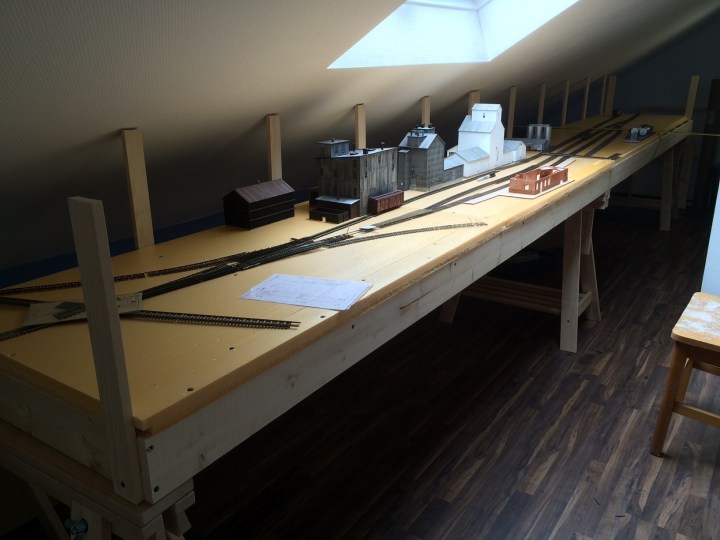
Below. One parting shot. Here is the new layout under construction—what I call Ackley 2.0. The layout height is about 30 inches (it is at sit-down height due to room restrictions) and I am using two-inch foam as the roadbed base. Unlike Ackley 1.0, which had a town site of 23 feet, this layout has the entire town site represented in just 16 feet. Ackley 1.0 was quite big and was often not enjoyable to build. The lightweight benchwork was a liability because it turned out so heavy. Ackley 2.0 is a lot more enjoyable to build. In fact, as of today (01 Sep) the layout has only existed for 60 days and 90% of the benchwork and track is already complete.
More to follow on Ackley 2.0 when time permits.
Psalm 118:24 Today is the day the Lord has made; Let us rejoice and be glad in it!
