

Hermitage Road is slowly taking shape. In my last layout post I described painting and weathering rail and ties in preparation for laying down ballast.

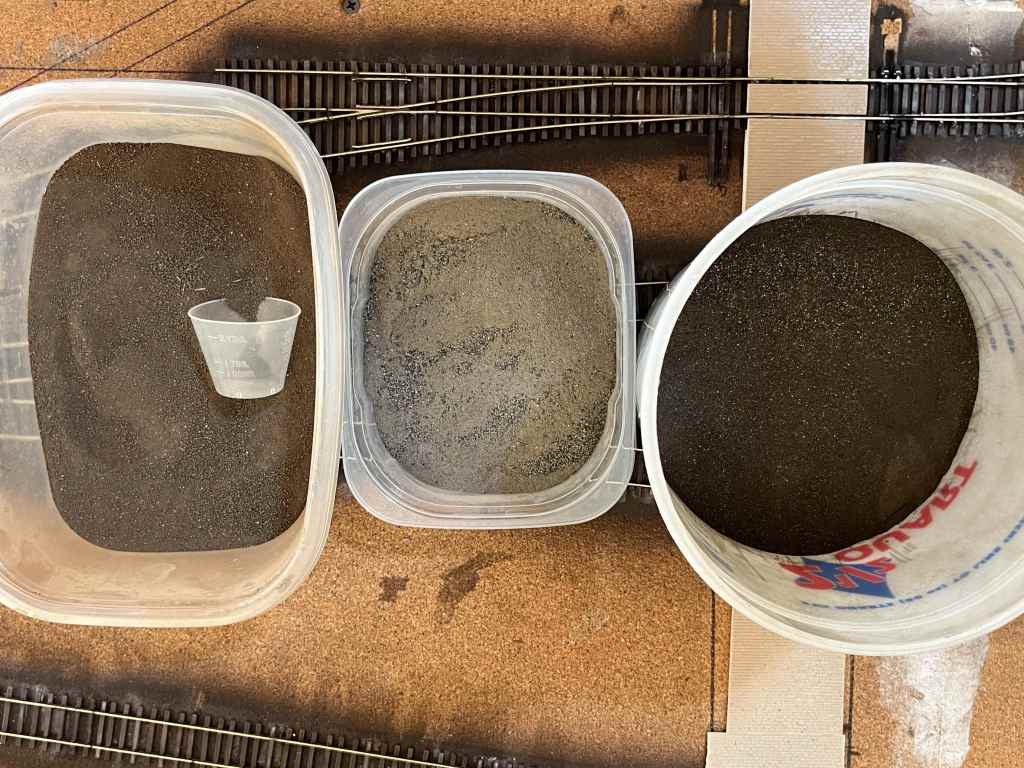
I use dirt dug up from a roundhouse site for ballast. In the late 2000s I lived in Indiana and drove through Richmond, Indiana frequently. On one trip past Richmond I stopped and found the site of the former Pennsylvania Railroad roundhouse. I dug up a couple of bucketfuls of dirt and cinders at the roundhouse site, brought it home, sifted it, and stored it away in a few one-gallon bins for later use.

13 years and two layouts later, I’m still using that dirt for everything from ballast to ground cover. It is a mix of dirt, cinders, and all kids of other stuff, and it looks great because it’s the real thing.
For this layout, I used the Richmond ballast for track and most other applications, at right, plus some sifted dirt at center and some darker sifted dirt on the left.
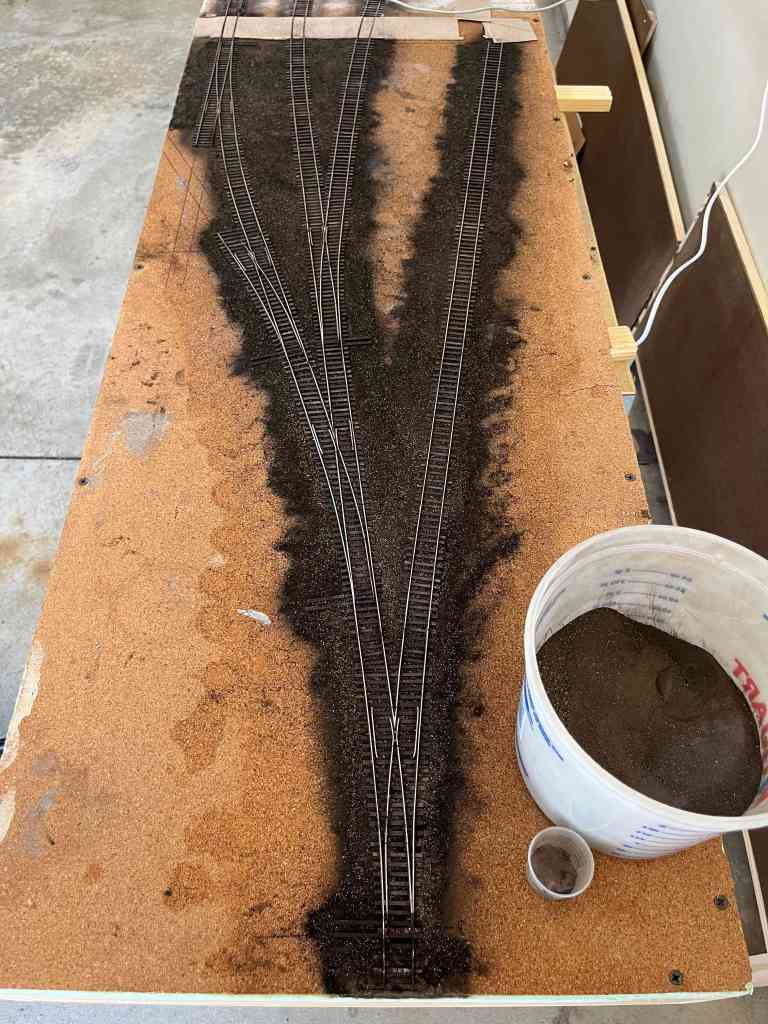
Once the rail and ties were painted, I carefully poured on a little ballast at a time and carefully spread it on the roadbed with a small makeup brush. I did my best to keep the ballast off the rail and the tops of the ties, and below the level of the ties wherever possible. I do not want buried ties on this layout.
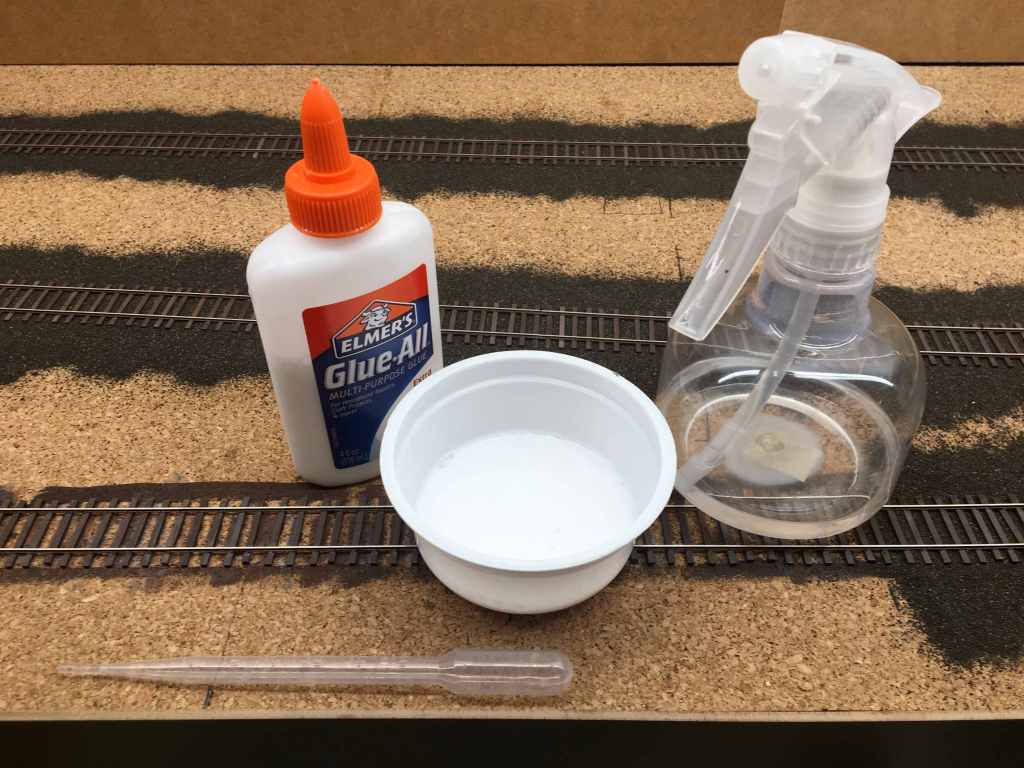
Next, I sprayed the ballast with 70% rubbing alcohol right out of the bottle using a fine-mist sprayer. Rubbing alcohol breaks the surface tension and secures the ballast in position.

The glue mixture I use for ballast is a mix of 50% Elmer’s Glue (Not School Glue), 50% water, a splash of 70% rubbing alcohol and a few drops of dish soap. The alcohol and dish soap help the water and glue mix, and break up surface tension. The consistency I like is like 100% milk.
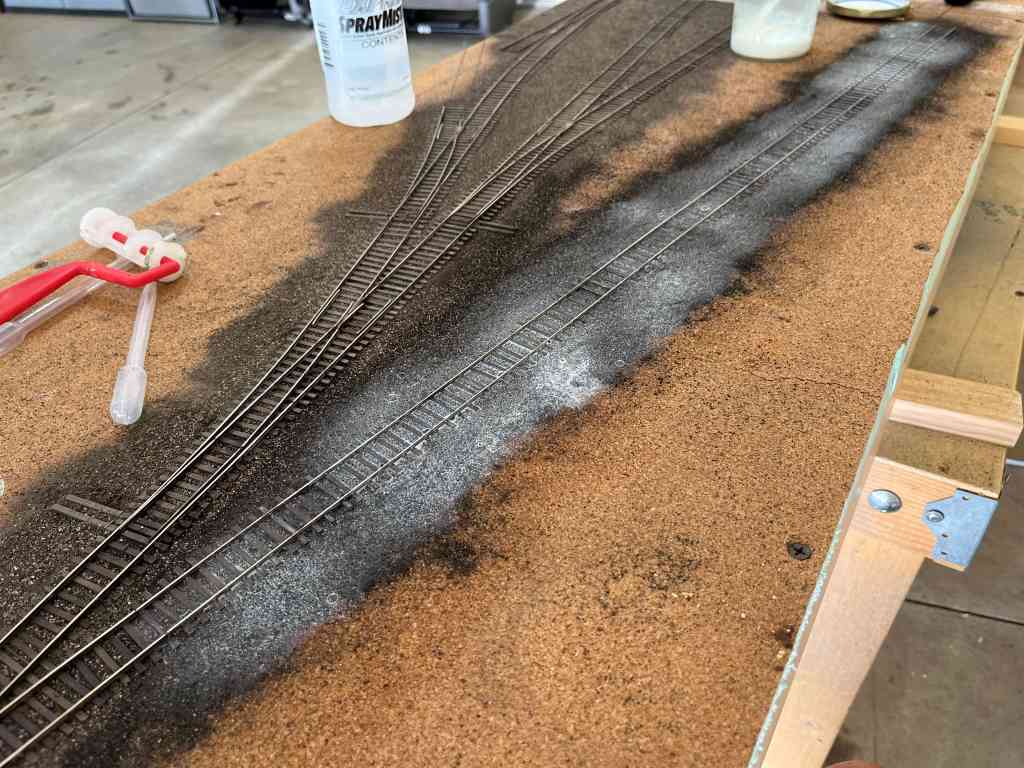
Above. Finally—with the ballast still wet from the alcohol mist—I use a pipette to slowly add the glue mixture to the ballast. Sometimes I lay glue down along the outside of the ties and let capillary action suck the glue between the rails. Sometimes I just coat the whole track structure and that works okay too, but ideally I don’t want to put glue on top of the ties unnecessarily. In either case I make sure the glue covers the ballast completely and then wait a full day for the glue to dry.
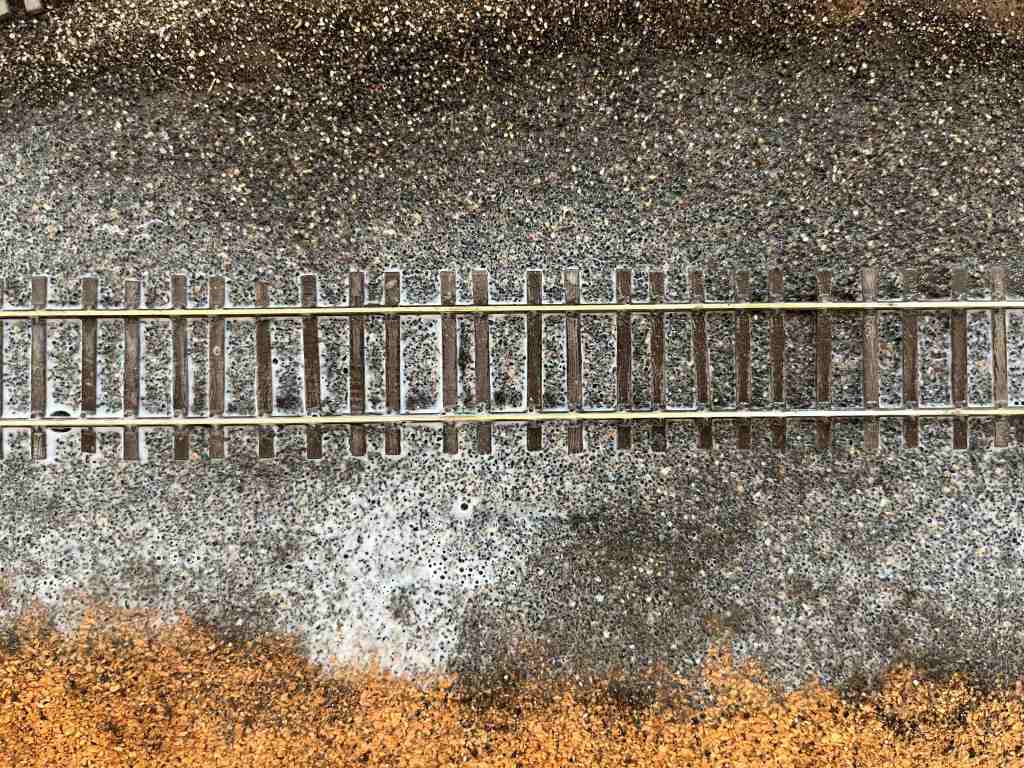

The dirt ballast I use changes color when it’s glued into position. When dry it appears a little darker. That’s okay. I don’t want it to be black, but a dark gray with lighter and darker bits here and there is acceptable.
Once the ballast is completely dry, the weathered ties present a nice appearance. All that time painting individual ties is worth it.
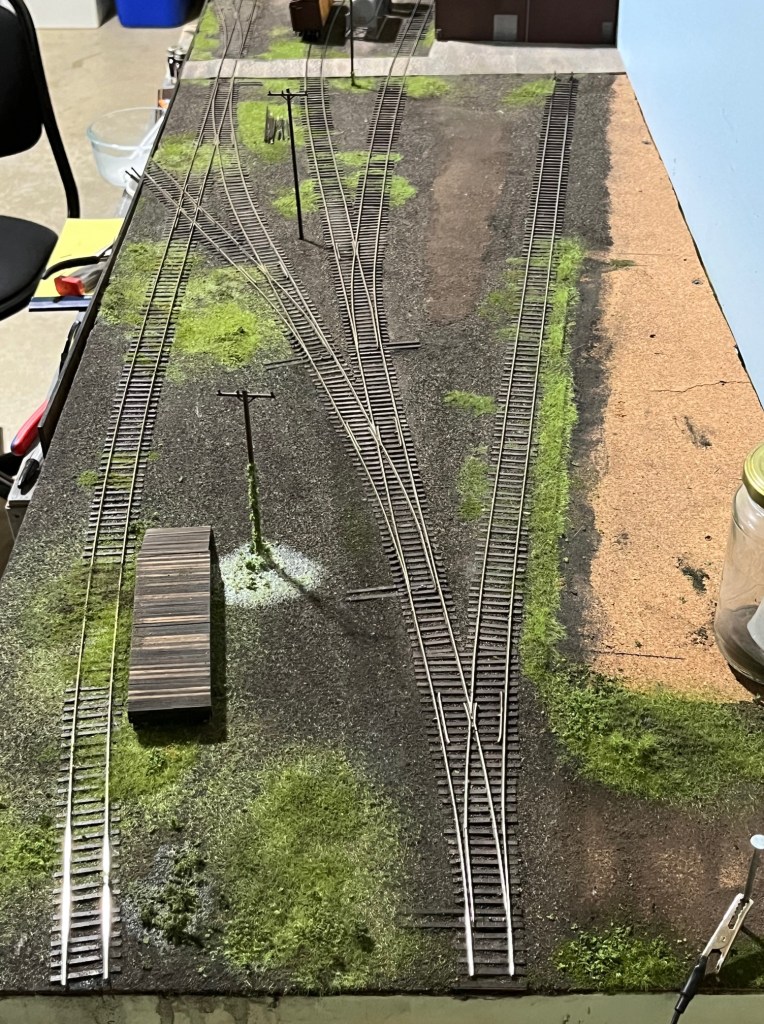
Here’s a photo with the buildings back in–a mock-up of what’s to come. In the next post I’ll cover installing some static grass. This is the fun part of building a layout.

The Crossing
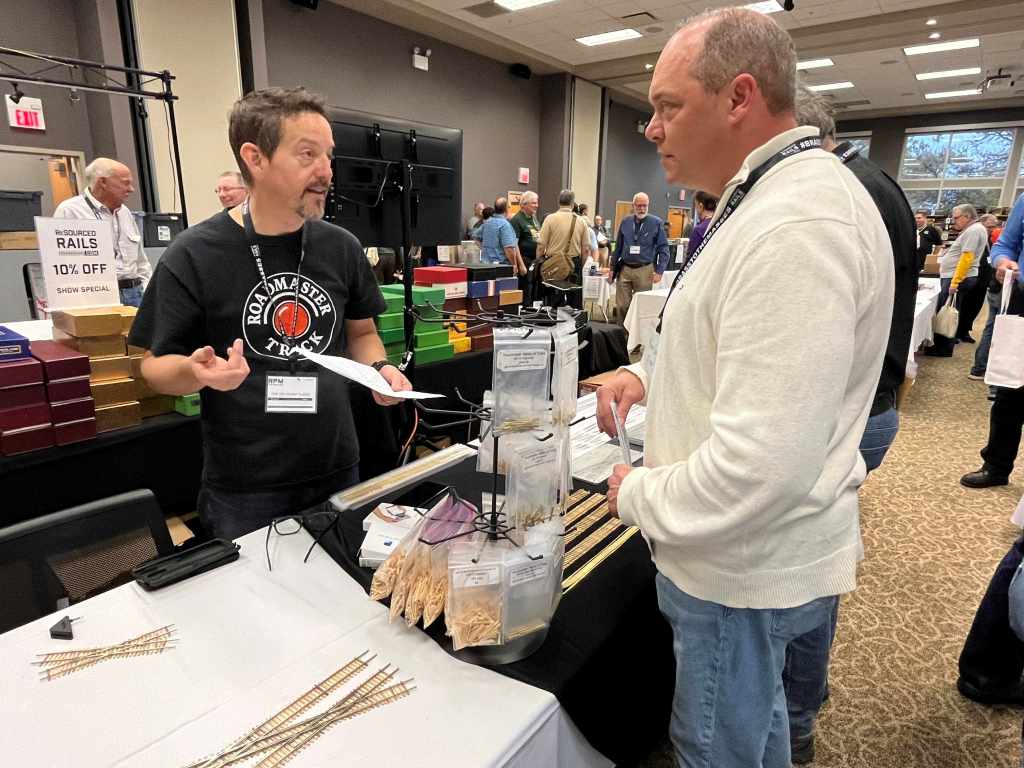
Meanwhile…I may have mentioned that Jeff Otto of Oak Hill Track Supply (https://www.ohrtracksupply.com/) custom-built a 29-degree crossing for the layout.
Jeff is an old friend of mine from my St. Louis RPM days. In my little opinion Jeff’s company is on the leading edge of custom track development. We’ve had long talks about track and details and all that. Fast Tracks gets a lot of press but Jeff’s new line of frogs is out of this world, and Jeff can personally build anything. He’s ahead of Proto87 Stores in many areas. Here’s Jeff at Chicagoland RPM below.
I emailed a drawing of my crossing to Jeff and he sent me a CAD a few days later. He scratchbuilt the crossing and brought it to me at the Chicagoland RPM at the end of October.
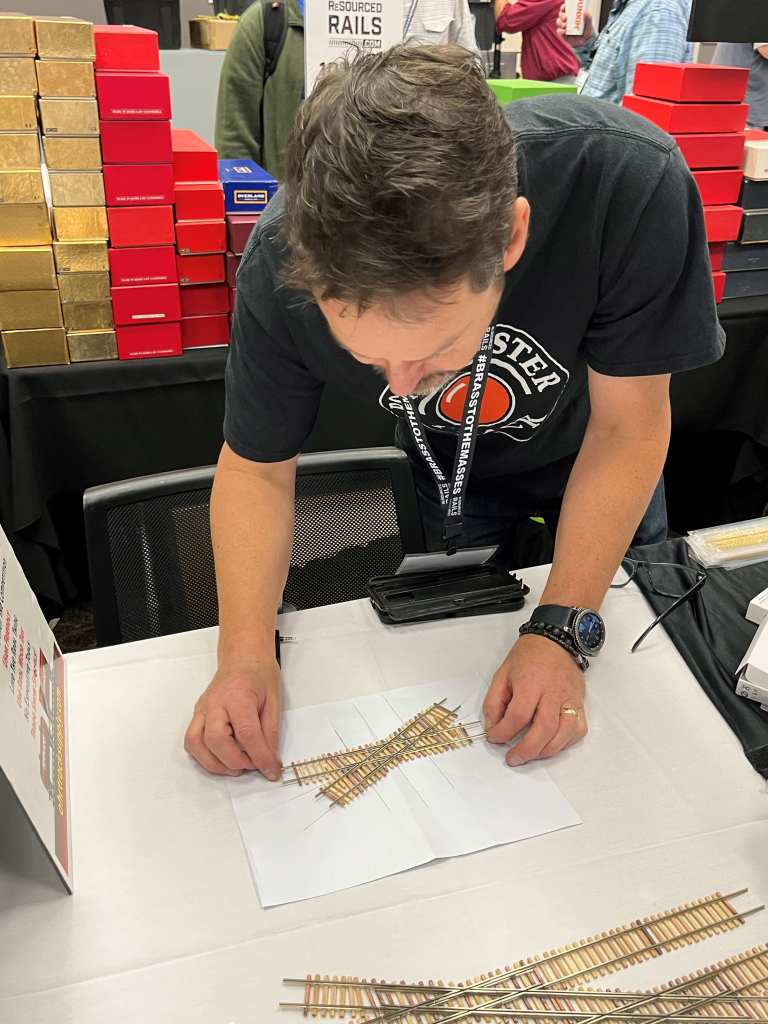
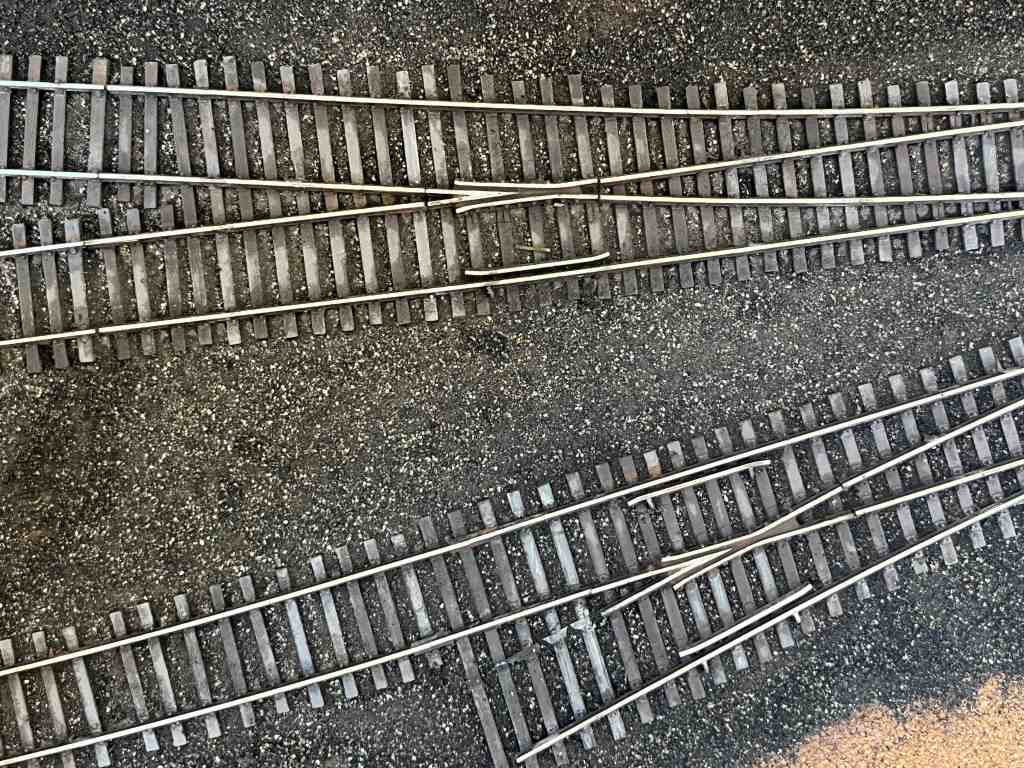
Jeff kept the crossing over the Chicagoland RPM weekend, using it to demonstrate his custom-building capability. And who wouldn’t—a 29-degree crossing doesn’t happen every day. Here’s the crossing in place…

…and here’s the crossing glued down.
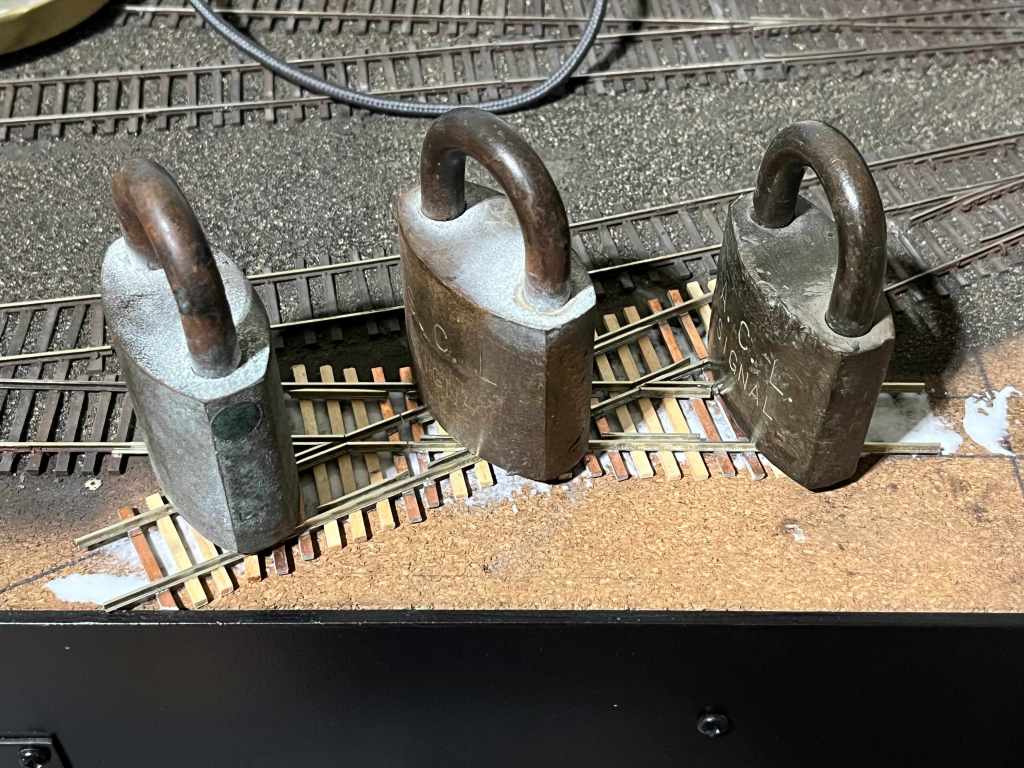
Finally–and I’m getting way ahead of myself here–here’s a photo of the crossing painted and ballasted with some scenery already in place. I’ll describe track scenery in my next post.
I have a little more messy work to complete on the layout and then plan to bring it to the basement in the first week of December to set it up in it’s permanent home. December 1st will be just about ten months since I started construction.
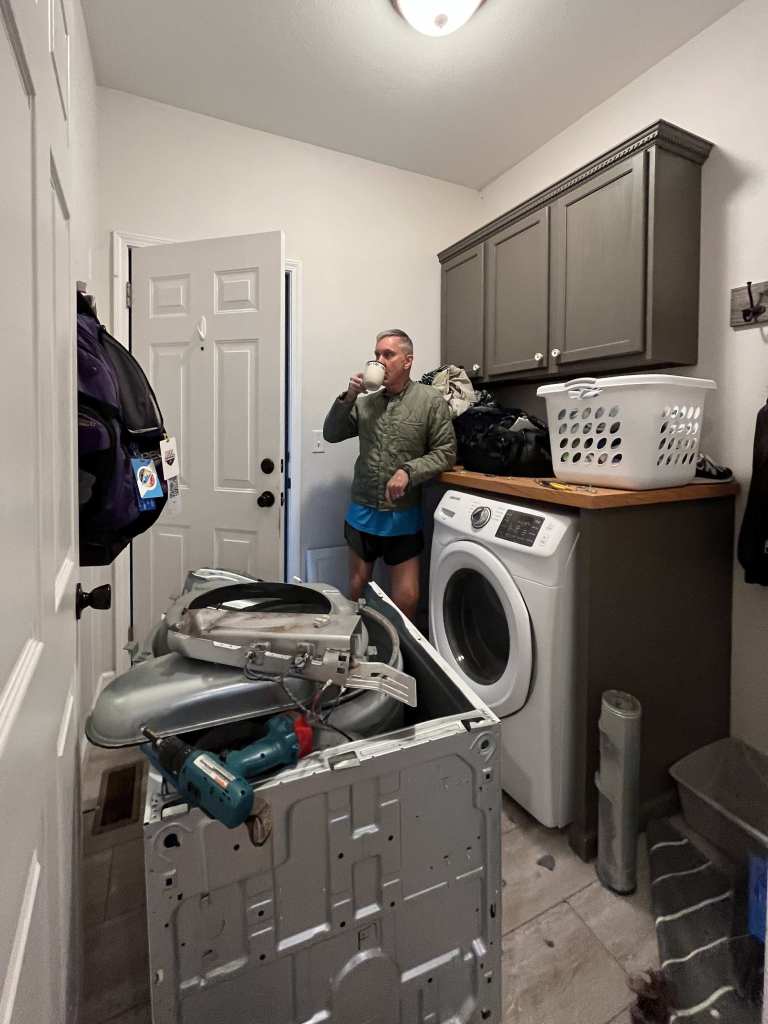
In closing, a few weeks ago my daughter took this photo of me turning my clothes dryer into a kit. The heating element broke, and the guy at Lowes said I’ll need to completely disassemble the thing to replace the heater. He wasn’t wrong. It took me two hours to carefully take the thing apart. Luckily I didn’t have to freeze it first (that’s an inside modeler joke…). Anyway I was able to use model railroad skills like screw-drivering, bending, swearing, and soldering among other things to make the repair. Another hour later I had it back together with a few screws to spare. The best part was that it worked!
I hope you’re all preparing for a wonderful Christmas celebration. And I hope your dryer doesn’t break anytime soon! – John G
