

With track laid, wired and tested on the new layout, it was time to paint the track. Painting track is a big step, as all the trackwork should be operational and perfect before painting. Painting usually introduces a few other problems, such as problems at switch points and so forth, so the more work done prior to painting, the better.
Hermitage Road is supposed to be an urban industrial layout, so weathering track appropriately is important. Here are a few motivational examples from around the U.S. that helped guide my painting.
Below. This view is in Kansas, on a Union Pacific siding just west of Salina. I find the ties interesting. Some are newere, some are old; the center tie looks rough-cut and is very old. The contrast between the rusty rail and weathered ties is stark. There’s no dirt on the rail. I also like the slight color variation in the ballast.

Below. This is in Sugar Creek, Ohio on the former PRR lines. I’m drawn to the contrast between the new and old ties, the rusty rail and weathered ties, and old ballast. Even though this is secondary main line track I’d like to replicate this on my industrial layout.

Below. Here’s another view from the UP in Kansas. The ties are closer together. There’s a definite contrast between some of the older and newer ties. Grass is encroaching on the ballast. Grass is pretty but it’s not too prototypical. The rail is clean but rusty.

Finally, one more view. This is at the old Seaboard yard in Savannah, Georgia. This is old rail, with foundry marks from 1930. The ties are newer and uniformly weathered. There’s a little ballast left but there’s a heavy layer of dirt (and probably cinder ballast) on top. One thing interesting about this photo is when there’s a layer of dirt on top–not ballast–the rail becomes dirty, not rusty as in the views above.

On my first version of Hermitage Road, I painted the ties individually and then went back and hand-painted the rail with Mr. Color No. 41. This worked fine although hand-painting the rail was a sloppy process and I put too much paint over the track details.

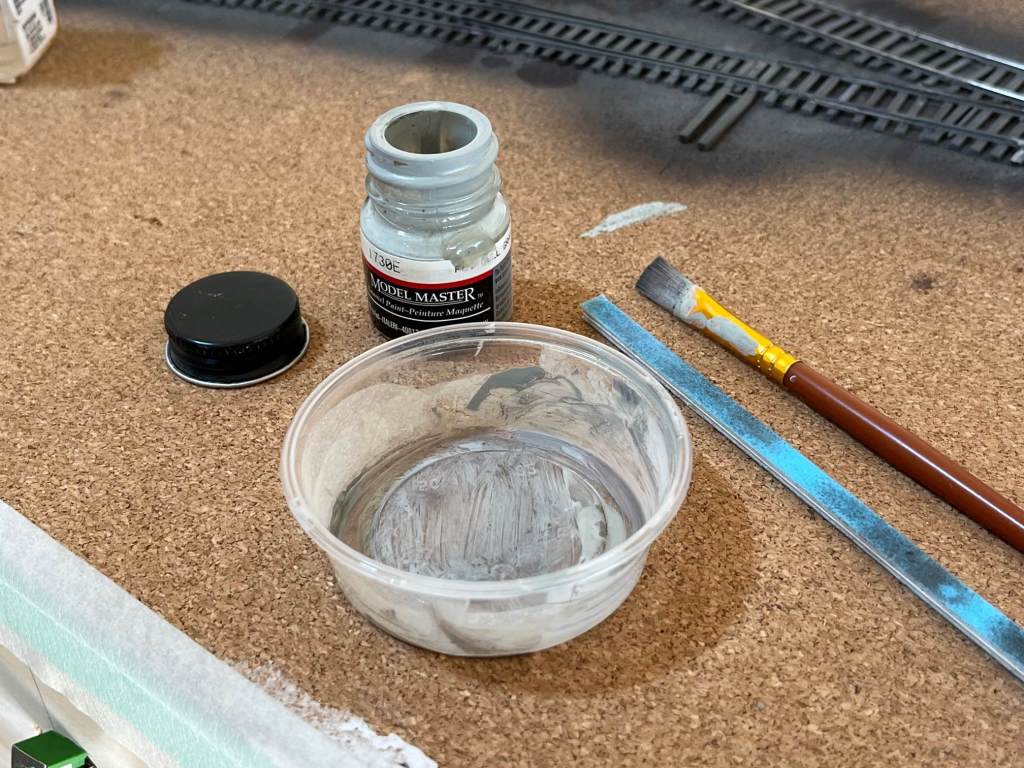
On this current version of Hermitage Road, I decided to paint the entire track structure first, using Testors Rubber as my color of choice. See below.

I was very surprised to find that the Testors Rubber appeared gray after painting. I didn’t want dark gray rail and ties.

I went ahead and left the rail gray for the time being and began weathering the ties individually as I did on the last layout. I used Model Master Japan Navy gray and Model Master Dark Tan, mixed in a plastic cup with Laquer Thinner, and painted various shades of the mixtures randomly on the ties. I put a few heavy drops of paint in the cup and mix them in the cup, like a palette, and mixed various shades of gray and tan in the cup. The Lacquer Thinner tends to break down the paint a little and force some variation in the finish. The overall effect is quite realistic in my opinion.
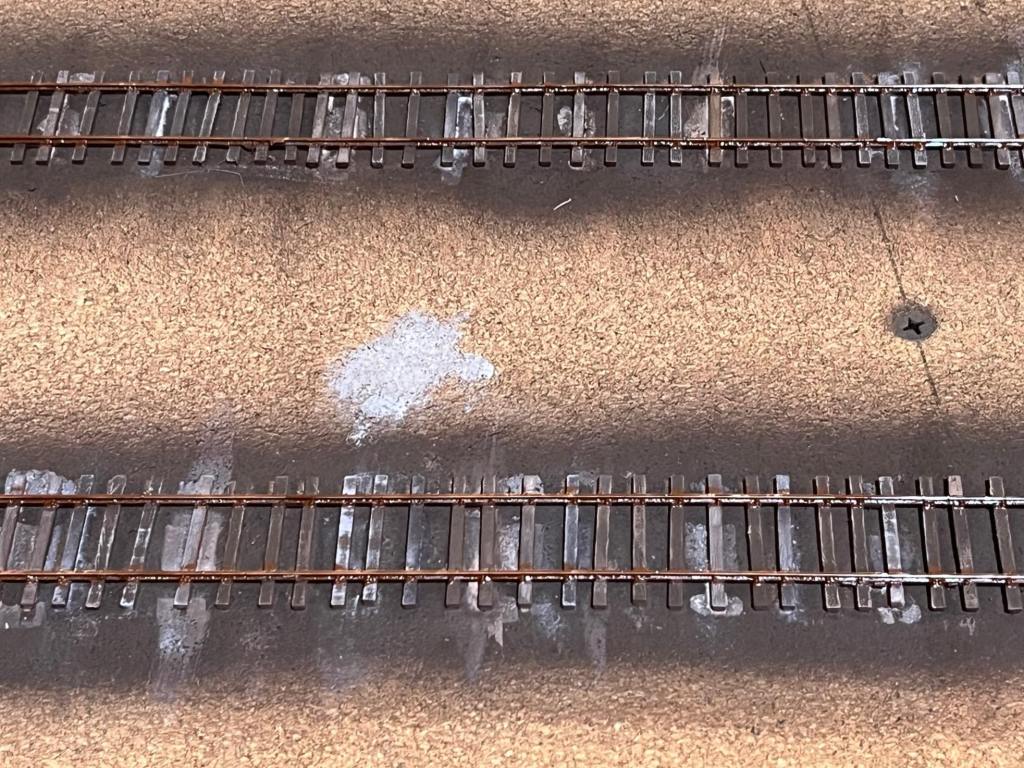
Below. Here’s the result. Again, randomly painting ties creates good contrast, which is what I want. Some ties were completely painted over with either tan or gray, or a mixture of both, and some ties were highlighted. Some ties were left unpainted in the original Testors Rubber color.

Here’s a view of the layout with tie-painting in progress. Here it can clearly be seen how ties were painted gray randomly.

Below. In a few places I went back over the rail with Mr. Color No. 41.
I waited a week and then went back over some of the ties again with the same gray, tan and rubber paint, mixed with Lacquer Thinner.

A closer view of the weathered ties. Getting some variation in the weathering is important. In many cases the weathering brings out the very subtle wood-grain detail in the Micro Engineering ties.

Yes, it takes time to paint each tie, or every other tie, but on a small layout it’s worth the time spent. I would say it took about two hours to go over most of the ties. The end result will be worth it.

Below. One last prototype view, this one on a former NYC siding near Litchfield, Illinois. The dark rail, light, weathered ties and joint bar are all important features.

Below. After painting the ties I cleaned the rail again and tested operation. Everything ran well, and looks good. You can see where the dummy crossing will be installed in the foreground. Jeff Otto at Oak Hill is building it for me. His website is https://www.ohrtracksupply.com/ and he has some really terrific stuff.
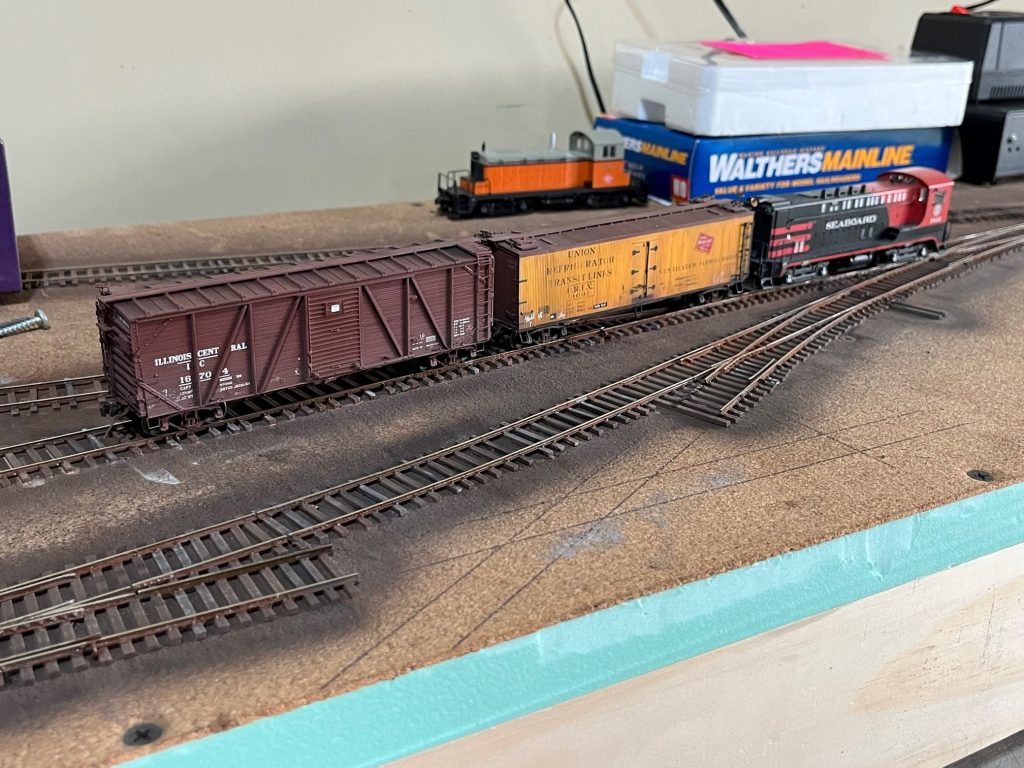
The next post will be fascia installation and after that I’ll post on ballasting track. I’m getting a little ahead of myself again, but here’s a view of some of the ballasted track below.

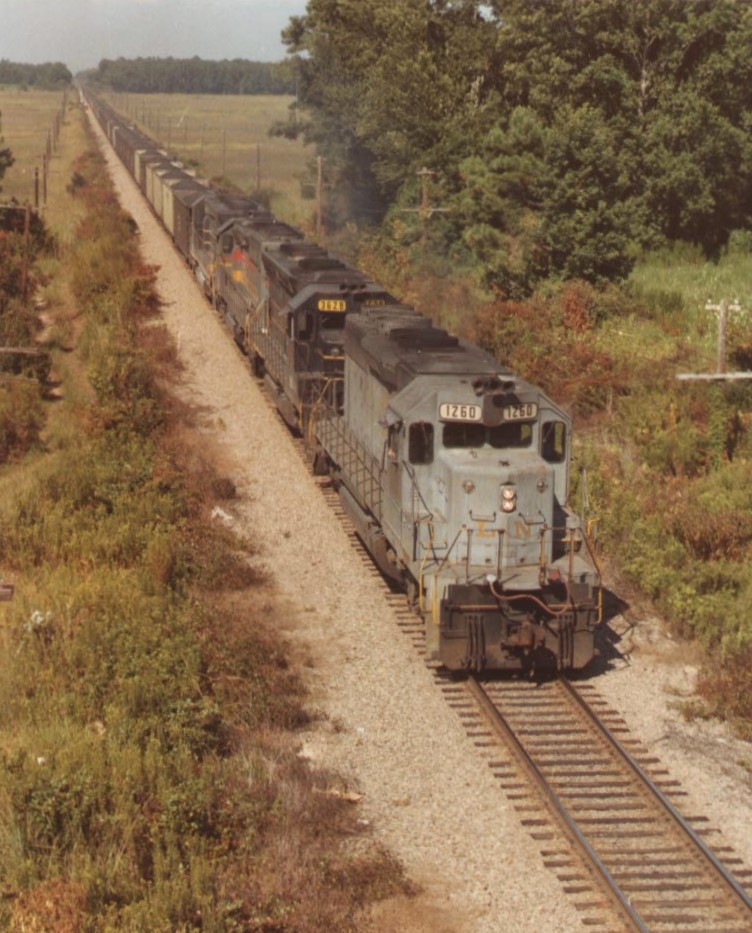
In closing, when looking for the Savannah Yard track photos I came across a few old scans of slides I took 40 years ago, in 1983. This view below is a southbound Onieda & Western coal train on the former Seaboard Air Line main track just south of Savannah, Georgia. The main track went under Abercorn Extension very near where I was going to college at the time at Armstrong State. I photographed this train standing on the overpass zooming south to Burroughs Junction.
I’m pretty sure I shot this on Ektachrome. I hated Ektachrome but it was cheap. It was very unforgiving.
Anyway, in those days one could see just about every Family Lines engine in Savannah. This train has an L&N SD-40, a Clinchfield SD-45-2, a Family Lines SD-40-2, and an SCL-painted engine up front, most likely a GP-40-2 or an SD-45. Those were the days!
I hope you all have a blessed week! – John
