

First: Cars for Matt

I was finally able to complete and ship Matt Herman’s cylindrical hoppers to him last week. Matt installed sound in one of my M&StL RS-1s a few years ago and I offered to pay him plus weather a few models in return. I won’t tell you how long it took me to get these cars completed. Let’s just say it was a long time.
The models certainly aren’t masterpieces from The Weathering Shop, but I’m happy with them.
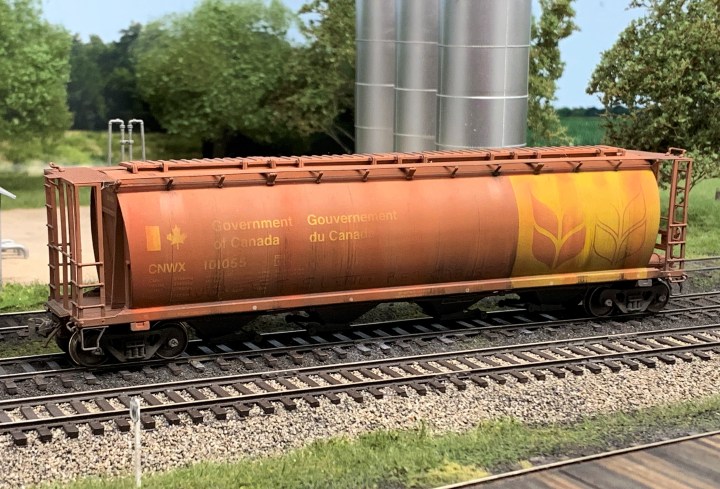
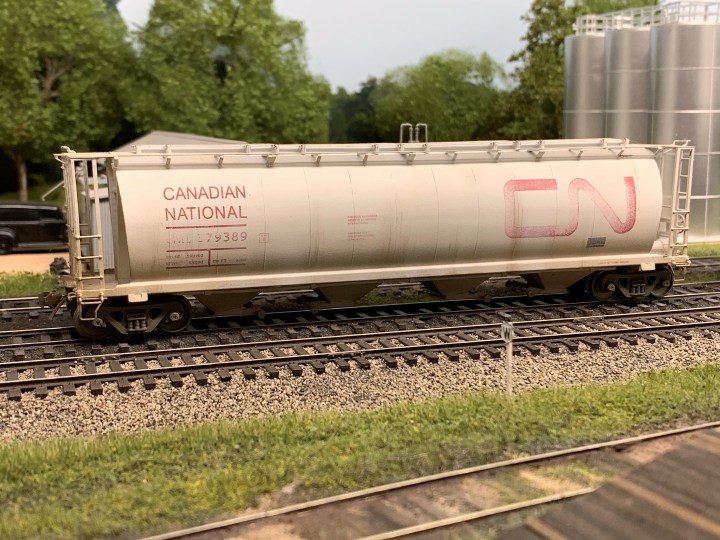
The white car was the toughest to complete. Weathering white models isn’t easy. I sandblasted some of the paint off to fade it, then applied several coats of off-white colors with a brush to fade and weather the model. I also used some AIM white powder on this car until I was happy.
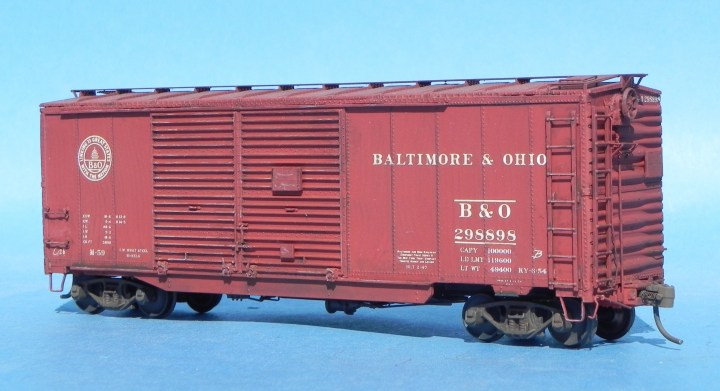
Also last week, I spent some time trying to talk Bob Chapman into coming to St. Louis RPM in 2019 and giving a clinic. Bob declined, but we traded a few model photos–one of which is included below. This is an old Sunshine B&O auto car, and it is magnificently built and finished. What an inspiration. Thanks for sharing, Bob!
NP War Emergency Box Car
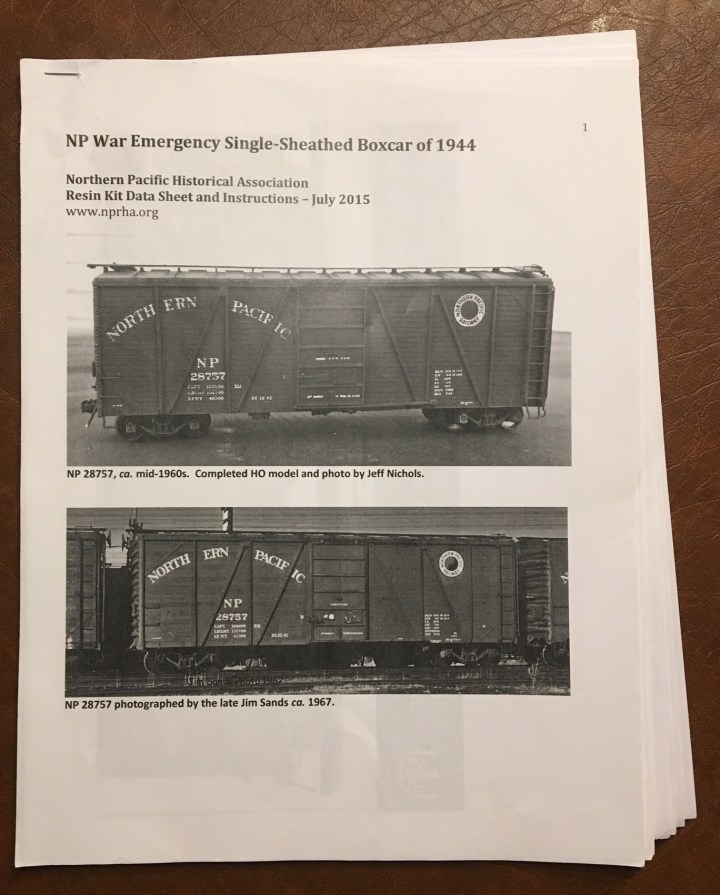
My “finish a couple of freight cars project”—the project that began in Thanksgiving and was supposed to last a few weeks—is still underway. One project that I really wanted to finish was the one below, the NP War Emergency box car from the NP Historical Society.
This is a beautiful kit with all the fixin’s included. The instructions, below, include over 20 pages of model and prototype views, guidance, decal placement instructions, and a whole lot more. It’s a neat document and a keeper.
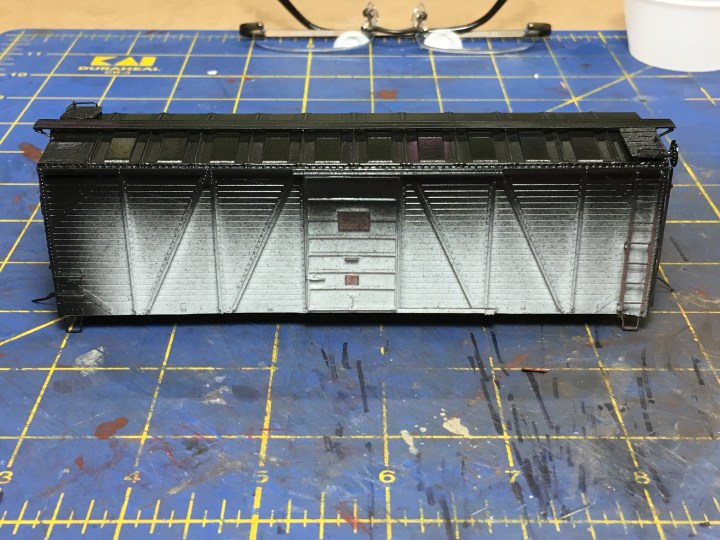
This kit has a one piece body and the build was a breeze. The hardest part was adding the brake gear to the underframe, and even that wasn’t all that hard. I didn’t take any under construction photos but I do have this photo of the completed car after the first coat of paint was applied–that was the black paint on the roof, ends and underframe. I used gloss black paint from Testors, which went on a little heavy.
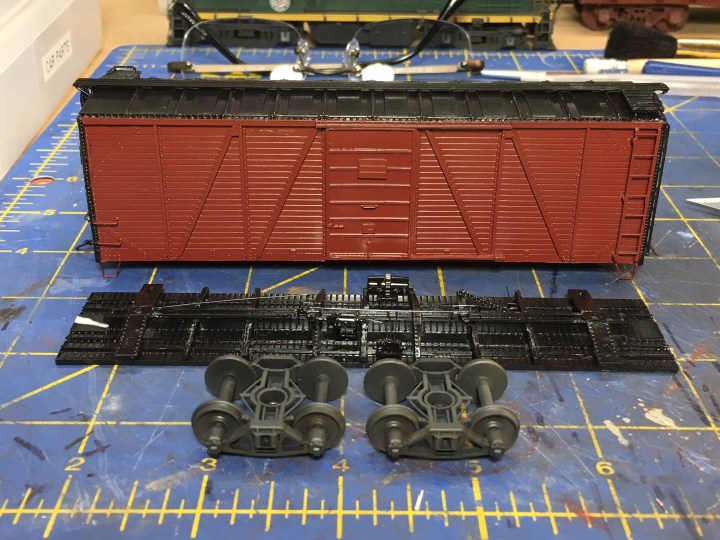
Here’s the car after being masked and painted with the body color. I used Tru Color TCP-193 Northern Pacific 1935-45 Freight Car Brown. This color has a nice rich red tone.
I mentioned in an earlier post that the decals for this model have to be ordered from the NP Historical Society. The cost: $18 for a sheet. For some reason the society sells a sheet that can decal nine cars. At $50 or $60 a pop, I don’t see a lot of guys getting their money’s worth out of this set. I’d prefer to pay a lot less for two sets, for example. I sent half the set to my friend Bill Welch so he can finish his three cars.
Cost notwithstanding, I must say the decal set is one of the most comprehensive I’ve ever used. There are even chalk marks included–that’s a nice touch. Unfortunately I found the decals were a little troublesome to apply. Using Microscale products I was not able to get the decals to settle properly. After repeated applications of settling solution I had to cut them, and when I cut them some of the decals broke apart over the sheathing.
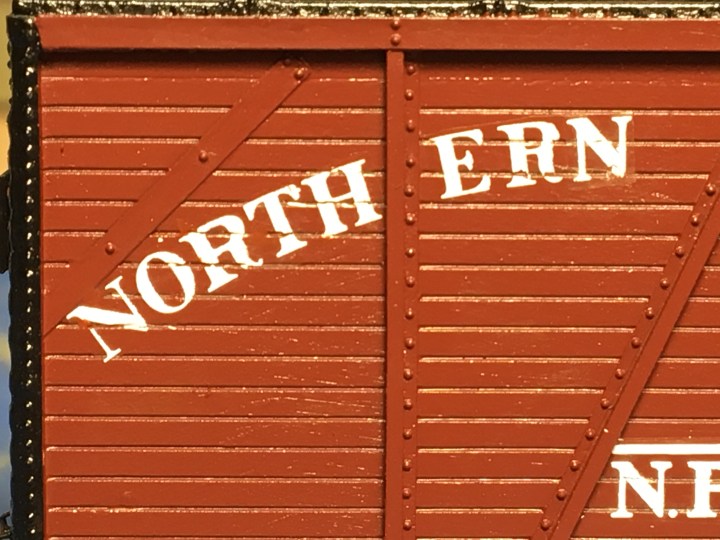
To repair the decals, I used the old “double-decal” technique and also filled in some gaps with a touch of white paint. After dullcote things looked better. Here’s the car with decals applied, but prior to dullcote.
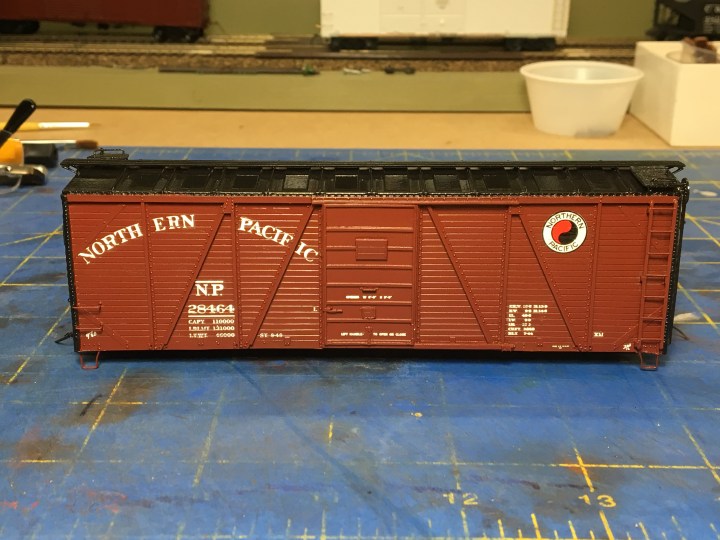
Below is a photo after a couple of shots of dullcote. I used my usual solution, consisting of 40% dullcote, 40% glosscote and 20% thinner.
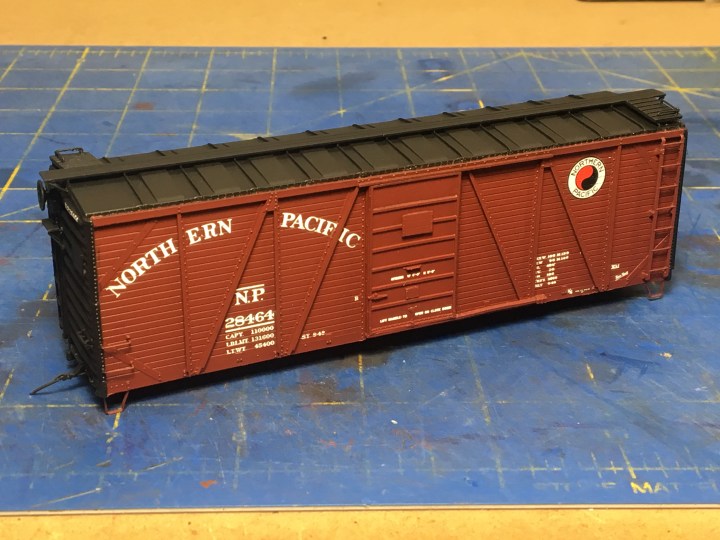
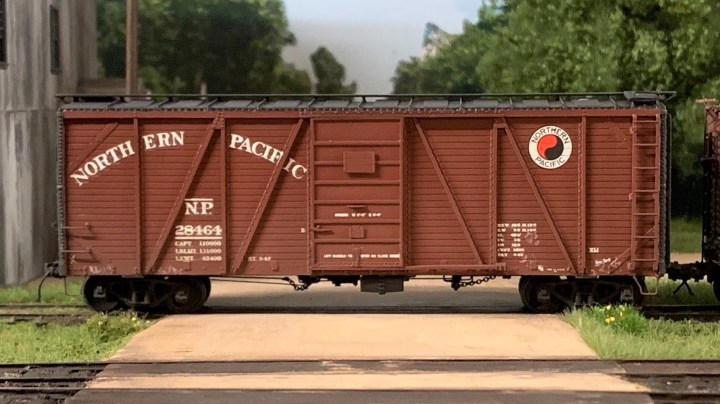
I weathered the car very lightly. I did not stress the roof and left it completely black. I lightly airbrushed the underframe, trucks and lower third of the car with a light overspray of Testors Dark Earth, applied a few hand-written chalk marks with a white artist’s pencil, and then added AIM weathering powders to the car ends and couplers, and finally sealed everything with one more light shot of dullcote. I want to leave this car nice and clean.
Here’s the lead shot again on my Ackley layout.
I’ve got a bunch of other cars on the workbench this week–here are a few being painted. The hopper is an old Precision Scale O scale model. The car in th emiddle is the ACL auto car offering from Yarmouth. The roof is the front is having “salt weathering” applied…more to follow on that later.

Future Plans
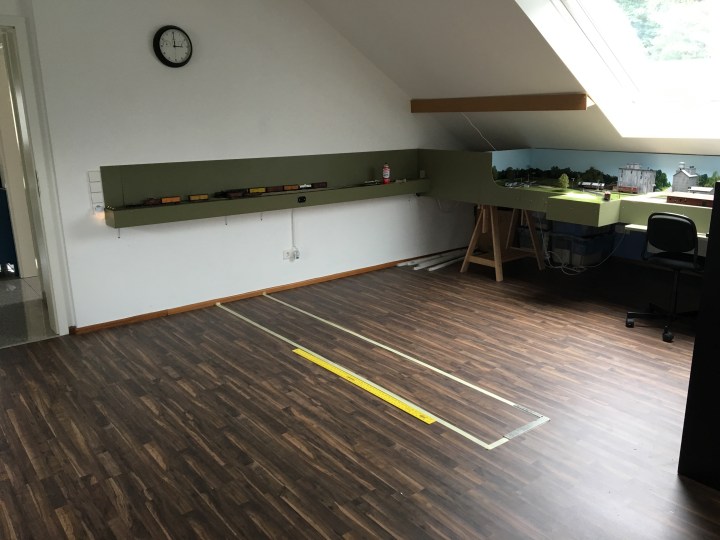
Another thing I’m exploring is building another layout or two. This view below shows the south staging yard along the wall, and my thoughts on rebuilding it and turning it into the room. The idea is to build a small peninsula and curve the staging yard tracks onto one side of the peninsula, and on the other side build another small layout.
I also have a ridiculous desire to build a 4 or 5 x 6 layout, British style, with super-detailed track and an interchange and a coal mine, or a quarry, or something else small. ANd of course it would be a loop.
There won’t be a lot of room for a second layout. The maximum it can be in this configuration is about nine feet by 18 inches wide. I’m thinking an industrial layout, or perhaps a small town based on a Seaboard Air Line or Milwaukee Road prototype.
Hope you all have a great week! – John G

John
You are a busy lad! Nice work on the models. I think the NP decals were printed in Italy. I have some 1/48 decals printed by the same company. They did settle in using the red label.
Dean O’Neill did the artwork.
Gene
LikeLike