


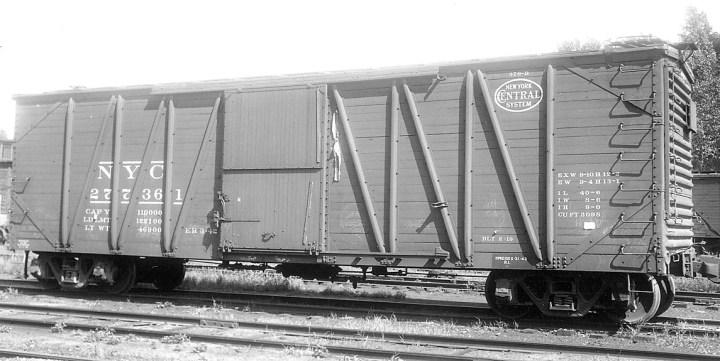
The New York Central USRA single-sheathed box car project was completed last week along with the ACL ventilated box car. Here’s a wrap-up post to close out the project.
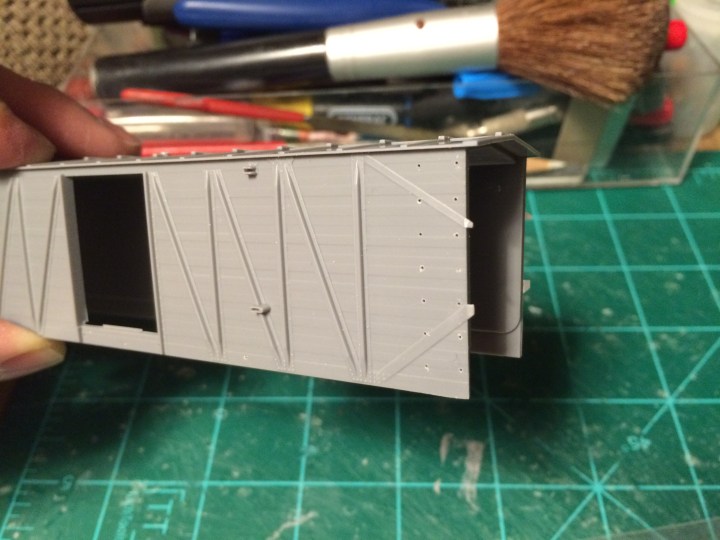
…until you discover that the holes are in exactly the wrong places. Check out the close-up below. See how the grabs are attached to the side of the end, not the side of the carbody? And see how the grabs line up on the sides and the ends? The holes I carefully drilled with the template were in exactly the wrong places. I was careless to use the template without checking for these details first.

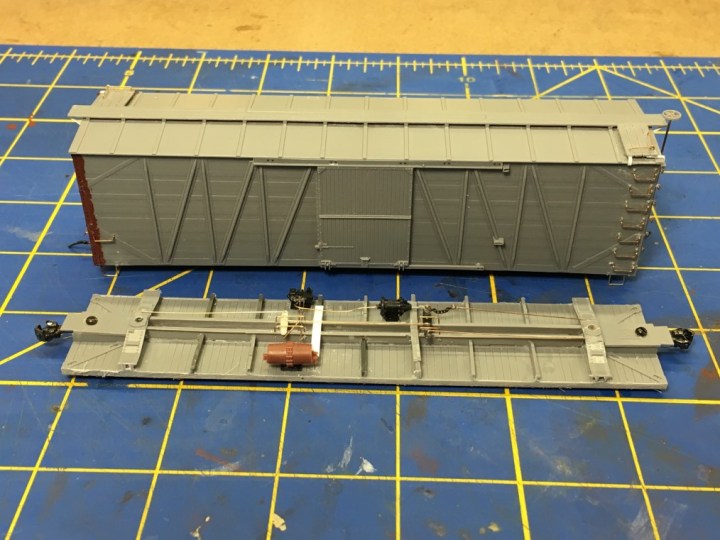
Below. I filled all those holes with round styrene rod and glued them into the holes with liquid cement. When the styrene rods were dry I cut them off and sanded them down to hide the holes. It worked pretty good. Then I attached the ends to the superstructure and added each grab one-by-one, and lined up each side grab with each end grab. I used Tichy grabs, by the way.
The view below shows the second attempt at adding Archer rivets to the A end.
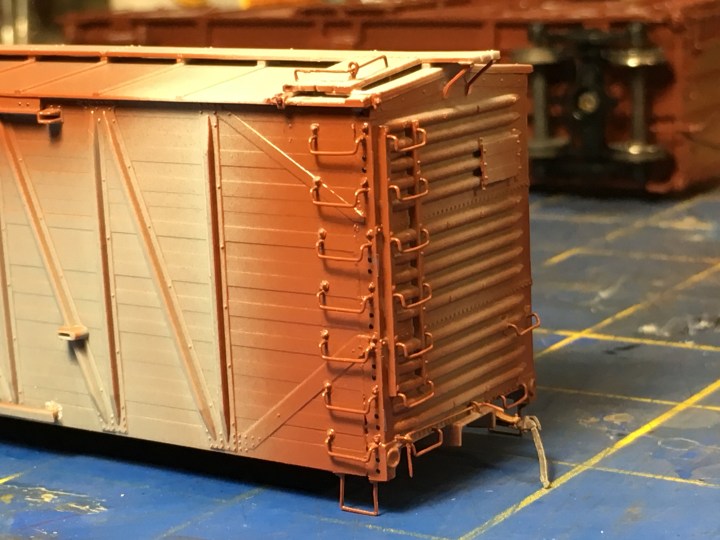
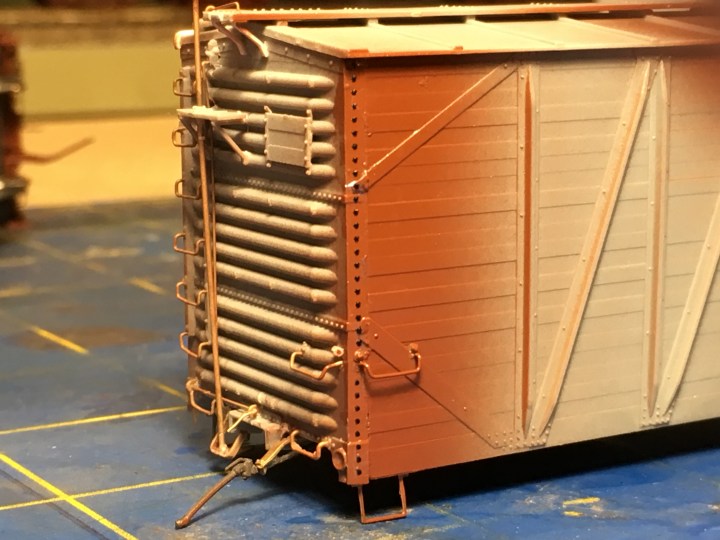
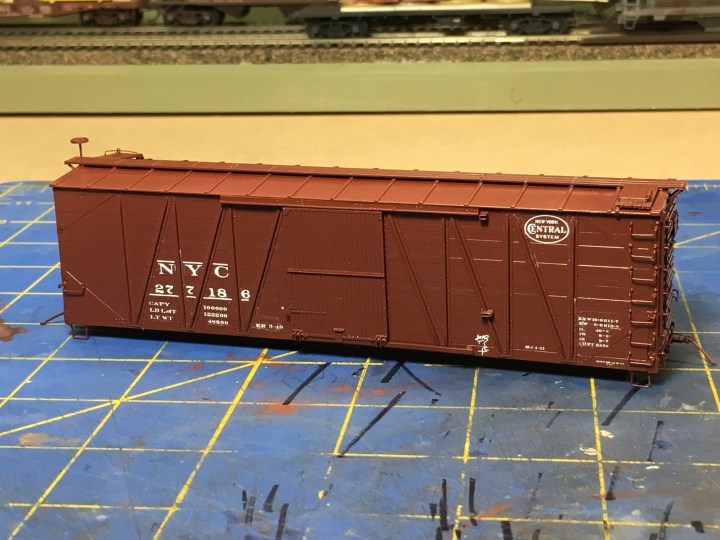
Below. Here’s a view of the Archer rivets applied to the B end of the car. The Gould/Tichy kit is beautifully done, but the omission of these details is pretty glaring. After the rivets were added I minimized handling of the model and sprayed it completely over with Tru Color NYC Freight Car Red.
Here’s the model after the build was complete. This is actually a view after I added rivets the first time. Those rivets did not stand up to any handling and a lot of them came off, and I eventually had to sandblast the car and start the rivet process again from scratch.
Below. Decal work is underway, along with decal work on a few other models.
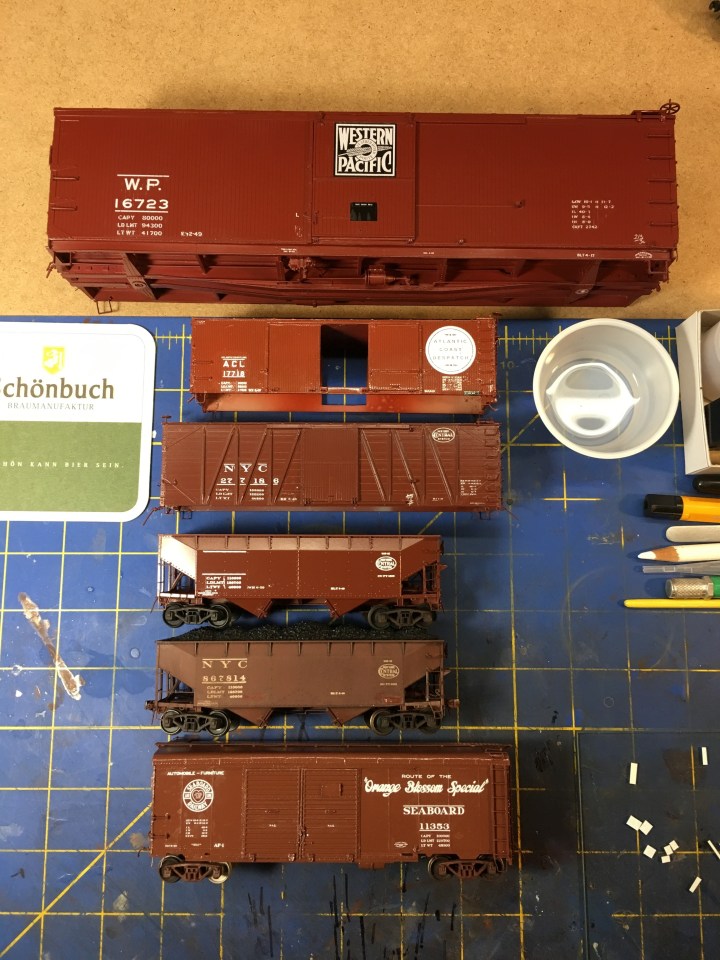
I used Speedwitch Media decals for my car–and here is where the fun really began.
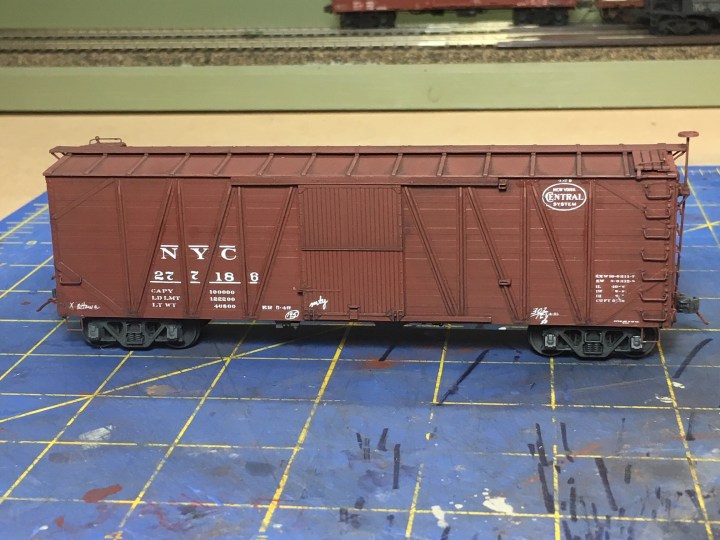
I thought the Speedwitch set included decals for this particular prototype so I expected decaling to take only a night or two. Upon further review, as they say, I found the Speedwitch set does NOT include decals for the USRA single-sheathed car. So, I had to lay out the reporting marks one line and then one letter and one number at a time. It was tedious because I had to cut out a whole lot of letters and numbers. And when I was done I had to do it all over again, because the car has two sides (obviously, right?). Despite the long hours I’m happy with the result and the decals look just right.
The white stuff along some of the edges of the car appeared during decaling. I think the problem was that I was using some really old Microscale decal solvent that had become unstable over time. A little touch up with a fine paint brush using the original car color took care of that issue.
I weathered the car with a variety of materials. After the decals were dry I gave the model a finish coat of 40% Dullcote, 40% Glosscote, and 20% thinner. When that was dry I mixed black artist oil paint into thinner and “painted” the entire model with a wide, flat brush. When dry, that leaves the black color around the details and between boards and so forth. Then I added a light coating of grime-colored paint with an airbrush. I added my own chalk marks with a white artist’s pencil and then sealed the model one more time with Dullcote.
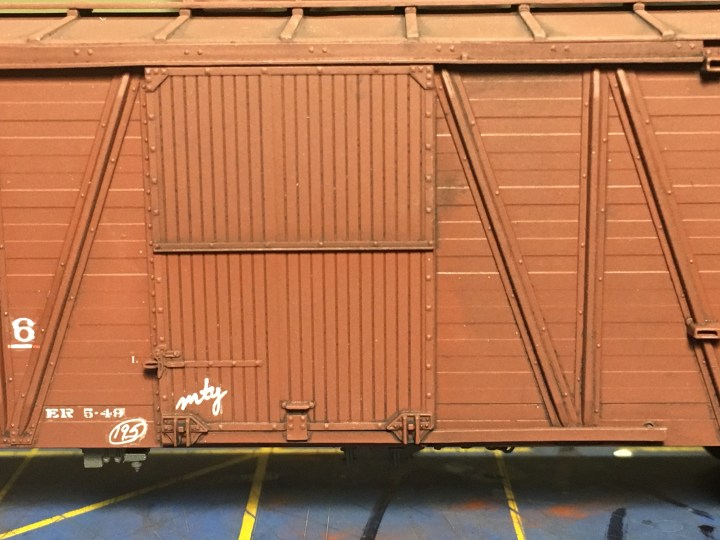
A close-up of the black wash and how in penetrates into details. I added a few Archer rivets on the top door guide too. You can see them in pairs. They look great. What did we do before Archer came along?
After the build was complete and the car was weathered top to bottom, I polished the wheels, installed and lubricated the couplers, and track-tested the car and coupler height. Now the new car is on the layout earning HO scale money.
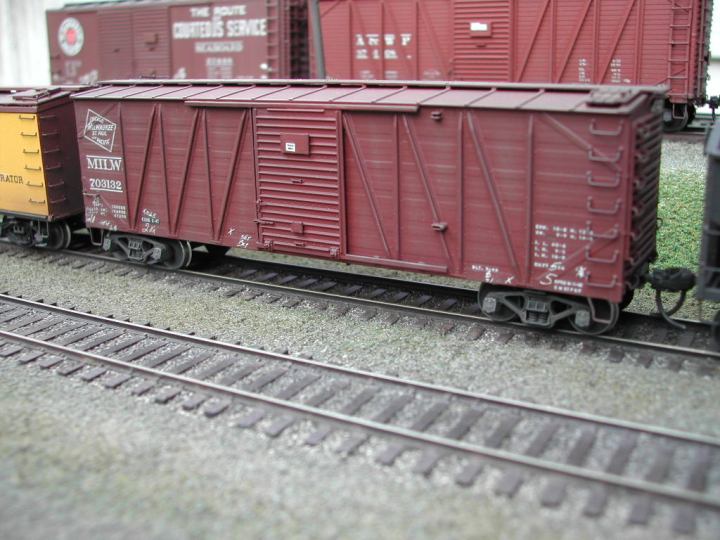
Below. Here’s a little history. MILW 703132 is a car I built around 2000 when I lived in Korea. This was another Tichy kit. The build was alright but there are problems. The color is wrong, the grabs don’t match up on the ends, the stirrups are wrong, the Kadee #5 coupler box is pretty ghastly, and there’s no coupler lift bar. The trucks are just plain wrong. No air hoses. I recall the decals were Champ.
The A&WP car behind is a Sunshine Models car. I still have it.
I’d like to build another Milwaukee car soon, and re-use the techniques I used for the NYC car. And this time I don’t plan on taking 2-1/2 years between the build and the finishing!
I suppose I should’ve titled this post “How NOT to build a Tichy box car”???

Nice build John! I like the subtle weathering.
LikeLike