

Being broke from ski trips, swim team trips, car repairs and Christmas expenses, I tried to stay home in January to “decompress” and recover the bank account. My son managed to get away for a week in Prague for a school event, but apart from that we spent a much-needed month at home.
Photo Backdrops
During January I got a lot of modeling work done. One of the last great hurdles remaining on the Ackley layout is installation of photo backdrops. Inspired by a photo sent by Jim DuFour, I printed off a number of photos and cut them out and installed them on the south side portion of the layout, which is the part of the layout by the IC crossing and interchange.
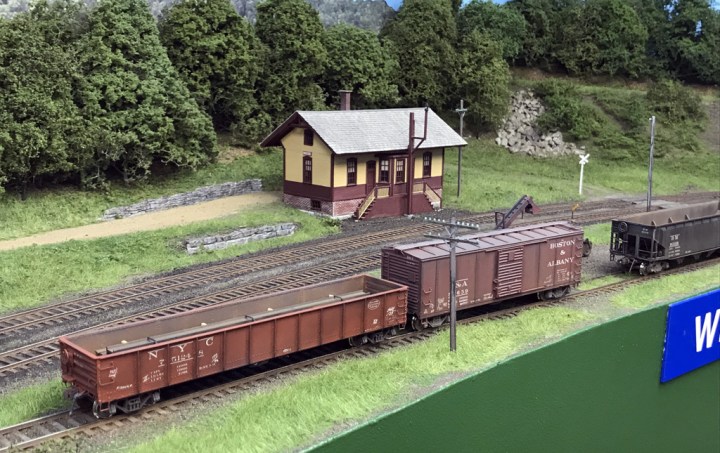
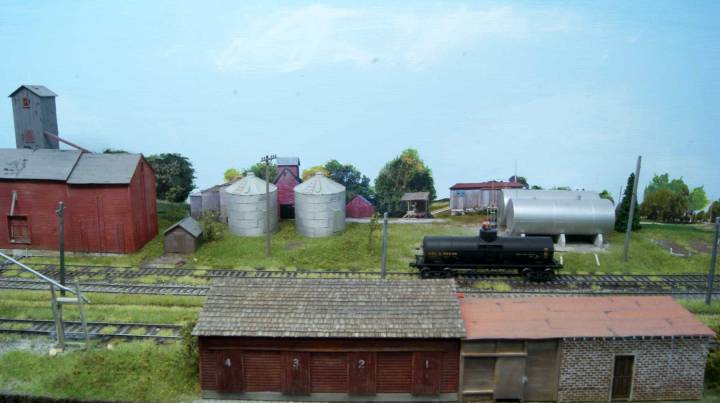
Here is one of Jim’s images, and it’s the Gold Standard. Man, everything just fits perfectly. The colors, the models, the clean track and ballast, the trees and backdrop, and the road and the depot–everything fits just right.
The process of installing photo backdrops was easy. I did not over-analyze the process–I just did it. I simply printed the pictures, cut out the “land” portion of the photos, measured and fit the photos, and glued them to the backdrop. I used a few photos I took over the years, and also a few photos I found online. Here is one of the photos I used–you’ll see it again on the layout.
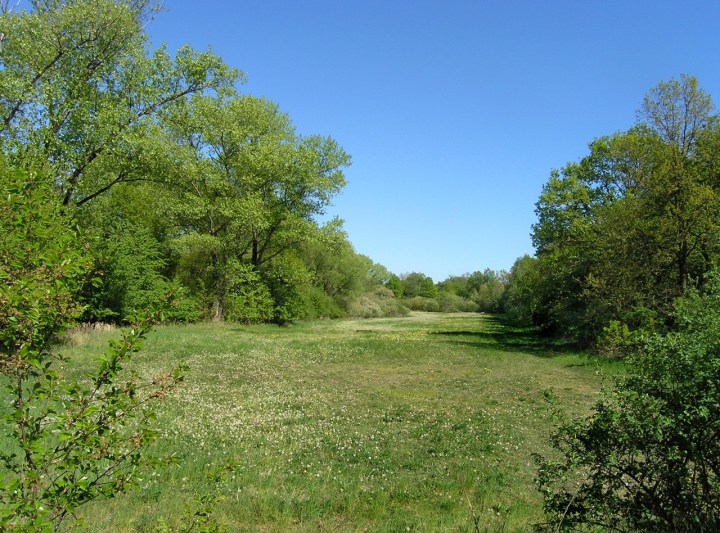
Generally I tried to use only photos that were sharp, properly backlit, and of the right season (late Spring to early Fall). I set the horizon at two inches above the benchwork and tried to maintain that around the south side corner, although if you take out a few trees you would notice that I didn’t quite get it right in a few spots.
Below, here is that photo again with the sky cut out.
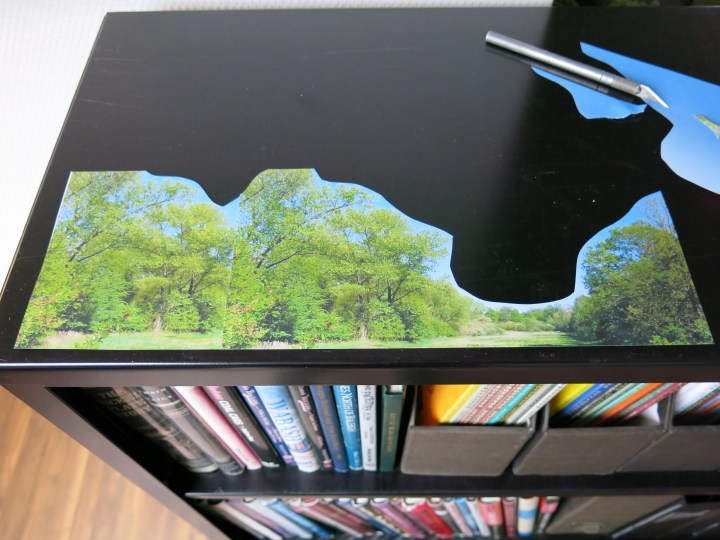
And below is a photo of it glued to the backdrop. I used multiples of the same photo and didn’t worry too much about making the seams perfect, because this area will be covered with trees. It doesn’t look great, but it doesn’t look too bad either. Then I feathered the edges with the backdrop paint to blend it all together.
I was also inspired by this Clark Propst photo (below) on his new M&StL layout. The backdrop is so subtle that you almost don’t notice it’s there.
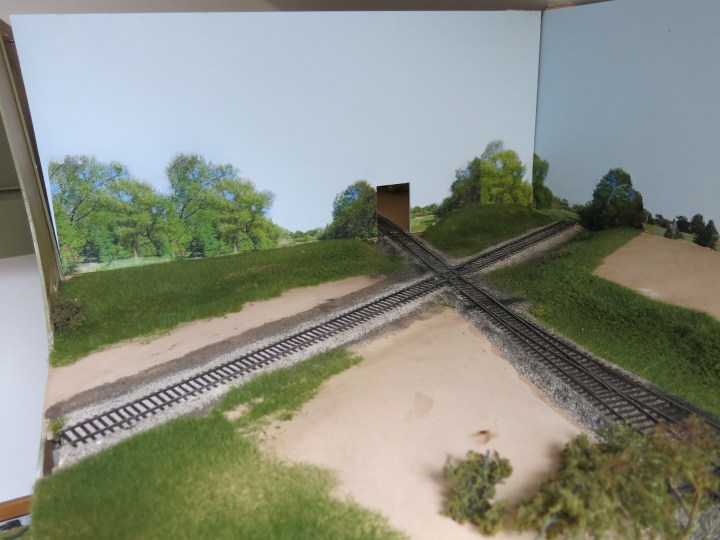
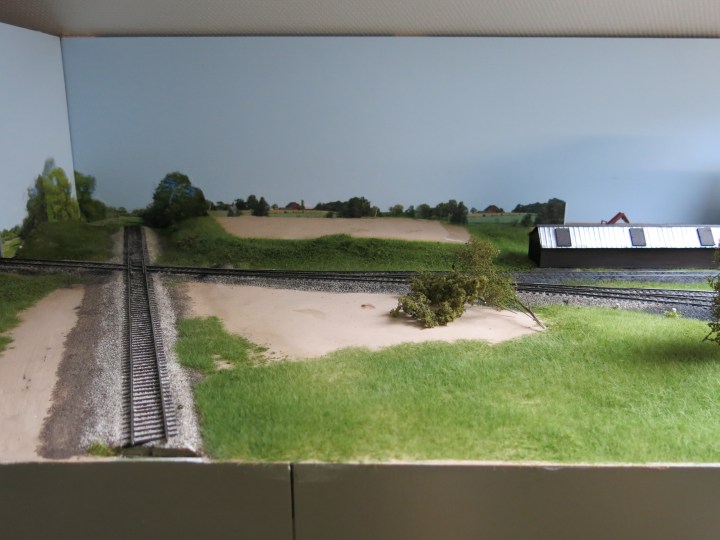
I picked a low-horizon photo and used that behind the corner on the backdrop where the second farmer’s field is located. Here’s the photo…

…and here it is cut out and installed on the backdrop.
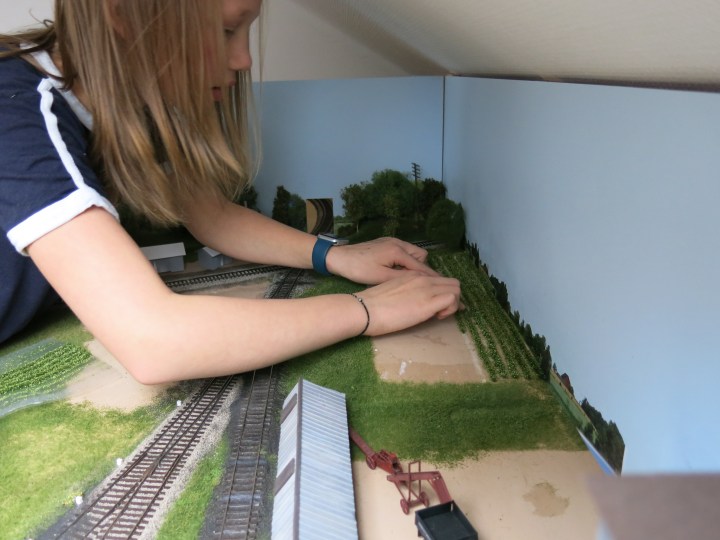
That’s not too bad. Then my daughter Kirsten added the farmer’s field. I chose Silflor soybeans again, late summer colors, because they’re easy to install. We just laid down a bead of glue and installed the rows neatly, and that was that.
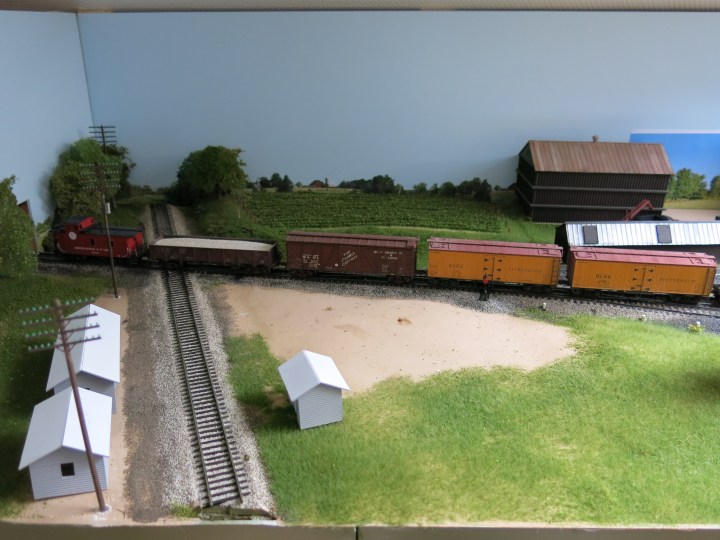
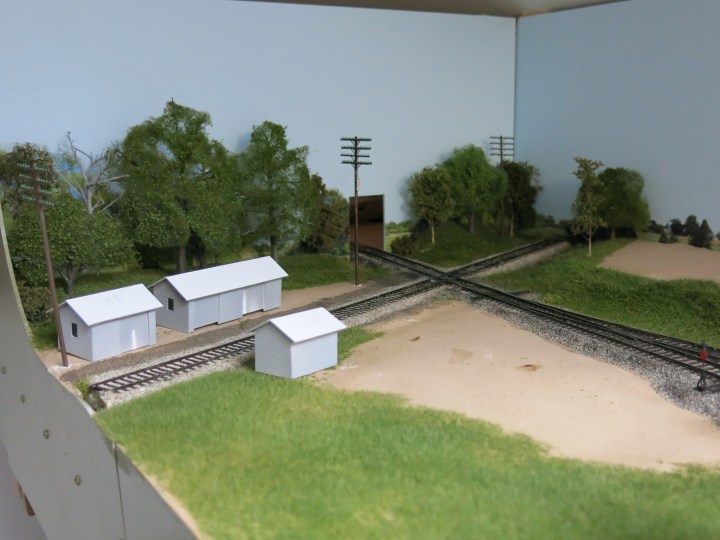
Here’s the “After” photo below, with a train in the way for effect. That’s a little better. The interlocking tower and all the junction buildings and stuff will go in the foreground.
Making Trees
Next Kirsten and I built some trees. I’m no expert at this, so I asked my daughter Kirsten–who has a pretty good eye for these kind of things–to help. We set up a little tree-building area on the floor of the train room and got to work.
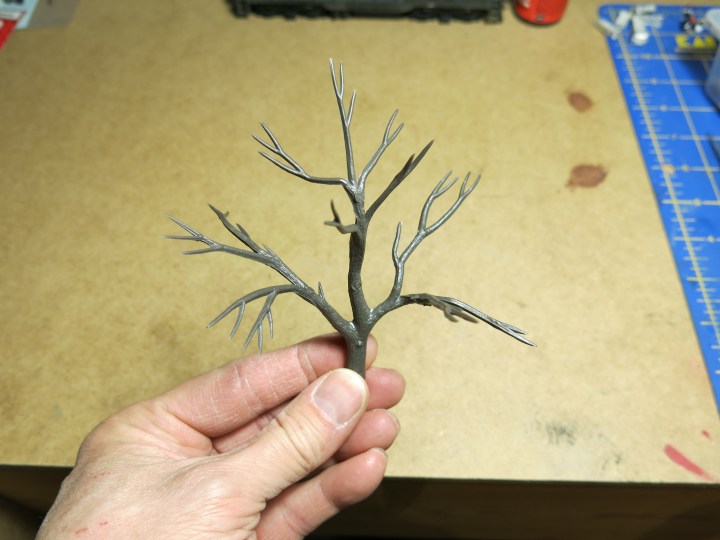
Above. We used mostly Woodland Scenics tree trunks because they’re simple and relatively inexpensive, and they’re pretty easy to work. I bought two packages of WS TR 1122 3 to 5-inch tree armatures, and two packages of WS TR 1123 5 to 7-inch tree armatures. I painted them light gray, then brushed-stroked each trunk lightly with a dark brown paint (Testors “Rubber”).
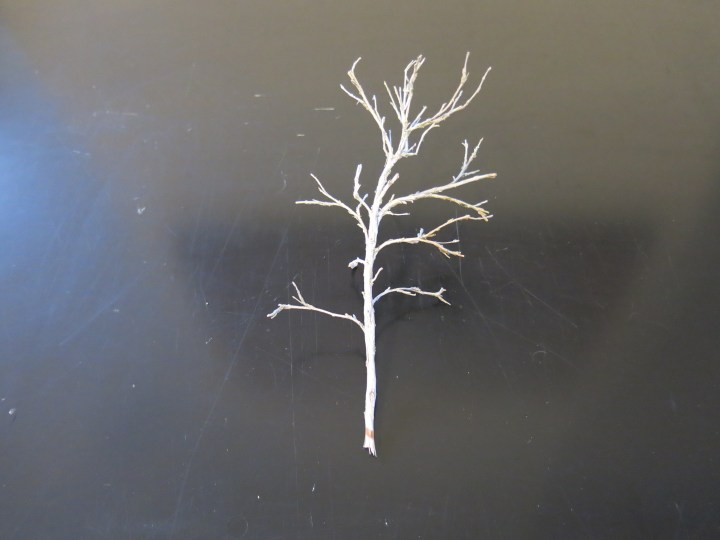
I also prepped and painted a few weed branches I picked up along the side of the road somewhere in Switzerland this summer. I thought they looked alright and painted up they looked a little better.
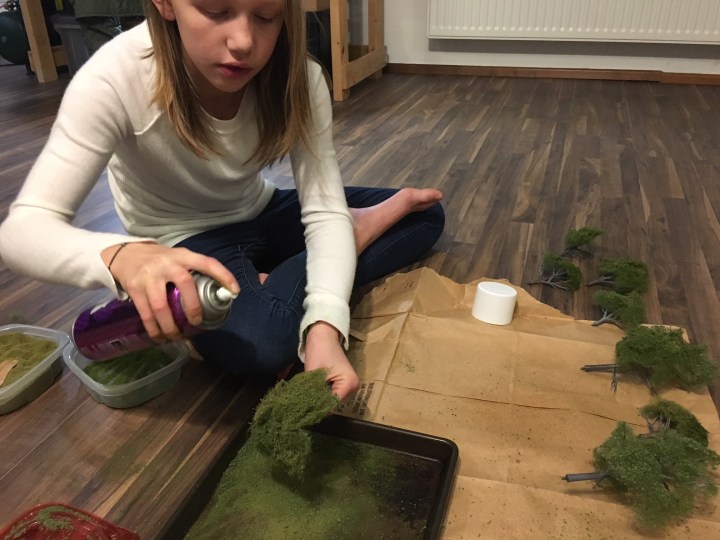
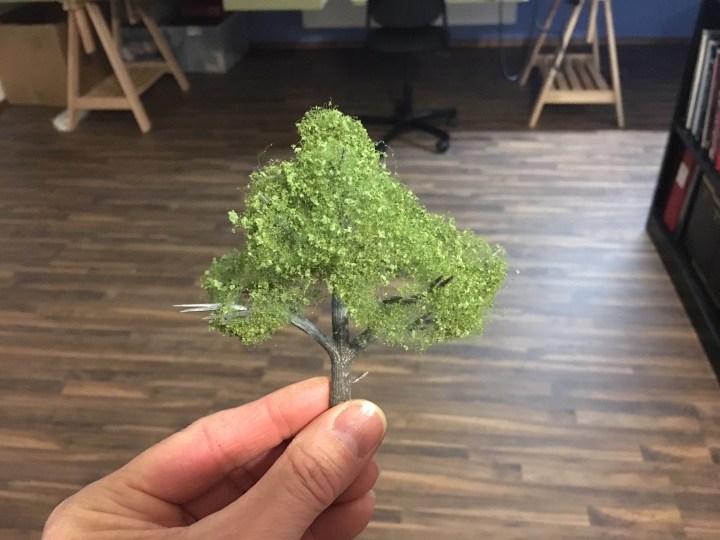
Once the trunks were dry we began building trees the time-honored way, by pulling apart Woodland Scenics green poly-fiber , spraying it with glue, and adding leaf material. Specifically we used Woodland Scenics FP178 green poly-fiber, unscented hair spray for the glue, and used Scenic Express Super-Leaf material for the leaves. Once everything was built-up we hit the outside of the tree with more hair spray to seal the leaves in place. It was easy and fun and I got to spend more time with my little Kirsten, which is always a win.

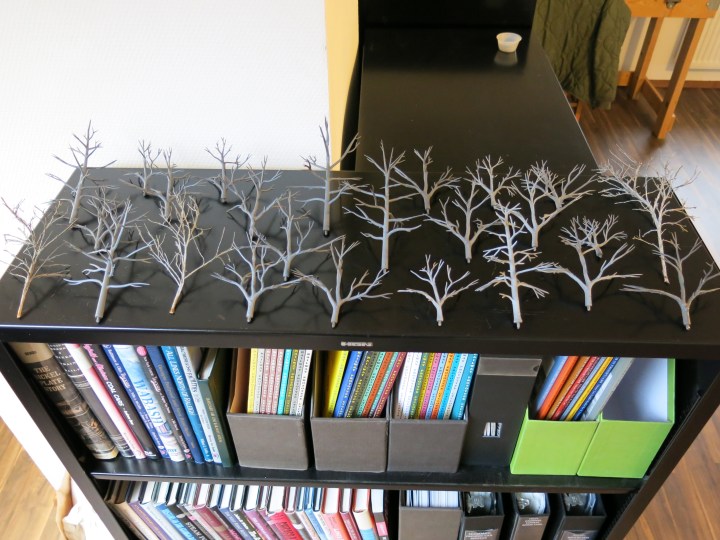
The result looked something like this:
During the process we pulled up a couple of photos on the iPad and compared our work with the photos like the one shown below. This photo is from the Woodland Scenics site.

After looking at that photo we weren’t happy with a lot of our trees so we rebuilt about half of them. Even then, we were only satisfied with about half of the total trees we made. Then we ran out of poly-fiber. We had a lot of fun and learned a lot, and we’re looking forward to making the rest of the 40 or so trees needed for the layout.
To put everything together, once I had added the photo backdrops I went back and planted the trees. That process was simple–I used a reamer to punch a hole in the Hydrocal shell, added a small dab of hot glue to the bottom of the tree, and planted it. I tried to plan the trees a little randomly, and the scenery is not too perfect or overly complicated, but I just wanted to get something done. I can always go back later and rebuild it.
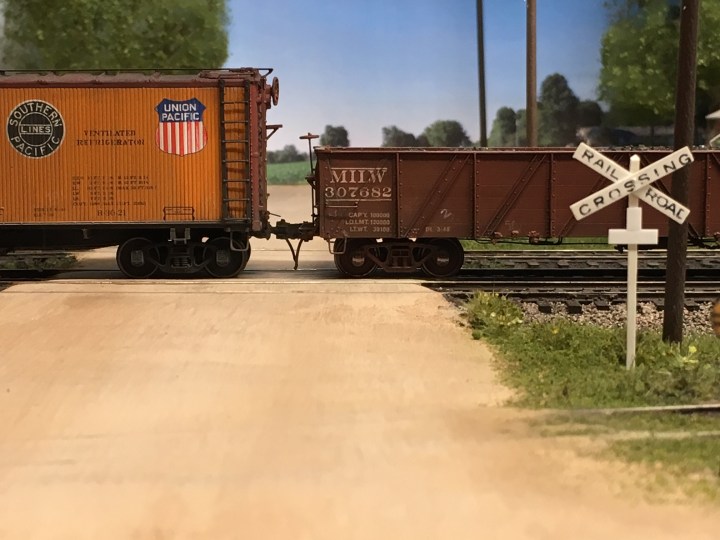
Below. A photo for fun.
I hope you enjoy and I hope you have a wonderful week! – John G

Looking good, John.
LikeLike