


The last time I touched the Marshall Canning building on my M&StL Ackley, Iowa layout it looked like this. As of today the model is about 99% complete. Here’s what I was able to get done in the last couple of weeks.
Adding Mortar
With the model painted I wanted to try adding mortar between the bricks. I used the industry standard, Roberts Brick Formula, seen below, for the job. I never used this stuff before but it was quick and easy and I highly, highly recommend it.

I followed the instructions exactly and brushed the stuff on with a wide paintbrush, and left it on for about 30 minutes. Then I used a clean, damp rag to wipe it off.

Most of the stuff came off the face of the bricks alright, but I to work at it a little bit. I followed up and airbrushed the entire building with another very light coat of the base color, Tamiya XF-64 and that seemed to tone down the mortar just right. Below is a view after the light coat was applied on top of the mortar. I think it looks good.

Painting Details
I originally planned to paint the windows and trim the same as I had with the canning company on my previous layout. That building was brown but had red windows.
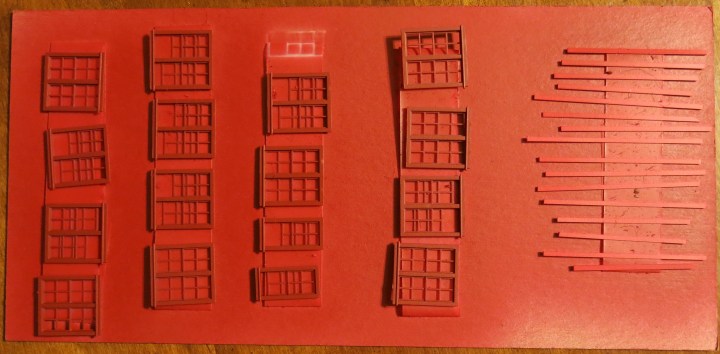
Above. The first batch of windows and trim are painted Testors Insignia Red. I did not care for the results. Below is a view of some of the large multitude of details and windows and things needed to finish the building.

Above. A view of one of the red windows installed. The darker red just didn’t look right so I decided to paint all the details brown instead.

I had already installed the trim around the loading doors, so they had to be masked off and painted individually. What a pain. Who was it that said model railroading was fun?

Once installed, I think the brown trim looked a lot better. The silver items are gutters. I made them from simple Evergreen rectangular pieces with a small attachment on the back.

While I was at it I added a few window fans. These are cool detail parts I got from Vector Cut (http://www.vectorcut.com/). Vector Cut is a cool little niche company that produces structure and detail parts mostly in 1/87. I simply cut them out and applied them to a couple of the windows on the building in no particular order, and brush-painted them to suit.


The Roof
Next I turned my attention to the roof. I covered the roof with black construction paper and used Elmers spray adhesive to secure the paper to the roof. I had to use several sheets of paper for this and naturally there are seams, so I sprayed the whole roof again with Tamiya XF-1 Flat Black, which is a water-based paint and is easy on paper, and that provided an even tone across the whole roof. I want to go back and weather this roof somehow. I have an idea to use small paper templates and spray weathering around them. If you have any suggestions please give me a shout.
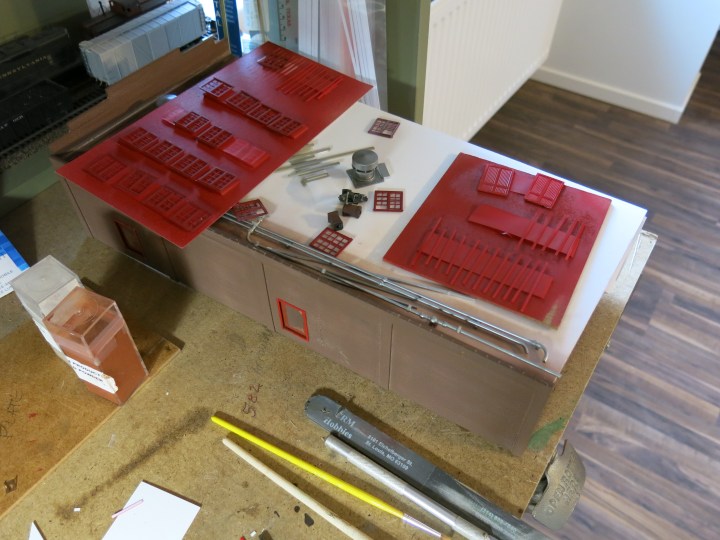
I added a few details to the roof that I thought would be appropriate, like a few different types of stacks, vents, piping, and other details. The vents and piping come from Walthers detail sets, the chimneys are from Grant Line, and the other things came from the parts bin. Below. I still need to trim the pipes to help cover the paper seams on the roof.

One of the funnier stories with this project—we all have them—is when I was spraying the detail parts. I taped all the detail parts to a piece of cardboard and then airbrushed them. I airbrush out the window of a three story house. So I was spraying this piece of cardboard with all the details on it, and I guess the tape wasn’t sticky enough, or the air pressure was up too high, and I blew two or three of the details off the cardboard. Down they went, into the garden, blown away and lost forever.
Adding the Office
Finally I needed to scratchbuild the office. I sued Evergreen Board & Batten siding, .040 spacing, .060 thick, for the basic structure and just TLAR’ed (That Looks About Right) it based on the room I had available. I painted it red to match the office I built on the model I built for my previous layout. I used Tichy windows on the bottom and Grandt Line windows on top, and added a black construction paper roof to match the rest of the building. I need to add a few details like signs and so forth but I can do that in time.
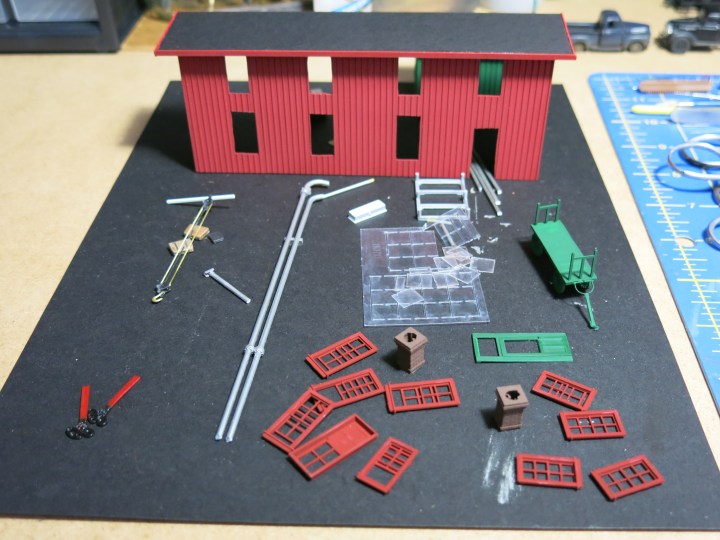
After looking at the gallery images on the Vector Cut site I am motived to add details and do more accurate work. The prototype office was added in the late 40s and was just one story for a while, and at some point later a second story was added. Because of space limitations I was only build the office one-window-deep.

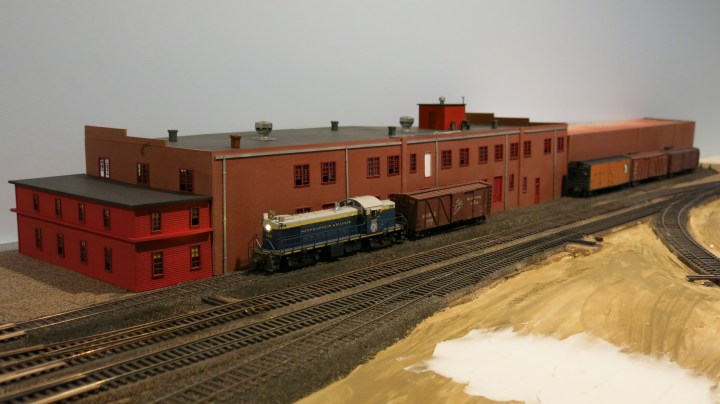
Reassembly was easy. I just put the buildings back on the layout and that was that. I still need to add some signs and details and things, and secure the details to the top of the building, and plant a little more static grass around the front, and weather the office a bit, but that’s pretty much it.
Here’s where we are today. A little bit closer!

And Finally, On a Different Plane…
I took my family away for a little trip to to Lake Geneva, Switzerland in August. We stayed in a rented house in Leysin, which is on top of a mountain about 25 minutes away from the lake. At the bottom of the mountain was a cool little street car/funicular railway terminal. The streetcar line first got my attention because of the gauge, which appeared to be one meter or less. I was unable to get a photo of the cars but they were not modern, and therefore not ugly.

The streetcar line terminated at the foot of the mountain and there passengers transfer to what I would call a funicular, or inclined, railway. In America funiculars are a novelty; in Switzerland they are a way of life. I learned that most folks use the funicular to get up and down the mountain instead of driving. In winter, people take the funicular to get to Leysin where there is a big ski area. Above is a photo of the terminal where passengers exchange a streetcar for the funicular. Below, turning around, here is a view of the funicular going to the mountain. Leysin is up on top of the mountain several miles away.

I’m not a big inclined railway fan but there are about a hundred of them in Switzerland. I’m learning to appreciate them more. If you’re interested there an English language site that has a comprehensive list here: http://www.funimag.com/suisse/Funimag-Suisse.htm.
Hope you guys have a blessed day! – John

John, thanks for including the link to the Vectorcut site – there are some great details there.
Like you, I recently started a WordPress blog – and am still trying to get the look worked out (along with posting more regularly). It’s called VI Tower, the name of the tower that controlled an N&W and Pennsy interlocking and access to the “old main”.
https://vitower.wordpress.com/
LikeLike