

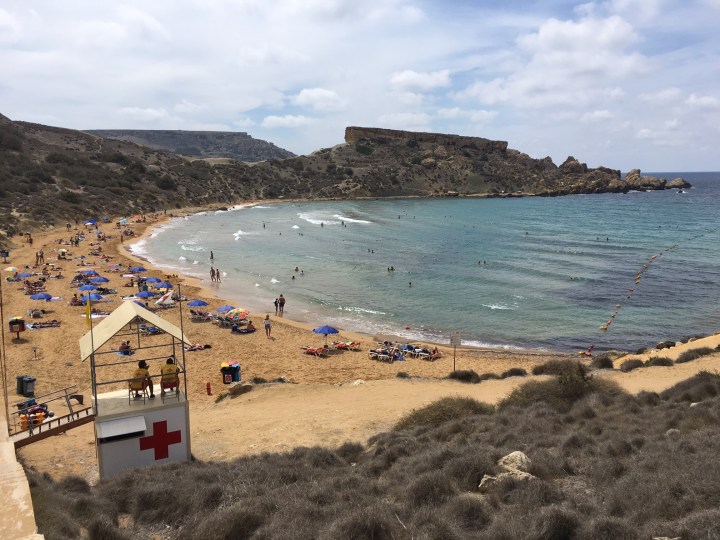
We were fortunate recently to travel to Malta for a long weekend. Malta is a not-your-typical-American place to visit. We went to have a last summer blast and hit the beaches and snorkel spots, and we also spent a little time downtown shopping and checking out the local history, which is impressive to say the least. In case you’re wondering, there was once a British meter-gauge railroad on the main island but it was gone before WWII. Here are a couple of off-topic photos of our trip.


Now on to RPMing.
In my work life, capturing “Lessons Learned” is a big deal. I learned a lot of good things from building Ackley 1.0 that I am incorporating into the new layout. I will add a shout out to Bill Darnaby here—he has been telling us all the things I learned for the last 10-15 years. I heard him but didn’t listen.
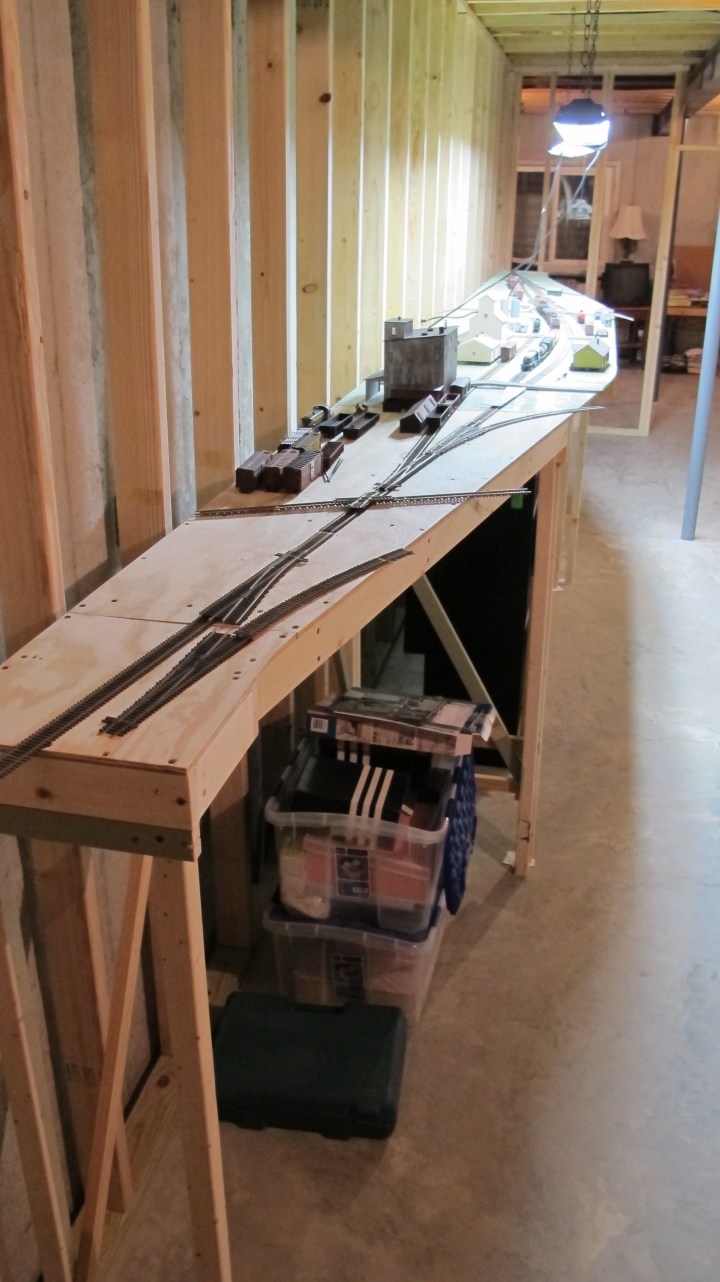
Among the changes being made on Ackley 2.0 is the use of Styrofoam for the layout base, or subroadbed. The previous layout was built using wood and Masonite and even though I considered it lightweight, it was extremely heavy. I built it to be moveable, but it was barely moveable. This layout is being built with smaller wood forms and Styrofoam and so far I can lift each section with a lot less effort.
Last year, when I was considering rebuilding Ackley 1.0, I asked some questions about Styrofoam on the Proto-Layouts and got a lot of very positive responses. Two of the responses are included here:
John:
I’m a firm advocate of using blue or pink foam as sub road bed. My preference is to use 1 1/2 inch foam bonded to 1/4 inch plywood. This combination provides these features:
1: The lamination seems to ease drooping of the surface over time.
2: The plywood provides a superior method to both attach the sub road bed to the under lying support benchwork, and it also gives you an excellent place to attach switch machines.
3: I’ve tried the same lamination using 2 inch foam and found the performance of the switch machines inferior because of the added depth of the sub road bed. Using Tortoise machines, even adjusting the wire thickness, didn’t work as well as I would expect or could accept.
4: Sound deadening when using cork as a ballast strip was quite adequate in the installations I built. One note, however, sound transmission is directly tied to how fast your trains are run. We run at a very slow speed. If you want to run 100 mph passenger trains, the noise on this sub road bed system may not be to your liking. I did also find that ballasting the track reduced sound even more with this system.
5: Weight, if it is a consideration, is much reduced with this system.
6: Plan on spacing your sub road bed supports no more than about 18 inches apart. If you try to go 24 inches or more, sagging does become a possibility.
7: Running track feeder wires can be a challenge. I eventually found a six inch long 3/64 bit that I use to drill feeder holes and have sometimes had to thread a hardened wire up form below the benchwork to attach the feeder wire to fish it down under the layout.
This is my preferred system and have had very good results when I’ve used it.
John Young
Operation Road Show Chief Carpenter
This is excellent advice. Here’s is another good e-mail, this from James McNabb, who is a frequent contributor on the Proto-Layouts list:
Hi John!
I built my 12’ x 18’ IAIS Grimes Line layout using 2 inch extruded foam throughout. The foam is supported on 1×4 brackets every 16 inches, except for a couple of places where basement obstructions forced me to skip a bracket. Track is laid directly on the foam. After 4 years there’s been no indication of sag or movement from the foam. A couple of notes…
-My benchwork is very, very narrow (8 inches). I would wonder if deeper slabs of foam would be more prone to sag.
-Since my trains are very short (4 to 5 cars), noise from the drum effect is minimal. Again, your mileage may vary. I would build with the same methods again.
James McNab
Des Moines, Iowa
Again, this is good advice. It “tracks” with what Bill Darnaby has been saying for years. I’m listening, Bill!
So…after building my open-grid benchwork I went to one of the local home superstores–Hornbach–and found a product that was close to the US-standard two-inch blue Styrofoam. The product I chose is called Styrodur, and is something like Styrofoam but it is a little more firm. And it’s not blue–it’s yellow. Because everything in Germany is exactly the same but completely different.
Styrodur comes is sections that are about four feet by 20 inches like Styrofoam it can be cut easily with a sharp razor knife.

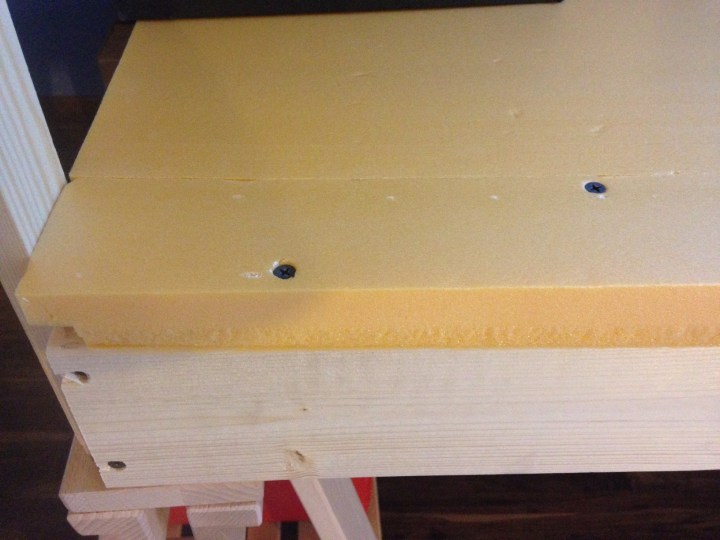
Above. Here is a piece of the Styodur on top of the benchwork. It is not quite wide enough, and has lip on the edge for joining to other sections. Kinda like tongue-in-groove.

Above. Here is one of the main town site modules with the Styrodur on top for testing. Below, I have glued the Styrodur on the benchwork with an industrial adhesive called Klieben and added weight until the glue dries.


Above. Yep, this is boring stuff…but it’s important to slow down here and do it right. This view shows the Styrodur being glued down. Since the Styrodur didn’t cover the entire width of the benchwork I had to add a small section to reach the front edge of the benchwork. I cut the end off of another piece of Styrodur, applied glue, and added it to the front end of the layout to get full coverage. The lipped feature of the material was very helpful here.

Above. This photo shows the interlocking patterns to the Styrodur. The pieces are all glued to each other, and glued to the benchwork, and finally sheetrock screws were gently added to keep the Styrodur in place and flat. The one superior quality that Styrodur has over Styrofoam is that it can accept screws without much trouble. The view below shows the Styrodur in place with the additional front-edge patch added, and screws to hold it in all place. When everything was dry I trimmed any overhang off with a razor knife.
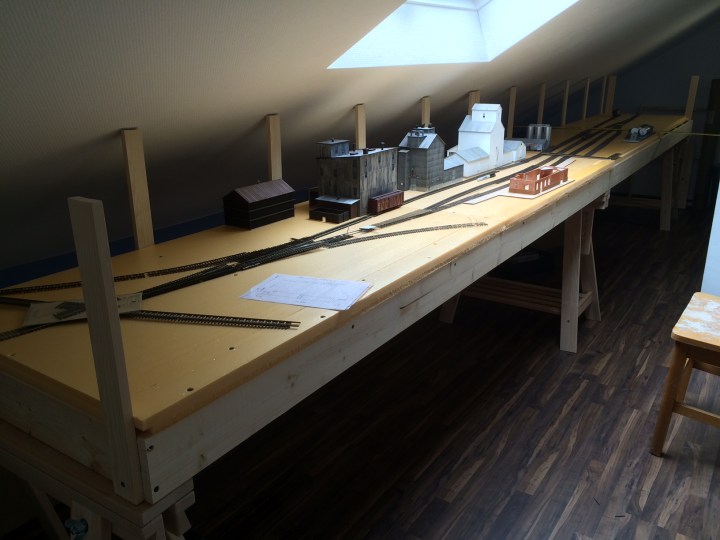
Above. Once the Styrodur was installed and trimmed, it was time to mock up the layout. The buildings were all featured on the previous layout, with the exception of the depot which I am slowly finishing. This view looks somewhat similar to the view below of the old Ackley layout.
Until next time…
